FREE SHIPPING ON ORDERS OVER $150

Cart
0
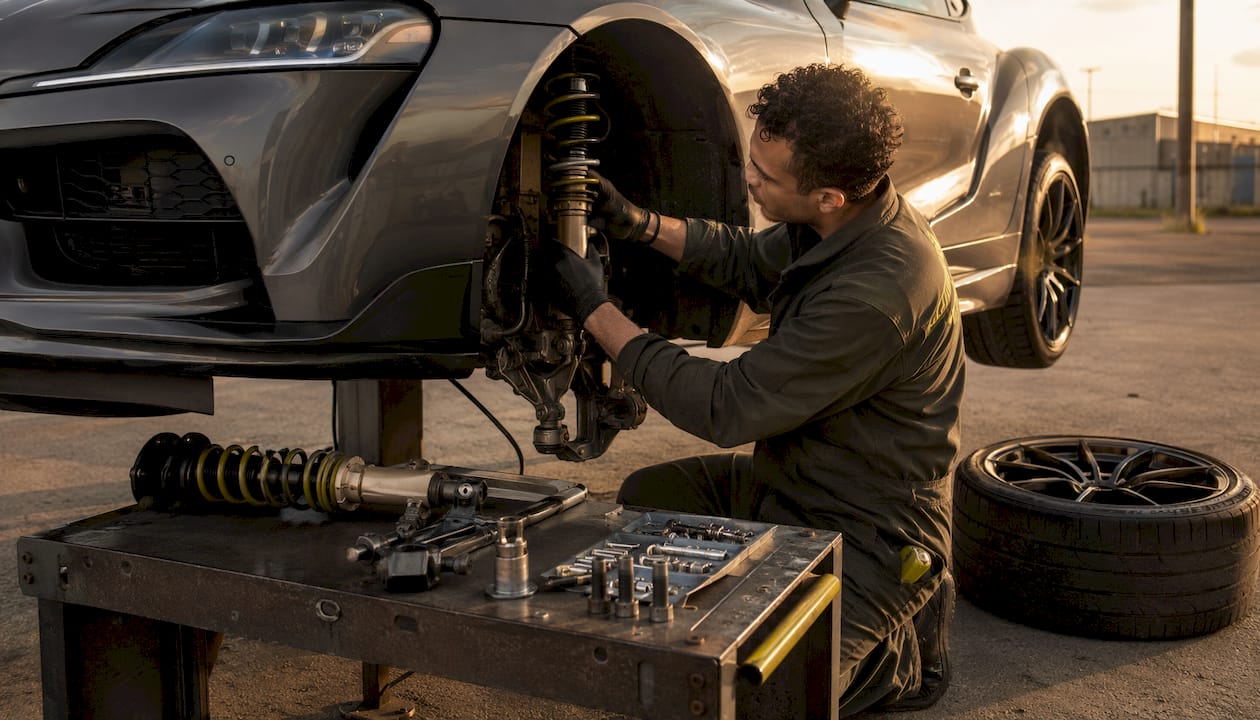
Coilovers are the right suspension upgrade for most 2019+ Toyota GR Supra owners who want adjustable ride height, tunable damping, and real handling gains. The Undergrounddynamics suspension catalog is the recommended starting point for A90-validated kits with documented fitment specs and support.
Buy coilovers if you:
- Want to dial in ride height independently of spring preload
- Plan any track days or autocross alongside street driving
- Need a rebuildable, serviceable setup for long-term use
Skip coilovers if you:
- Never plan to adjust the car and just want a mild drop
- Are unwilling to address the factory Monroe CVSAe adaptive damping system
- Have a strict budget under $600 and no alignment budget
Table of Contents
- Which Supra models do coilover kits actually fit?
- What do coilovers actually change on your Supra?
- How do you pick the right coilover for your Supra?
- What should you expect for installation and setup?
- Why A90-specific validation matters more than you think
- Upkeep, common problems, and how to avoid them
- What owners actually say about Supra coilovers
- How coilover adjustments affect your Supra’s handling
- How to avoid counterfeit coilover kits
- Corner balancing and after-installation tuning
- Key Takeaways
- The case for getting the setup right the first time
- Undergrounddynamics A90 coilover packages: where to buy
- Useful sources
- FAQ
Which Supra models do coilover kits actually fit?
The A90 platform (2019+) is the primary focus for modern coilover development. Older generations, the A80 (1993–2002) and A70 (1986–1992), use completely different strut geometry, spring perch locations, and damper mounting hardware. A kit built for the A90 will not transfer to an A80 or A70 without significant modification, and vice versa. Always confirm the generation before ordering.
A90 fitment checklist:
- Model year: 2019+ GR Supra (A90/A91); confirm whether your car is a base 2.0T or the 3.0T, as some kits are rated for specific trim weights
- EDC status: Does your car have the factory electronic damper control? Most A90s do. Replacing the factory dampers without a cancellation module will trigger a service light
- Top-mount type: Front strut top mounts differ between EDC and non-EDC builds; verify compatibility with your vendor
- Rear divorced-spring architecture: The A90 rear uses a divorced spring/damper layout, meaning the spring sits separately from the damper. True rear coilover conversion requires additional structural work
- Wheel and tire clearance: Aggressive drop can create rubbing at full lock; confirm drop range against your wheel offset
- Brake clearance: Larger aftermarket rotors and calipers can conflict with certain lower strut housings
If you are unsure about EDC status, check your VIN against Toyota’s build sheet or contact your vendor with the VIN before ordering. A90-specific part numbers matter here.
What do coilovers actually change on your Supra?
Coilovers add adjustable ride height and tunable damping. That sounds simple, but the downstream effects on handling, stance, and daily comfort are significant.
On the A90, the factory suspension is well-sorted from Toyota Gazoo Racing but calibrated for a broad range of drivers. Coilovers let you tighten that calibration to your specific use case. You can run a softer street setup during the week and stiffen damping for a track day without swapping hardware.
Pros:
- Adjustable ride height independent of spring preload (on quality kits)
- Tunable damping for street, street/track, or full track use
- Corner-weighting capability once installed
- Rebuildable and serviceable over the long term
Cons:
- Loss of EDC adaptive damping modes unless a bypass module is installed
- Increased NVH (noise, vibration, harshness) compared to factory dampers, especially with stiffer spring rates
- Requires a proper alignment and often camber hardware to extract real performance gains
- Incorrect spring/damper pairing produces a harsh, unpredictable ride
Lowering springs change stance but give you no damping control. As Suspension Secrets documents, true performance gains on the A90 require component-level upgrades including camber plates and adjustable control arms, not just a spring swap.
Pro Tip: Pair your coilovers with front camber plates and rear adjustable toe links from the start. The A90’s factory camber range tops out around -1.5° stock, which is not enough for aggressive track alignments. Adding camber hardware at install time saves you a second alignment bill later.
How do you pick the right coilover for your Supra?
Start with your use case, not the spec sheet.
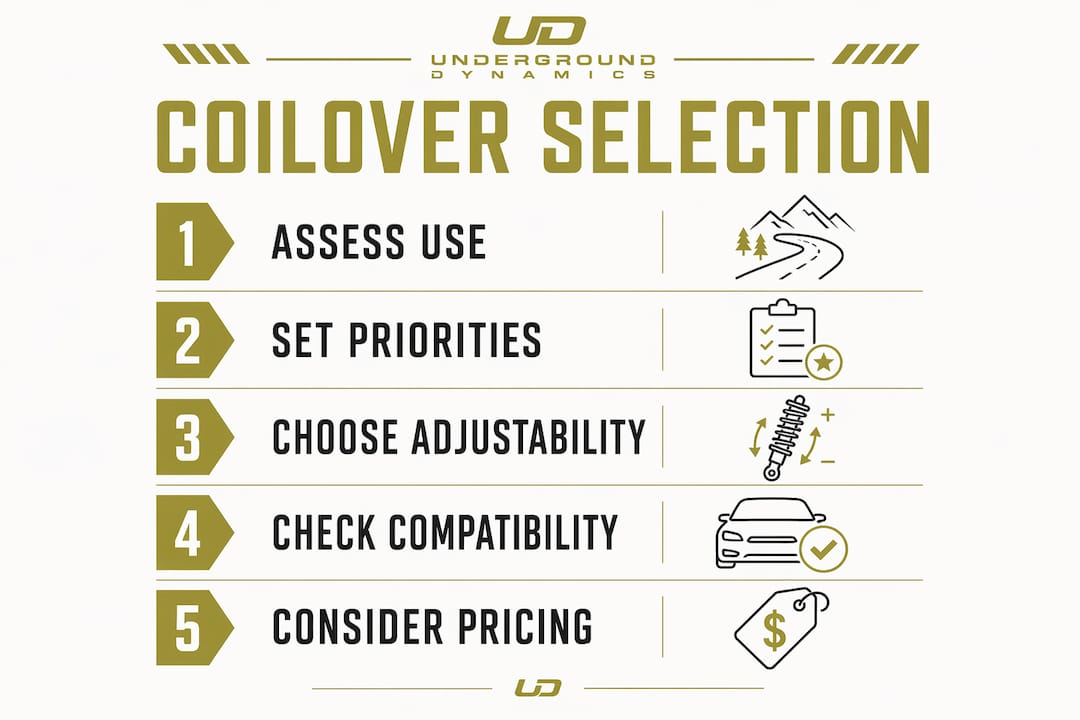
Daily driver: You want a street-biased spring rate, 16–24 damper adjustment clicks, and a kit that retains or addresses EDC without drama. Comfort matters.
Street/track split: Look for 3-way adjustability, independent ride-height and spring-preload adjustment, and front camber plates. BC Racing’s ZX Series for the A90 is a well-documented example of this category, offering 3-way damping adjustability and a rebuildable damper design.
Dedicated track: Mono-tube construction, high adjustment range (40 levels is available on some kits), and custom valving options. Budget for corner balancing and camber arms separately.
Pricing bands for A90 coilover kits
| Tier | Typical retail range | What you get |
|---|---|---|
| Entry | $600–$1,000 | Basic ride-height adjustment, limited damping clicks, no camber plates |
| Mid | $1,000–$1,800 | Multi-way damping, independent height/preload, rebuildable design |
| Premium | $1,800–$2,500+ | Mono-tube, custom valving, camber plates, full rebuild support |
Criteria checklist before buying:
- A90-specific validation (tested on GR Supra, not assumed from BMW Z4 fitment)
- Damper architecture: mono-tube preferred for track; quality twin-tube acceptable for street
- Rebuildability: can you send the dampers back for a rebuild?
- Adjustment range: rebound, compression, and independent ride height
- Camber plate inclusion or availability
- Warranty terms and return policy
- EDC cancellation kit availability or documentation
Red flags: Missing spring rate specs, no stated piston diameter, no camber option for the A90, and vendors who cannot answer EDC compatibility questions directly.
What should you expect for installation and setup?
A professional install with a full alignment is the right call for most owners. DIY is possible for experienced builders with a spring compressor, torque wrench, and alignment access, but the A90’s rear divorced layout adds complexity.
Timeline and cost:
- Shop labor: typically 3–5 hours for a full coilover swap on the A90
- Labor cost: roughly $300–$600 depending on your region and shop rate
- Add 1–2 hours if installing camber plates or an EDC cancellation kit simultaneously
- Alignment: budget $150–$250 for a four-wheel alignment with camber adjustment
Installation checklist
- Pre-install: Confirm all hardware, EDC cancellation kit (if applicable), and camber plates are on hand before the car goes on the lift
- Disassembly: Remove factory struts front and rear; photograph OEM top-mount orientation for reference
- Rear note: The divorced rear design means the spring and damper come out separately; do not assume the rear is a standard strut pull
- Bolt-in: Follow vendor torque specs for top mounts, lower pinch bolts, and rear link hardware. Verify specs with your vendor before install, as A90 torque values differ from BMW Z4 specs despite the shared platform
- Initial height setting: Set ride height to mid-range of the adjustment before alignment
- Post-install check: Confirm no EDC service lights; if present, install cancellation module before driving
Starting damper settings:
- Street: 8–12 clicks from full soft (rebound); leave compression near mid-range
- Street/track: 12–16 clicks rebound, 8–10 compression
- Track: dial in by feel after baseline laps; start at mid-range and adjust from there
Alignment targets: Front camber -1.5° to -2.5° (track), toe 0 to slight toe-in; rear camber -1.5° to -2.0°, toe slight toe-in for stability. Corner balance after alignment for any serious track use.
Why A90-specific validation matters more than you think
The A90 shares its platform with the BMW Z4 G29, but Toyota Gazoo Racing calibrated the suspension differently. Valving tuned for the Z4 does not automatically translate to correct behavior on the Supra. As Autoblog’s suspension deep dive documents, the factory Monroe CVSAe system uses inputs from height sensors, a steering sensor, and g-sensors to continuously vary damping in real time. Replacing that with a passive aftermarket damper changes the entire damping character of the car.
The factory camber range tops out around -1.5° stock, which limits aggressive track alignments without aftermarket camber plates and rear arm adjustments. Forum teardowns on SupraMKV confirm multiple rear link adjustments are needed for serious camber targets.
Questions to ask any vendor before buying:
- What piston diameter does the damper use?
- Has the valving been tested on an A90, or is it carried over from the Z4?
- Does the kit include or support an EDC cancellation module?
- What is the rebuild turnaround time and cost?
A vendor who cannot answer these questions directly is not the right vendor for this platform.
Upkeep, common problems, and how to avoid them
Coilovers are serviceable, but they do require periodic attention. Ignore maintenance and you will end up with corroded threads, blown seals, or loose pillowball mounts that make the car feel like it is falling apart at speed.
Routine maintenance checklist:
- Corrosion prevention: Apply anti-seize to adjustment threads at install; re-inspect every 12 months or after any winter season
- Re-torque: Check top-mount and lower-mount hardware after the first 500 miles; thermal cycling loosens fasteners
- Seal inspection: Look for oil weeping around the damper body every 15,000–20,000 miles
- Rebuild intervals: Most quality dampers benefit from a rebuild every 40,000–60,000 miles or every 2–3 track seasons, whichever comes first
- Pillowball mounts: Listen for clunking over bumps; worn pillowballs are a common culprit and are inexpensive to replace
Common owner issues:
- EDC service light: Almost always caused by skipping the cancellation kit. Install the module and the light clears
- Harsh ride after install: Usually a spring rate mismatch or damper set too stiff. Back off rebound clicks and recheck
- Bushing noise: Polyurethane bushings need periodic lubrication; pillowball mounts need replacement when worn
- Loose top mounts: Torque them to spec at install and re-check after break-in
Pro Tip: Before winter storage or if you live in a salt-belt state, clean and re-coat all exposed threads with a corrosion-inhibiting compound. Frozen adjustment collars are one of the most common reasons owners cannot re-adjust ride height after a season.
What owners actually say about Supra coilovers
Forum consensus on SupraMKV and community threads points to a consistent pattern: owners who buy entry-level kits without addressing EDC compatibility report the most frustration, primarily from persistent service lights and a ride quality that does not improve meaningfully over stock. Owners who invest in mid-tier or premium kits with proper EDC cancellation and a full alignment report noticeably sharper turn-in, better body control, and the ability to dial in a setup that works for both street and occasional track use.
The most repeated complaint across community recommendations is buying a kit without camber plates and then discovering the factory alignment range is too limited to get the car where they want it. The second most common issue is skipping corner balancing after install, which leaves handling gains on the table. Owners who budget for the full package, coilovers plus camber hardware plus alignment plus corner balance, consistently report the biggest improvement in feel and lap times.
How coilover adjustments affect your Supra’s handling
Damper adjustment directly controls how quickly the suspension responds to inputs. More rebound damping slows the extension of the shock after compression, keeping the tire planted longer after a bump or mid-corner load transfer. Too much rebound and the car feels tied down, slow to respond, and prone to pushing in fast corners.
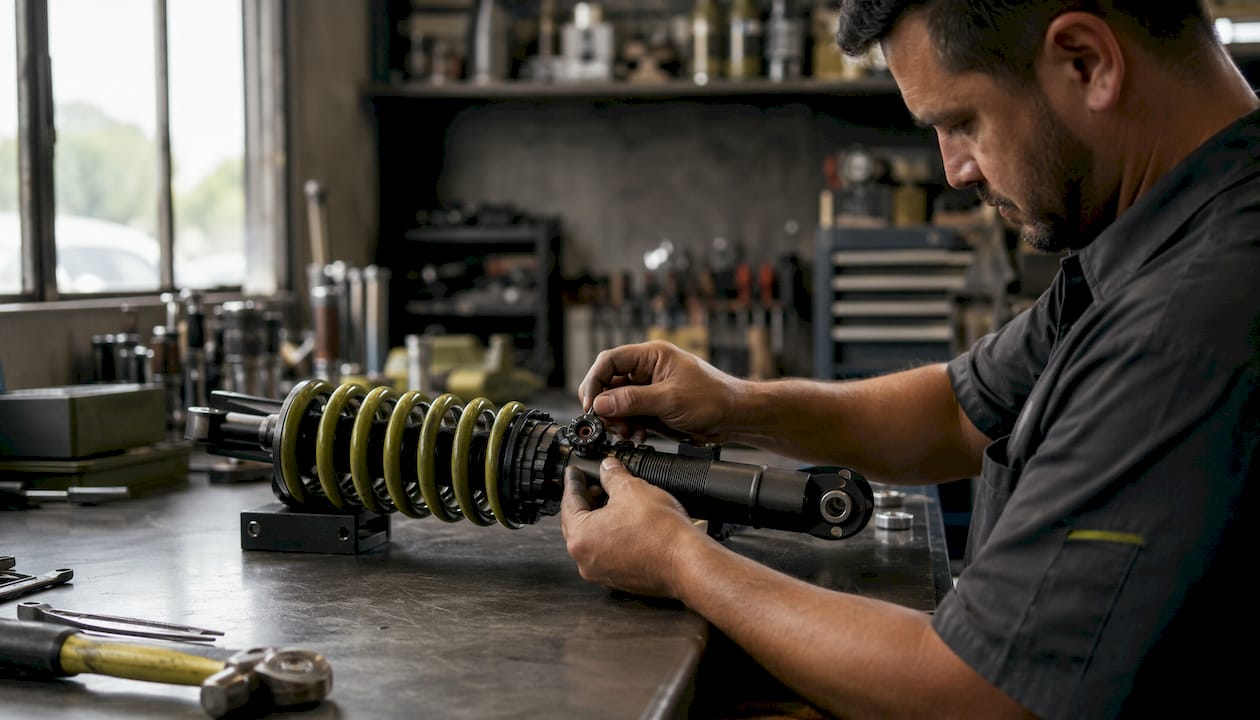
Compression damping controls how quickly the suspension compresses under braking or cornering load. Stiffen compression and the car resists body roll more aggressively, but you lose compliance over rough pavement. On the A90, which already has a stiff chassis, most street drivers find a softer compression setting more livable without sacrificing much cornering response.
Spring rate is the foundation. A higher spring rate reduces body motion and improves response, but it also transmits more road noise and requires a stiffer damper to match. Mismatching a stiff spring with a soft damper produces a bouncy, unpredictable car. The independent ride-height adjustment available on quality kits lets you set stance without changing spring preload, which keeps your spring rate consistent regardless of how low you run the car.
How to avoid counterfeit coilover kits
Counterfeit coilover kits are a real problem in the aftermarket. They typically show up on third-party marketplaces at prices 30–50% below legitimate retail, with vague or missing specs and no rebuild support. The hardware often looks correct in photos but uses inferior steel, undersized pistons, and seals that fail within a season.
The safest sourcing approach is to buy directly from the manufacturer or an authorized distributor. Undergrounddynamics sources from established suppliers and lists real fitment data and specs on product pages, which is the baseline you should expect from any vendor. Check that the brand appears on the manufacturer’s authorized dealer list, and verify that the part number matches what the manufacturer publishes. If a vendor cannot provide a manufacturer part number or refuses to confirm authorization, walk away.
Physical tells on counterfeit kits include misaligned adjustment markings, rough casting on the damper body, and hardware that does not match the stated material spec. Ask for the piston diameter and damper stroke before buying. Legitimate manufacturers publish these figures; counterfeit sellers typically cannot provide them.
Corner balancing and after-installation tuning
Corner balancing is the step most owners skip and the one that makes the biggest difference in how a coilover-equipped Supra actually handles. After installation, the car’s weight is rarely distributed evenly across all four corners, even on a stock-looking setup. Corner balancing uses a set of scales under each wheel to measure individual corner weights, then adjusts ride height at each corner until the cross-weight percentage hits a target, typically 50% for a balanced street/track car.
The process requires a corner balance pad setup and a flat surface. Most alignment shops that serve performance customers offer it, and it typically adds $100–$200 to the alignment bill. The A90’s limited factory camber range means you need aftermarket camber plates and rear adjustable arms in place before corner balancing makes sense. Trying to corner balance without full alignment adjustability is like trying to tune a carburetor with a blocked jet.
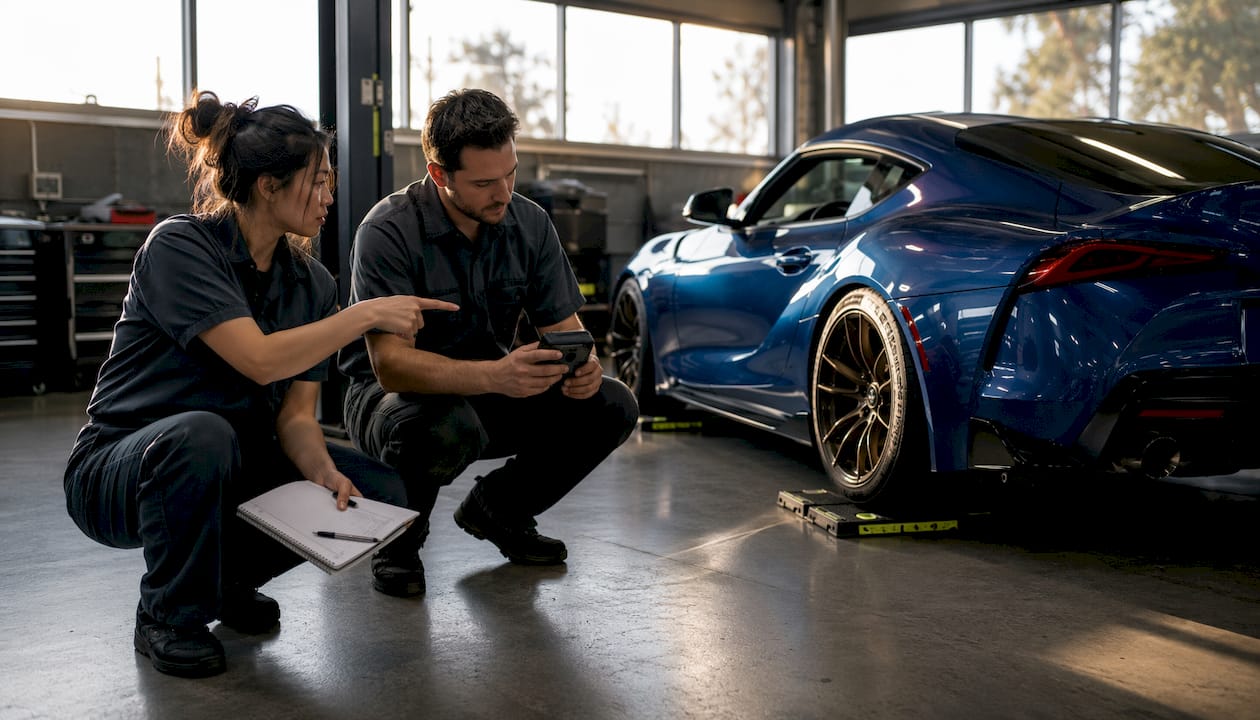
After corner balancing, go back to your damper settings. The car’s balance will feel different with correct corner weights, and your initial damper settings may need a few clicks of adjustment. Give yourself a few sessions of seat time before making large changes.
Key Takeaways
A90 Supra coilovers deliver real handling gains only when the full package is addressed: EDC compatibility, camber hardware, alignment, and corner balancing.
| Point | Details |
|---|---|
| Confirm EDC compatibility first | Every A90 kit needs a cancellation module or EDC bypass; skipping it triggers a service light. |
| Rear divorced layout adds complexity | The A90 rear spring sits separate from the damper; true rear coilover conversion requires extra work. |
| Camber hardware is not optional | Factory camber tops out around -1.5°; track alignments require aftermarket plates and adjustable arms. |
| Budget for the full setup | Coilovers plus alignment plus corner balancing delivers the handling improvement; coilovers alone do not. |
| Undergrounddynamics for A90 kits | The Undergrounddynamics suspension catalog carries A90-validated coilover packages with fitment specs and support. |
The case for getting the setup right the first time
Most of the frustration owners report with Supra coilovers comes from treating the upgrade as a single-part swap. Buy the coilovers, bolt them in, done. That approach consistently produces a car that rides worse than stock, triggers warning lights, and handles no better than a set of lowering springs would have.
The A90 is a sophisticated platform. The Monroe CVSAe adaptive system, the divorced rear layout, and the limited factory camber range all mean that a coilover upgrade has dependencies. Address EDC, add camber hardware, align the car properly, and corner balance it. That sequence is not complicated, but it does require planning and budget from the start.
What I find underappreciated is how much the valving validation matters. Because the A90 and BMW Z4 share a platform, some vendors assume Z4-tuned dampers will work correctly on the Supra. They often do not. Toyota Gazoo Racing’s factory calibration is different enough that A90-specific valving produces a noticeably better result. Ask your vendor directly whether the kit was validated on an A90 or carried over from a Z4 application. The answer tells you a lot about how seriously they take fitment.
Undergrounddynamics A90 coilover packages: where to buy
Skip the guesswork on fitment. Undergrounddynamics carries A90-validated coilover packages across street, street/track, and track-oriented configurations, each listed with real specs so you know what you are getting before it ships.
Kits in the catalog span the $1,000–$2,500 range depending on adjustability tier and damper architecture. Fitment support is available before you order: have your VIN, trim level, and EDC or non-EDC status ready when you reach out. Warranty and return policy details are listed on each product page.
Head to the Undergrounddynamics suspension catalog to browse A90 coilover options, check fitment notes, and request support. If you are building out a full Supra project, the performance parts category covers additional chassis upgrades beyond suspension.
Useful sources
| Source | What it covers |
|---|---|
| Autoblog: 2020 Toyota GR Supra Suspension Deep Dive | Detailed breakdown of the Monroe CVSAe adaptive damping system and A90 suspension architecture |
| Suspension Secrets: Top Supra Mk5 Suspension Upgrades | Camber limitations, control arm needs, and why springs alone are insufficient |
| SupraMKV Forum: Suspension Deep Dive | Community teardown documenting factory camber range and rear link geometry |
| SupraMKV Forum: Coilover Recommendations | Owner consensus on real-world kit performance and common issues |
| BC Racing ZX Series for A90 | Product specs including 3-way adjustability, rear divorced-layout notes, and rebuildability |
| Godspeed MAXX Coilovers for A90 | 40-level mono-tube kit specs; EDC service-light warning documentation |
| Penske Racing Shocks: Toyota Supra MKIV Package | Race-grade shock options for the A80 Supra; useful reference for MKIV owners |
| SPL Parts: Supra A90 Suspension Components | Adjustable control arms, camber plates, and geometry hardware for the A90/Z4 platform |
FAQ
Do A90 Supra coilovers require an EDC cancellation kit?
Yes, in most cases. The factory Monroe CVSAe adaptive damping system will trigger a dashboard service light when replaced with passive aftermarket dampers unless a cancellation or bypass module is installed alongside the kit.
What kind of suspension does the GR Supra have from the factory?
The A90 GR Supra uses electronically controlled adaptive dampers front and rear, with a divorced spring/damper layout at the rear where the spring sits separately from the shock.
How much HP can a stock A90 Supra handle?
The A90’s B58 engine is generally considered capable of handling moderate power increases on stock internals, but suspension upgrades like coilovers address chassis behavior rather than engine output limits. Consult a tuner for powertrain-specific thresholds.
Is the Supra faster than a Hellcat?
Stock A90 Supra and Hellcat performance figures vary by trim and conditions; the Supra’s advantage is handling and chassis balance rather than straight-line power, which is exactly where a coilover upgrade pays off most.
How long does a Supra coilover install take?
A professional shop typically completes a full A90 coilover swap in 3–5 hours, plus alignment time. Add 1–2 hours if camber plates or an EDC cancellation kit are installed at the same time.
Recommended
- Toyota Supra A90 Suspension Upgrades: 2026 Guide – Underground Dynamics
- Honda Civic Coilover Setup: A Complete DIY Guide – Underground Dynamics
- Dialing in Coilover Alignment Settings: A Builder’s Guide – Underground Dynamics
- What’s in a Full Coilover Kit: Complete 2026 Breakdown – Underground Dynamics