FREE SHIPPING ON ORDERS OVER $150

Cart
0
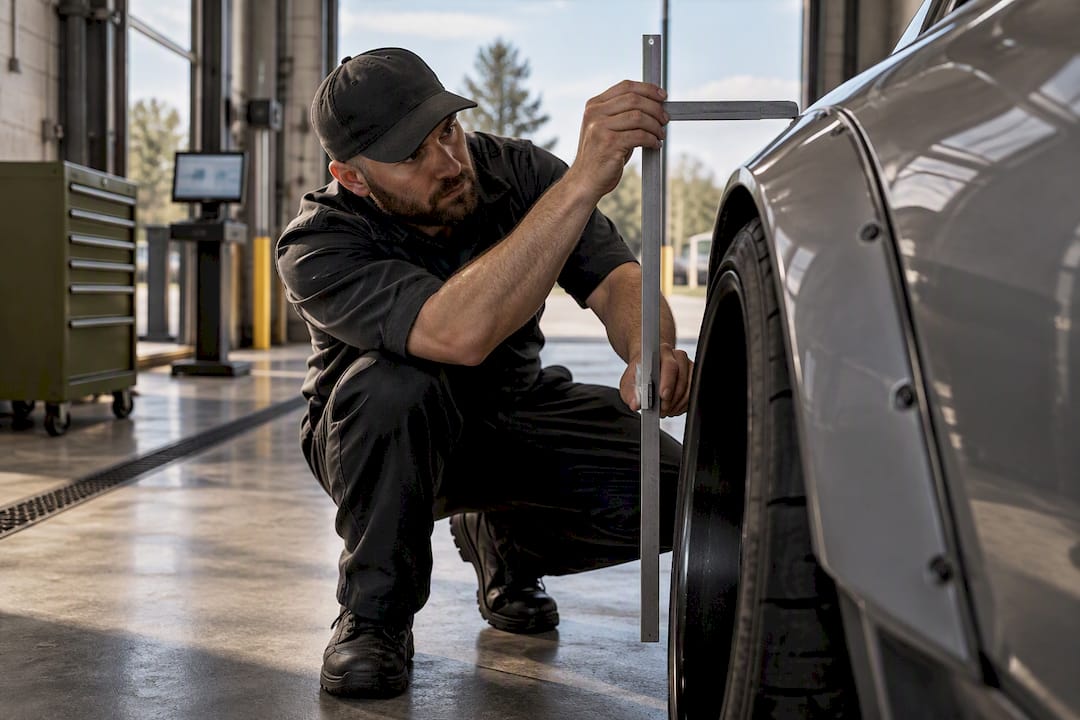
Most cosmetic and many structural automotive fiberglass repairs are fully DIY-feasible with basic shop tools. The short rule: use epoxy resin for structural bonds and through-laminate repairs where low shrinkage matters, and use polyester resin or gelcoat when you’re matching an existing gelcoat surface on a polyester substrate. Here’s how to decide before you touch a grinder:
- Surface-only crack or chip: gelcoat fill, color match, wet-sand, polish
- Through-laminate crack: epoxy resin plus backside reinforcement cloth
- Large cored section, soft core, or widespread delamination: call a professional
Pro Tip: Before mixing anything, press on the damaged area with your thumb. If it flexes or feels spongy, you’re dealing with laminate or core damage, not a cosmetic crack. That changes your entire material choice.
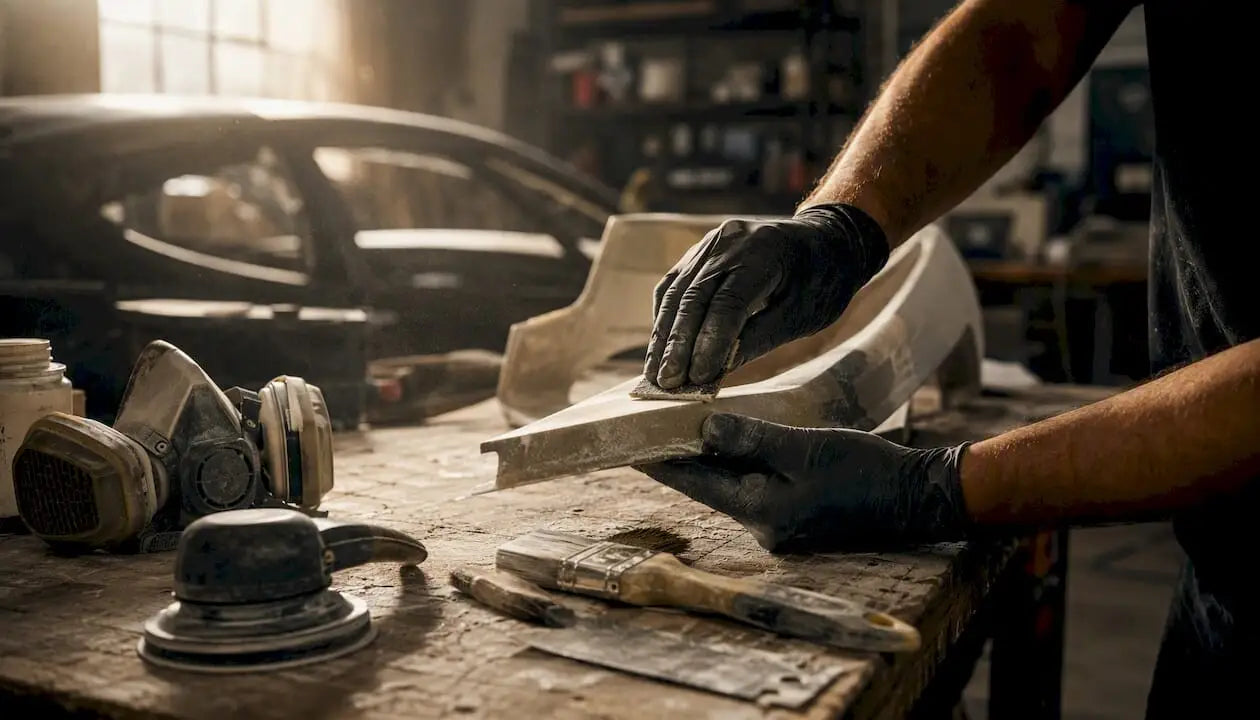
Safety is non-negotiable from the first cut. 3M’s respirator and abrasive guidance recommends a NIOSH-rated organic vapor respirator any time you’re sanding fiberglass or working with resin. Get that on your bench before you open a can.
Key Takeaways
| Point | Details |
|---|---|
| Assess flex before anything | Press the damage; sponginess or flex means laminate or core failure, not cosmetic repair. |
| Epoxy for structure, gelcoat for surface | Use epoxy on through-cracks and structural patches; reserve gelcoat for the final cosmetic layer. |
| Taper and reinforce the backside | Grind a 12× laminate-thickness taper and always patch the backside on through-cracks. |
| Wait 24 hours before sanding | Rushing cure on polyester or epoxy causes dimensional shift and repeat failures. |
| Undergrounddynamics for replacement panels | When repair cost exceeds replacement value, chassis-specific fiberglass body kits are available with fitment data at Undergrounddynamics. |
Table of Contents
- Which materials should you use for a fiberglass repair?
- What tools and safety gear do you actually need?
- Step-by-step repairs for the most common automotive scenarios
- How do you sand, fair, and finish a fiberglass repair?
- How long does a fiberglass repair take, and what does it cost?
- When should you call a pro instead of DIYing?
- Why you can trust this guide
- What the repair work actually teaches you
- When replacement beats repair
- Sources
- FAQ
Which materials should you use for a fiberglass repair?
Choosing the wrong resin is the most common reason a repair fails within a season. The three main options each have a specific role.
Epoxy resin bonds to almost any substrate, cures with minimal shrinkage, and produces a stronger laminate than polyester. West System’s technical documentation reports that polyester resin shrinks roughly 5%–8% during cure, while epoxy stays dimensionally stable. That gap matters on a structural patch: polyester shrinkage can reopen a seam you just closed.
Polyester resin is cheaper, widely available, and chemically compatible with existing polyester gelcoat. For a bumper or body kit panel that’s already polyester, it’s the right choice for cosmetic laminate work where you’ll finish with gelcoat anyway.
Gelcoat is a pigmented polyester surface coat, not a structural material. Use it as the final cosmetic layer over a cured laminate repair, not as filler.
Reinforcement types
- Woven cloth (4–6 oz): best for structural patches where tensile strength matters
- Chopped strand mat (CSM): conforms to curves, good for first and fill layers on bumpers and body kits
- Mat tape: ideal for narrow crack reinforcement on the backside of a panel
- Roving: high-build structural work; overkill for most automotive panels
Fillers and specialty materials
- Microballoons mixed with epoxy: lightweight, sandable fairing compound for contouring over a cured laminate
- Cabosil (fumed silica) mixed with epoxy: thickened paste for filling gaps and bonding core inserts
- Evercoat glazing putty: polyester-based, for pinholes and final surface prep before primer
- Peel ply: a release fabric laid over wet laminate; peels off after cure to leave a clean, bondable surface without sanding
What tools and safety gear do you actually need?
You don’t need a full body shop. You need the right tools set up before you start, because stopping mid-repair to find a mixing cup is how you get a botched laminate.
Core tools:
- Dremel or rotary tool with a cutting disc (for routing cracks and grinding tapers)
- Angle grinder or DA sander with 60–80 grit discs for shaping
- Sanding blocks for curved surfaces
- Mixing cups, stir sticks, and disposable brushes or foam rollers
- Scissors for cutting cloth and mat
- Plastic spreaders and a paddle roller for consolidating layers
- Clamps or tape for holding backing patches in position
- Heat lamp for controlled warm-cure in cool shops
Safety essentials:
- NIOSH-rated half-face respirator with organic vapor cartridges (add P100 particulate filters when grinding cured fiberglass)
- Nitrile gloves, changed frequently
- Safety glasses or a face shield
- Shop ventilation: open doors, a fan pushing air out, not in
Pro Tip: Remove the panel from the car whenever you can. Backside access is everything on a through-crack repair, and working on a bench beats contorting under a bumper every time.
Shop temperature and humidity affect cure. Below 60°F, pot life extends but cure slows significantly, and you risk a tacky, under-cured laminate.
Step-by-step repairs for the most common automotive scenarios
Hairline and spider cracks
Power & Motoryacht notes that spider cracks are sometimes gelcoat-only but can signal laminate or core failure underneath. Do the flex test first. If the panel moves, you have a laminate problem.
- Route each crack with a Dremel V-groove bit to open it to about 1/8 inch wide.
- Clean with acetone and a tack cloth.
- Fill with epoxy paste (Cabosil-thickened) or gelcoat for cosmetic-only cracks.
- Let cure fully, then sand flush starting at 220 grit.
- Apply gelcoat color match, cover with plastic film until cured, wet-sand 400 → 600, polish.
Small punctures and holes
TAP Plastics recommends tapering the repair perimeter at roughly 12 times the laminate thickness for proper adhesion and load distribution. On a typical 3mm automotive panel, that’s about a 36mm taper all around the hole.
- Grind a tapered bevel around the damage to solid laminate.
- Back the hole with a temporary cardboard or foam plug covered in release film.
- Layer mat/cloth from smallest to largest, wet-out each layer with resin, consolidate with a roller.
- Boatsuppliers’ layering guidance recommends 0.75–1.5 oz mats and allowing each layer to gel before adding the next to avoid exotherm on thicker builds.
- After full cure (24 hours minimum), sand, fair, and finish.
Through-laminate cracks and bumper repairs
The Resin Library’s bumper guide covers this workflow directly: remove the bumper, prep the backside, cut chopped strand mat to size, mix polyester resin with MEKP catalyst at the manufacturer’s ratio, wet-out the mat, consolidate with a paddle roller, and let it cure 24 hours before sanding.
For structural through-cracks, use epoxy instead of polyester on the backside reinforcement. Finish the front side only after the backside laminate is fully cured and solid.
Pro Tip: On bumper repairs, always reinforce the mounting tab areas with an extra layer of mat. That’s where flex stress concentrates, and it’s where repairs fail first.
Cored or waterlogged sections
Identify the core type (foam, balsa, or honeycomb) by drilling a small inspection hole. If the core is soft, crumbling, or wet, you need to remove it. Dry the area thoroughly, cut out the compromised core, replace with compatible closed-cell foam or a foam plug, bond with Cabosil-thickened epoxy, and rebuild the laminate in progressive layers. If the delamination covers more than a few square inches or the panel has a structural function, stop and consult a professional body shop. The Coach Works handles structural composite and collision repairs for situations that go beyond DIY scope.
How do you sand, fair, and finish a fiberglass repair?
A structurally solid repair that looks wrong will bother you every time you wash the car. Here’s the sequence that gets you to factory-like results.
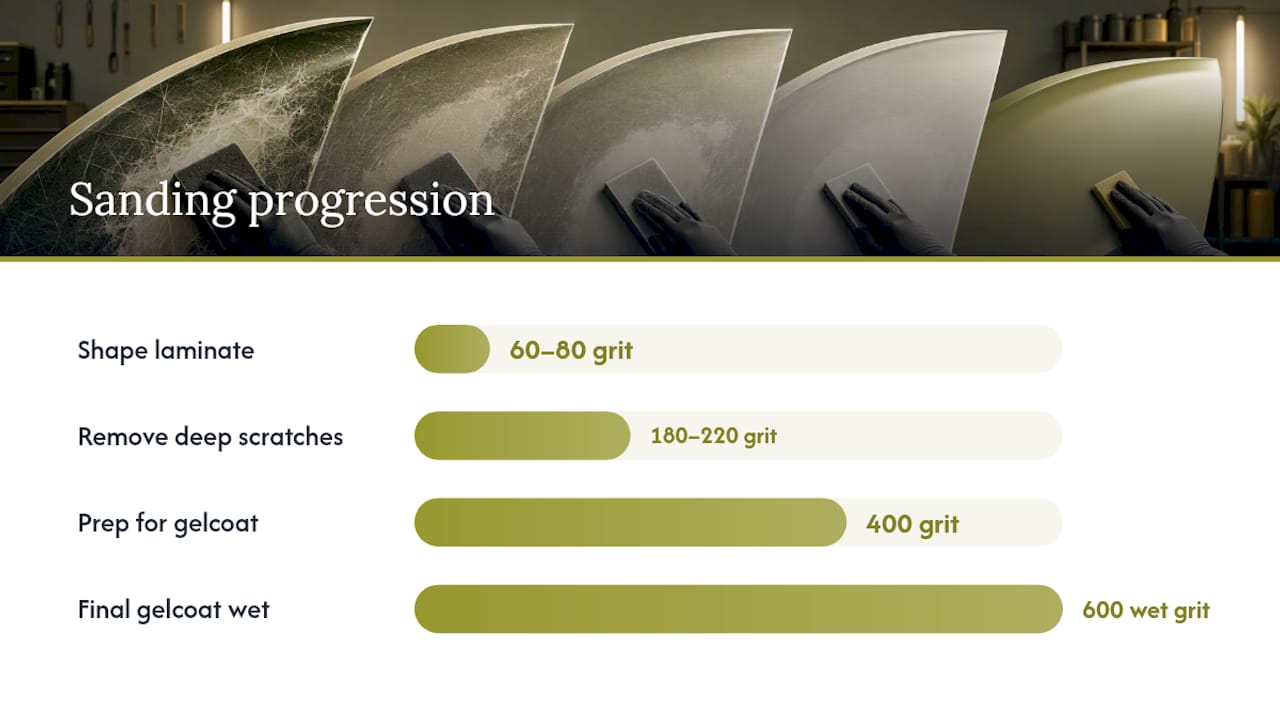
Sanding progression:
- 60–80 grit: shape the cured laminate flush with the surrounding surface
- 180–220 grit: remove deep scratches, establish final contour
- 400 grit: prep for gelcoat or primer
- 600 grit (wet): final gelcoat smoothing before polish
Use a DA sander on flat panels and a flexible sanding block on curves. Never sand dry gelcoat above 220 grit without water.
Fairing: mix microballoons into epoxy to a peanut-butter consistency for lightweight contouring over cured laminate. For polyester panels, Evercoat body filler works well for shaping, followed by Evercoat glazing putty for pinholes. Don’t skip the glazing putty step — pinholes telegraph through paint.
Gelcoat color match: mix small batches, test on a scrap piece, and use a temporary Mylar mold pressed over the repair to keep gelcoat from air-inhibiting on the surface. Cover with plastic film until fully cured, then wet-sand from 400 through 600 and buff with a polishing compound. For a truly precise color match on show cars, professional automotive painting is worth the cost.
Pro Tip: Wax the surrounding gelcoat before you apply fresh gelcoat. It makes cleanup easier and prevents the new gelcoat from bonding to areas you don’t want it.
How long does a fiberglass repair take, and what does it cost?
Polyester resin shrinks a notable amount during cure per West System technical data. Rushing a repair before full cure amplifies that dimensional change and often means doing the job twice.
Cure windows at 70–75°F:
- Polyester resin: tack-free in 30–60 minutes, sandable in 4–6 hours, fully cured in 24 hours
- Epoxy resin: tack-free in 1–4 hours depending on hardener, sandable in 8–12 hours, full structural strength at 24–72 hours
Realistic project timelines:
- Small gelcoat chip or hairline crack: 2–4 hours of work, 24 hours cure
- Bumper through-crack: half-day prep and laminate, 24–48 hours cure between layers
- Cored section rebuild: 2–4 days minimum across multiple cure cycles
Materials cost ranges:
- Small cosmetic repair (gelcoat, sandpaper, acetone): under $50
- Medium structural patch (epoxy, cloth, mat, filler, gelcoat): $50–$200
- Large cored rebuild (core material, epoxy, multiple cloth layers, fairing compound): $200+
Rushing cure time or skimping on laminate layers is the most expensive mistake in fiberglass work. You’ll spend more fixing the redo than you saved on materials.
When should you call a pro instead of DIYing?
Some repairs are genuinely beyond DIY scope. Knowing when to stop saves you money and keeps the car safe.
Call a professional when:
- The panel flexes or feels spongy under pressure (laminate or core failure)
- Delamination covers a large area or runs to a mounting point
- The panel has a structural or safety function (front crash structure, hood hinges, integrated brackets)
- You cannot access the backside for reinforcement
- Water intrusion has spread beyond the visible damage zone
- The core is wet and you can’t fully dry it in your shop environment
Common DIY mistakes that cause repeat failures:
- Stopping prep at the visible crack instead of grinding to sound laminate
- Using only body filler without rebuilding the laminate underneath
- Trapping air bubbles between layers (always roll out each layer)
- Sanding before full cure
- Poor edge feathering before primer, leaving a visible ridge
- Skipping the backside reinforcement on through-cracks
Quick risk check before you start: press the damage, check for flex, probe for sponginess, and look for water staining. If two or more of those are present, get a professional assessment first.
Why you can trust this guide
This guide draws on primary technical sources and practical build experience documented through Undergrounddynamics projects.
- Primary sources: West System Fibreglass Manual, TAP Plastics fiberglass repair guide, Power & Motoryacht spider crack repair, Boatsuppliers hull repair guide, and Resin Library bumper guide
- Author: Ismael, with hands-on build experience across multiple chassis documented in the Undergrounddynamics Projects blog
- Brand context: Undergrounddynamics works with fiberglass and carbon fiber aero panels daily, sourcing and fitting chassis-specific body kits, fenders, and hoods for enthusiast builds
Always cross-reference resin manufacturer technical sheets for catalyst ratios and pot life specific to your product and ambient temperature.
What the repair work actually teaches you
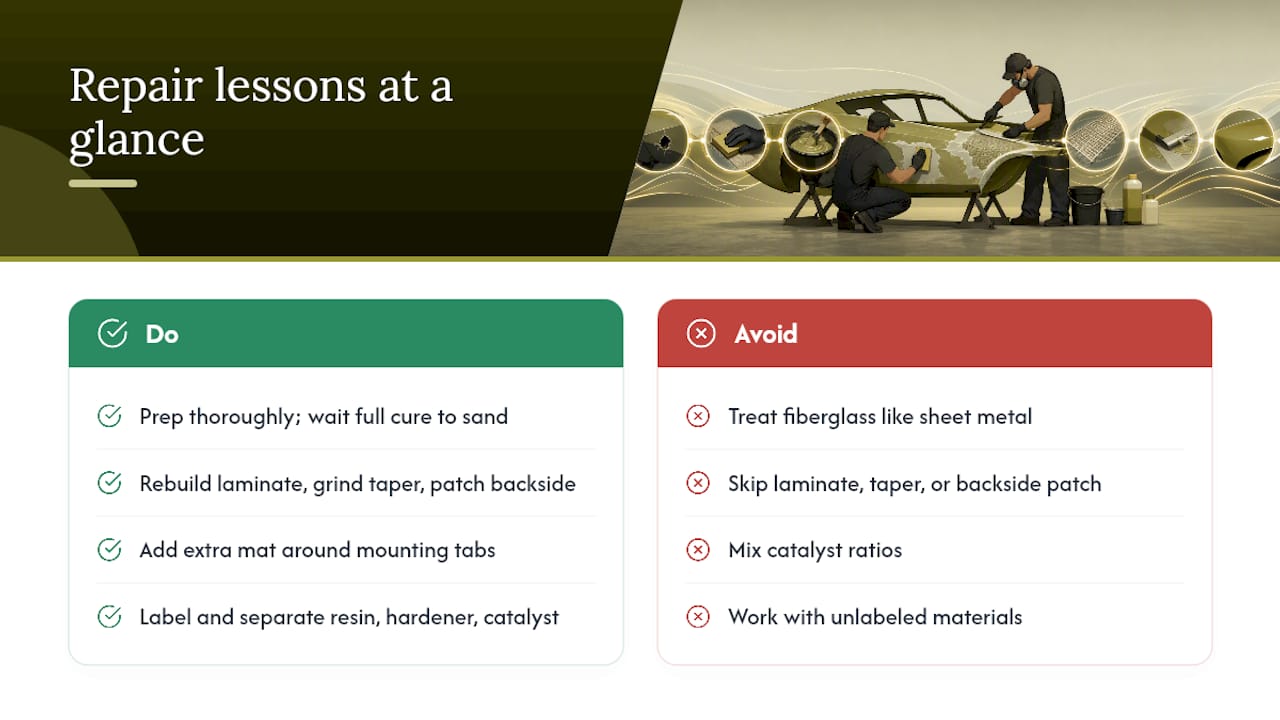
Fiberglass work rewards patience more than skill. The builders who get clean, lasting results aren’t necessarily the most experienced. They’re the ones who prep longer than feels necessary, wait for full cure before touching a sander, and reinforce the backside even when it’s inconvenient.
The most common mistake I see on body kit and bumper repairs is treating fiberglass like it’s sheet metal. You can’t just fill a crack and call it done. The laminate needs to be rebuilt, the taper needs to be ground, and the backside needs a patch. Skip any of those steps and the repair will flex open again within a few heat cycles.
On mounting tabs specifically: always add an extra layer of mat around every tab on a repaired bumper or body kit. That’s the stress point. That’s where the crack started in the first place. Reinforce it, and the repair outlasts the rest of the panel.
Shop organization matters more than most guides admit. Keep your resin, hardener, and catalyst clearly labeled and separated. A mixed-up catalyst ratio on polyester resin either won’t cure or will kick so fast you can’t work it. Set up your bench before you open anything.
When replacement beats repair
Sometimes the math just doesn’t work in repair’s favor. If a panel has extensive core rot, large missing sections, or damage that would require more than a day of laminate rebuilding, a replacement panel often costs less in total time and materials.
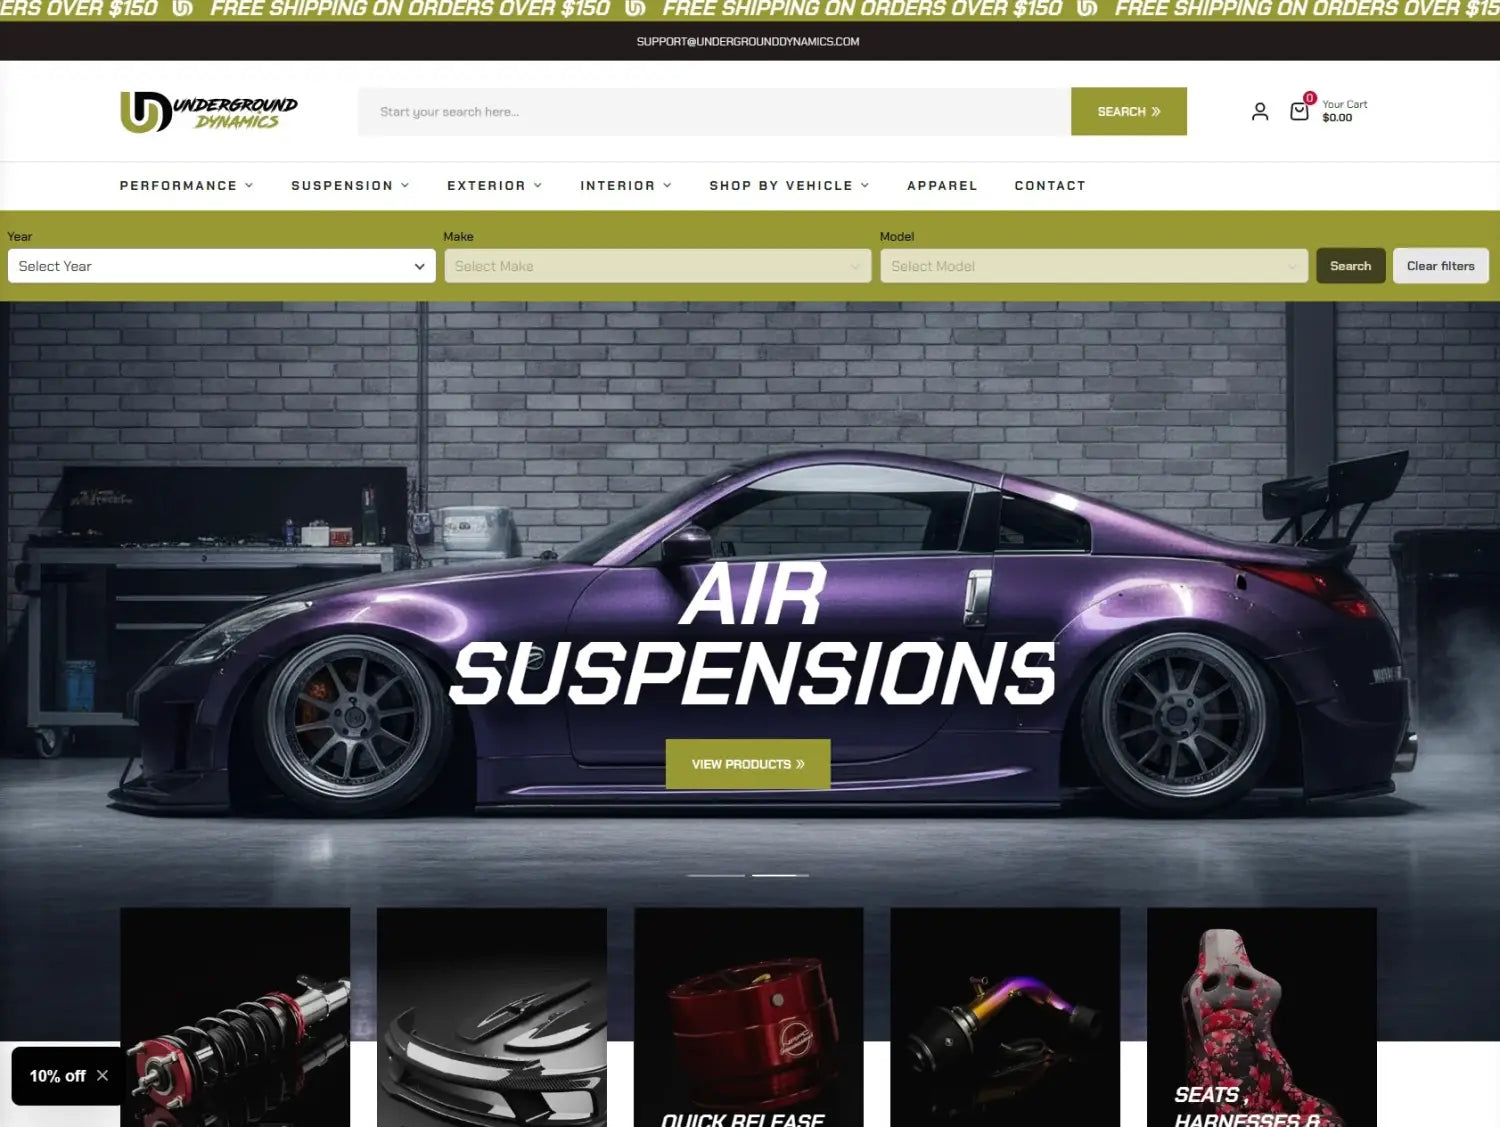
Undergrounddynamics carries chassis-specific fiberglass and carbon fiber body kits for popular enthusiast platforms including the Civic, BRZ, Supra, 350Z, Miata, Mustang, and more. Every listing includes fitment data so you’re not guessing on compatibility. If you’ve run the numbers on your repair and replacement makes more sense, browse the catalog and compare part cost against your projected repair materials and time. The fitment detail is there to make that decision straightforward.
Sources
The following primary references were used to build this guide. Each covers a specific aspect of fiberglass repair in more technical depth.
- Fibreglass-Manual-2015.pdf
- Fiberglass Crack Repair: Fix Stress & Spider Cracks Right
- Fiberglass Repair Guide : TAP Plastics
- How to Fix Fiberglass Crack: Complete Guide to Boat Hull Crack Repair
- Car Bumper: How To Repair With Fiberglass - Resin Library
Always consult your specific resin manufacturer’s technical data sheet for catalyst ratios, pot life, and cure temperatures before mixing.
FAQ
Can you repair fiberglass with just body filler?
Body filler alone won’t hold on a through-laminate crack. You need to rebuild the fiberglass laminate first, then use filler for surface contouring only.
What’s the difference between epoxy and polyester resin for car repairs?
Use epoxy for structural repairs and polyester when matching an existing polyester gelcoat substrate.
How long should you wait before sanding a fiberglass repair?
Wait at least 24 hours at 70–75°F before heavy sanding. Sanding too early disrupts the cure and can cause the repair to crack again.
When is a fiberglass repair beyond DIY scope?
Call a professional when the panel flexes under pressure, the core is soft or waterlogged, delamination is widespread, or you can’t access the backside for reinforcement.
Where can you get replacement fiberglass panels if repair isn’t worth it?
Undergrounddynamics carries chassis-specific fiberglass body kits for popular enthusiast platforms with detailed fitment data, making it straightforward to compare repair cost against a direct replacement.
Recommended
- Why Car Builders Choose Fiberglass for Custom Builds – Underground Dynamics
- Why Fiberglass Suits G35 Aero Builds: Builder’s Guide – Underground Dynamics
- Mazda Miata Body Kit: What Owners Need to Know – Underground Dynamics
- Underbody Aero Panels: What Performance Owners Need to Know – Underground Dynamics