FREE SHIPPING ON ORDERS OVER $150

Cart
0

Here’s the whole job in one sentence: test fit, mark, trim or roll, mount, tune the gaps, then verify. That’s the widebody fender fitment workflow, start to finish, and a competent DIYer with a clean garage can knock out a bolt-on kit in several hours, with paint and body work occurring separately thereafter.
- Time estimate: 8–12 hours mechanical install; 1–3 extra days if you’re painting or blending clear coat.
- Sequence: dry-fit → mark → trim/roll → mount (tape, adhesive, fasteners) → tune shut-lines → reinstall liners and wheels → corner-balance and align.
- Non-negotiable checks: door and trunk clearance, full-lock steering rub, full-compression rub, and a shut-line target of roughly 2 to 3 mm all the way around.
Skip any one of those checks and you’ll find out about it later, usually at a stoplight when your fender is grinding against a 275-width tire.
Key Takeaways
A successful widebody fender install depends on completing the dry-fit, marking, trimming, mounting, and alignment steps in order, without skipping the verification checks between them.
| Point | Details |
|---|---|
| Never skip the dry-fit | Clamp and test-fit every panel before drilling or bonding to catch gap and rub issues early. |
| Target a 2 to 3 mm shut-line | Consistent gaps side to side are what make the finished install look professional. |
| Roll before you cut | Rolling gains 5 to 15 mm of clearance without the permanent risk that cutting carries. |
| Budget the real timeline | Plan several hours for mechanical mounting, plus a 24-hour adhesive cure and separate paint time. |
| Realign after widening the track | Corner balance and a full alignment are required once wheel offset and track width change. |
| Choose chassis-specific kits | Underground Dynamics’ body kit catalog pairs fitment data with material options to reduce guesswork. |
Table of Contents
- Setting Up Your Tools and Workspace for a Widebody Fender Installation
- How Do You Verify a Widebody Kit Before Installing It?
- What Does the Dry-Fit Process Actually Look Like?
- How Do You Trim and Roll Fenders Without Ruining Them?
- Mounting Sequence: Tape, Adhesive, and Fasteners in the Right Order
- Why Wheel and Suspension Setup Changes After a Widebody
- Final Adjustments and Getting Ready for Paint
- What Are the Most Common Widebody Fitment Mistakes?
- Choosing the Right Fender Material for Your Build
- Get Chassis-Specific Kits and Fitment Support From Underground Dynamics
- Sources
- FAQ
Setting Up Your Tools and Workspace for a Widebody Fender Installation
You don’t need a body shop, but you do need more than a driveway and a prayer. Get everything laid out before the car goes on stands.
- Jack and a set of stands (a lift if you’ve got access to one)
- Socket set covering 10mm, 12mm, 13mm, and 15mm
- Trim pry tool set for clips and panel edges
- Drill with 1/8" and 3/16" bits
- Dremel or cutting wheel for fender trimming
- Heat gun for rolling lips and loosening adhesive bonds
- Rivet gun, clamps, and body-line masking tape
- Rivets, screws, and a fender roller
- Eye protection and cut-resistant gloves
Work in a clean, well-lit bay with room to walk a full circle around the car. Adhesives care about temperature, so aim for a shop between 65 and 80°F when you’re bonding panels.
Pro Tip: Before you touch a wrench, lay out every part from the kit on a tarp and photograph it next to the printed parts list. Missing a bracket on day one is annoying; discovering it’s missing after you’ve already trimmed a fender is a real problem.
How Do You Verify a Widebody Kit Before Installing It?
Every kit ships with a parts list. Match it exactly before you dry-fit anything.
- Left and right front flares, left and right rear flares
- Side skirt extensions and bumper extensions
- Full hardware pack and printed instructions
Check each panel for warping, flash lines, or an off color match if it’s gelcoat fiberglass. Confirm the material is what you ordered, since polypropylene, fiberglass, and carbon fiber each need different handling. Note whether the kit includes pre-drilled mounting holes or expects you to cut the factory fender first. Photograph every panel edge and mounting point now, before you’re deep into the dry-fit and can’t remember what the factory holes looked like.
What Does the Dry-Fit Process Actually Look Like?
This is where most of the workflow’s value gets created, and where most rookies rush. Test-fitting every piece before drilling or bonding anything is the single habit that separates a clean install from a fender that never quite sits right.
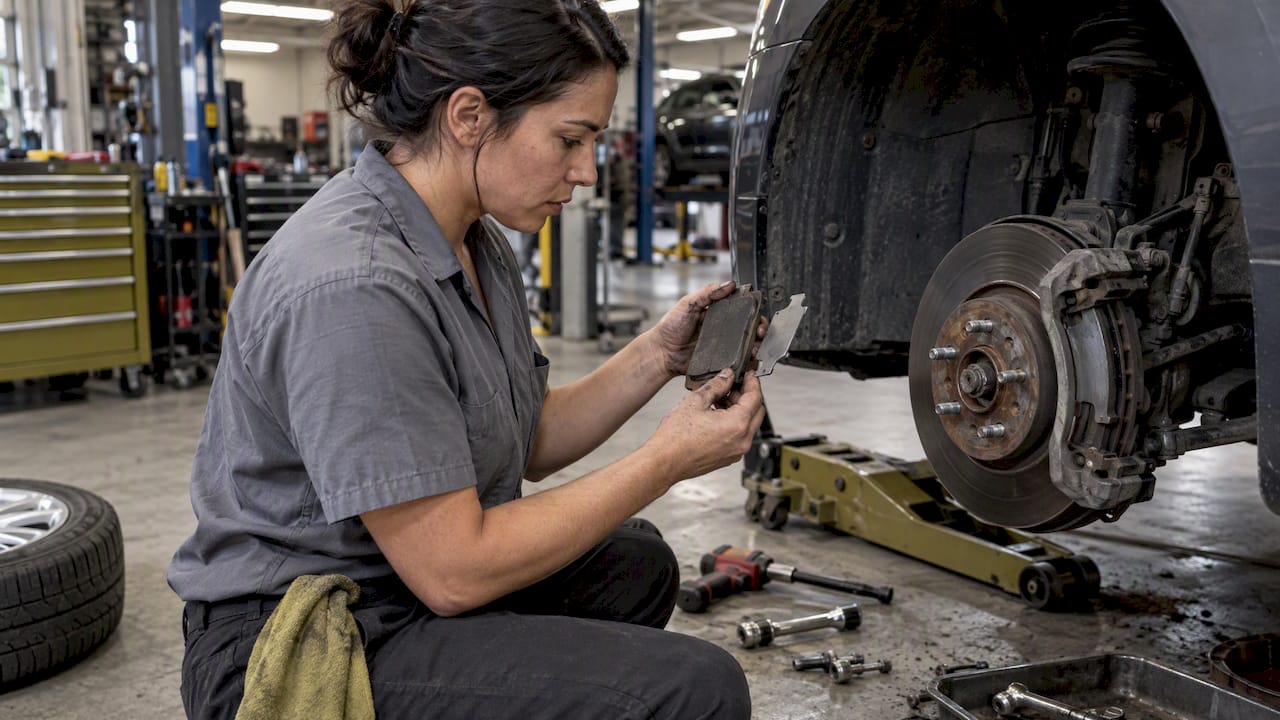
- Pull the wheels and remove the inner fender liners so you can see the mounting surface clearly.
- Position each panel loosely against the body, starting at one corner and working outward.
- Clamp or tape panels in place. Clecos work well if your kit has pre-drilled holes.
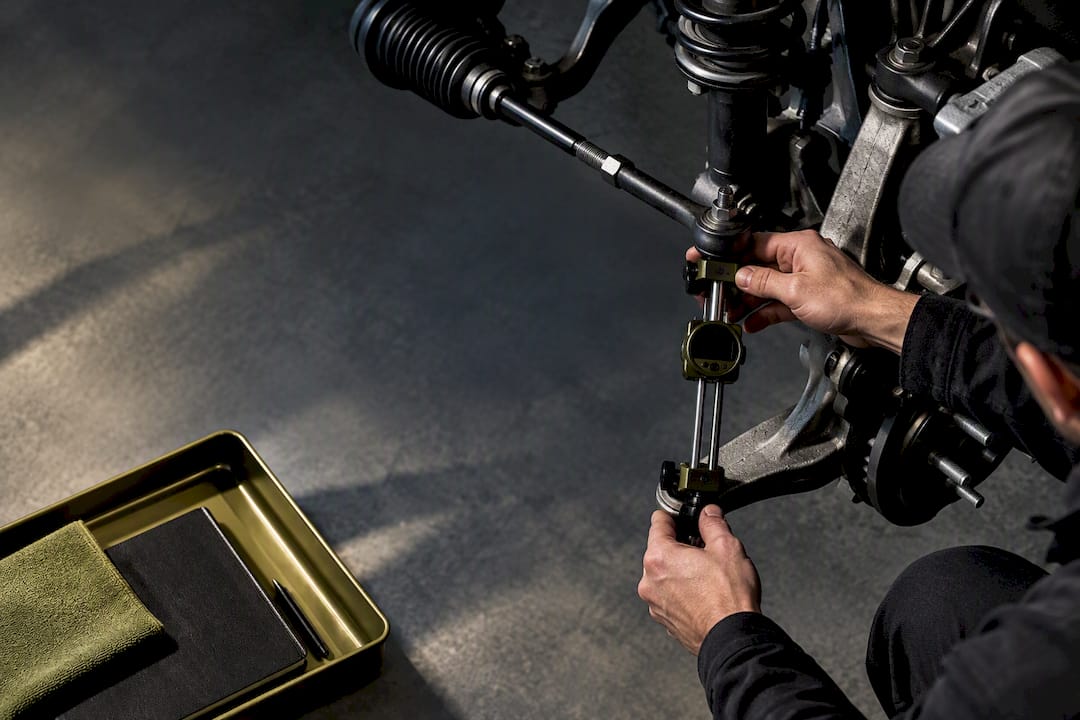
- Measure shut-lines with calipers or feeler gauges, comparing left side to right side for symmetry.
- Mark cut lines with body-line tape and mark drill points with a grease pencil, but don’t touch the drill yet.
Aim for a consistent 2 to 3 mm shut-line wherever the flare meets the factory panel. That number isn’t arbitrary. It’s roughly the gap that reads as intentional rather than sloppy once the car is painted and standing on its own wheels.
Shoot photos as you go: a full side profile, a tight shot of the door-to-fender gap, the wheel turned to full lock, and the suspension at simulated full compression. If you can mount the actual wheel and tire during this stage, do it. That single step catches rub problems before they become permanent mistakes.

How Do You Trim and Roll Fenders Without Ruining Them?
Cutting factory sheet metal is the point of no return in this whole process, so go slower than feels necessary.
- Clamp the kit panel in its final test-fit position.
- Mark a conservative cut line, leaving about half an inch of extra material as a buffer.
- Cut slowly with a Dremel or cutting wheel, checking fit frequently rather than cutting the whole line at once.
- Deburr and sand the cut edge smooth.
- Apply weld-through primer or a rust inhibitor to any exposed bare metal immediately, before it sees moisture.
Rolling is the gentler alternative to cutting, and it’s worth trying first if your clearance issue is marginal. Warm the lip to roughly 150 to 180°F with a heat gun, then run a fender roller over it in multiple light passes, reheating between passes. Done correctly, rolling typically buys you 5 to 15 mm of clearance without cracking paint.
Pulling the fender out is a more aggressive move, reserved for extreme offsets or wheels more than 2 inches wider per side than stock. It carries a real risk of paint cracking and permanent metal deformation, so treat it as a last resort rather than a default.
- Stamped steel fenders respond well to heat and rolling; composite panels usually don’t flex the same way and need to be trimmed rather than rolled.
- Always wear a respirator and eye protection when cutting; never point an open flame at painted surfaces.
Pro Tip: If you’re on the fence between rolling and cutting, roll first. You can always trim more material later. You can’t un-cut a fender.
Mounting Sequence: Tape, Adhesive, and Fasteners in the Right Order
Panels that shift while you’re bonding them produce uneven gaps that no amount of paint will hide. Fasten from the top center of the panel outward and downward, so pressure stays even as the material seats.
- Apply 3M double-sided tape along the mounting flange first. This holds position while the adhesive cures.
- Run a bead of panel-bond adhesive for continuous load distribution across the bonded surface.
- Drive rivets or self-tapping screws as mechanical backup, starting at the top center point and working outward in both directions.
- Stagger the rivet pattern rather than running it in a straight line, which spreads stress instead of concentrating it at one seam.
- Check behind every drill point for hidden wiring or liner clips before you commit to a hole.
For hardware: 3/16" rivets are common on most widebody kits, and stainless or coated fasteners resist corrosion better than bare steel. Use backing plates anywhere the panel is thin or unsupported. Hand-tight is the right torque for plastic components; over-torquing plastic mounting points is how you crack a $400 fender on installation day.
Panel adhesives typically need a full 24-hour cure window before the car goes back on the road. Keep clamps or tape in place for that entire window, even if the panel looks stable after a few hours.
Why Wheel and Suspension Setup Changes After a Widebody
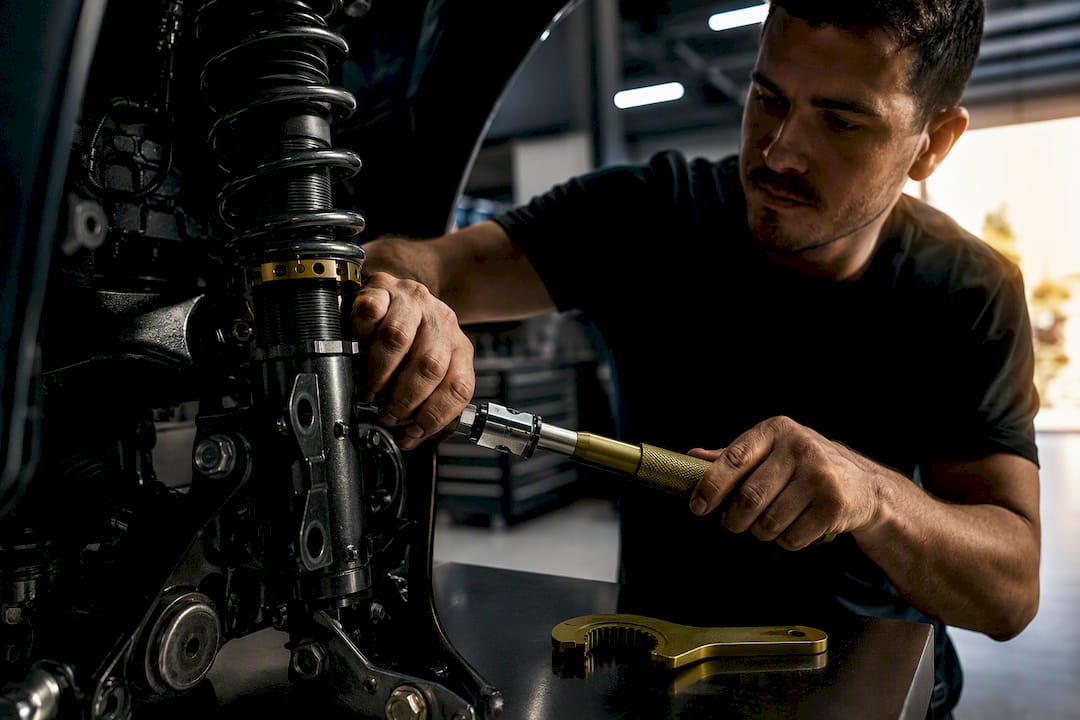
Widening the track isn’t just cosmetic. It shifts scrub radius, alters your camber curve, and throws off corner balance, which is why alignment isn’t optional after this kind of build.
- Test for rubbing at full steering lock and at full suspension compression, not just at rest.
- Measure the actual track width change and compare backspacing on your new wheel and tire package against the factory spec.
- Check brake caliper clearance against the inner wheel barrel. Wider wheels sometimes close that gap more than expected.
- Mount the exact wheel and tire combo you plan to run during the dry-fit stage, not a stand-in set, since offset differences of even a few millimeters change everything downstream.
A wheel-sizing and offset reference is worth checking before you order tires, not after. Once the fenders are mounted and cured, book a full alignment and corner balance. Camber and scrub radius both move when you widen the track, and skipping this step is how a great-looking widebody ends up with uneven tire wear six months later.
Pro Tip: Simulate compression by having a friend stand on the bumper corner while you check clearance. It’s crude, but it catches rub points that a static dry-fit misses completely.

Final Adjustments and Getting Ready for Paint
Before anything goes near a paint booth, walk the whole car and confirm the work holds up under real conditions.
- Recheck every fastener for torque, confirm shut-lines are even side to side, and verify door and trunk clearance one more time.
- Take the car for a short, low-speed test drive and listen for rattles or rubbing you didn’t catch on the lift.
- Reinstall inner liners, trimming them to match the new flare profile, and secure with factory clips plus a few extra fasteners where the new material extends past the original liner shape.
If a panel is binding slightly, a heat gun on low, held well back from the surface, can soften polypropylene just enough to relieve tension without warping it. Go easy. Overheating undoes the rolling work you already did.
- Sand and block-sand every transition between old panel and new flare.
- Apply a primer compatible with your kit material (polypropylene needs a flex additive; fiberglass doesn’t).
- Mask factory panels carefully.
- Plan for paint blending or on-car painting to match the existing clear coat rather than trying to spot-match a hard edge.
What Are the Most Common Widebody Fitment Mistakes?
Most botched widebody installs trace back to one of a handful of shortcuts.
- Skipping the dry-fit entirely and drilling straight from the box
- Overcutting the fender lip because the first cut “looked” too conservative
- Bonding adhesive to a dirty or oily surface, which leads to bond failure months later
- Rushing the adhesive cure window or repainting before the primer has fully set
If your gaps come out slightly uneven, loosen the fasteners on the tighter side and re-clamp before final tightening rather than forcing the panel. A cracked spot after rolling usually means the heat wasn’t even. Reheat and re-roll that section slowly rather than pushing harder with the roller.
Realistic time blocks: dry-fit runs 2 to 3 hours, trimming or rolling adds 1 to 3 hours, mechanical mounting takes 2 to 4 hours, and you need a full 24-hour cure window before hard use. Add paint and body work, and a full conversion can stretch to 20 to 40 hours on complex kits where bodywork makes up the majority of that time.

Choosing the Right Fender Material for Your Build
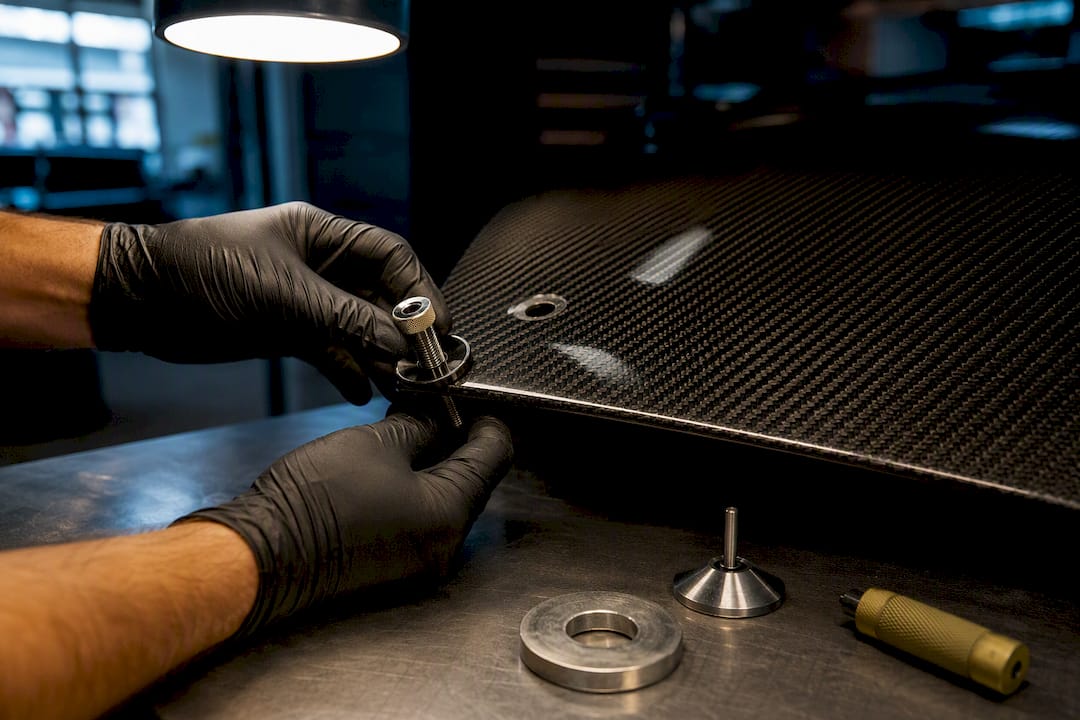
Polypropylene flexes, tolerates bolt-on tolerances well, and forgives minor fitment error better than rigid materials. It’s the forgiving choice for a first widebody build. Fiberglass holds a sharper factory line but demands careful handling since it cracks rather than flexes under stress, and it needs more paint prep to hide seams. Carbon fiber is the lightest and most premium option, but a cracked carbon flare is an expensive mistake, not a quick fiberglass patch job.
Kits built from 3D-scanned molds tend to need less trimming out of the box than budget kits designed off generic templates, which is worth factoring in before you commit to a cheaper option. Underground Dynamics’ chassis-specific fitment guides walk through material tradeoffs by platform if you want a deeper dive before ordering.
Pro Tip: When you’re torn between a bolt-on flare and a cut-fender kit, take the bolt-on route first. You can always cut later once you’ve confirmed symmetry and clearance on the car.
A Builder’s Honest Take on Widebody Fitment
Fitment varies more by chassis than most kit descriptions admit, and patience during the dry-fit is what separates a professional-looking result from something that reads as homemade from ten feet away. If your project calls for cut-fender work, clear coat blending, or you’re handling carbon fiber panels expensive enough to make a mistake painful, that’s the point where calling a body shop stops being overkill and starts being common sense.
Get Chassis-Specific Kits and Fitment Support From Underground Dynamics
Generic widebody kits force you to guess at gaps and improvise mounting points. Underground Dynamics builds its body kit catalog around chassis-specific fitment data, so you’re working from real measurements instead of trial and error on your own fender.
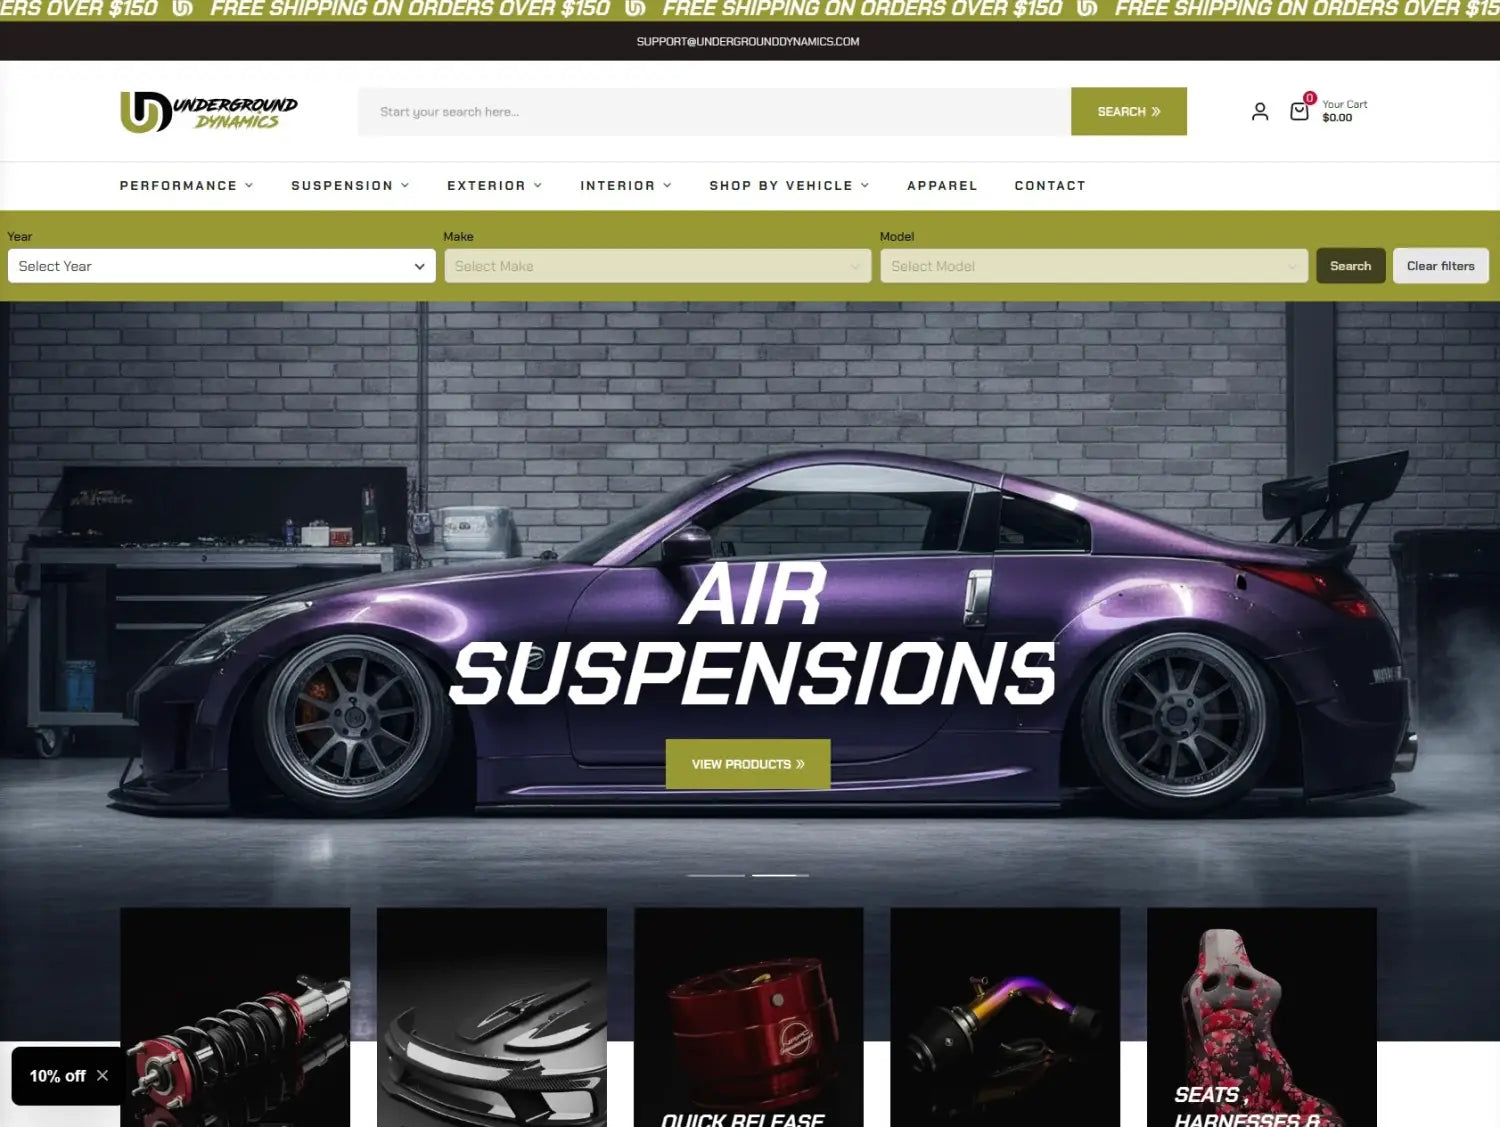
The catalog covers both fiberglass and carbon fiber options, each listed with the fitment specs and hardware you’ll need before you start cutting anything. Pair a widebody kit with the right suspension and alignment components to handle the wider track properly once your fenders are mounted. Browse the body kit lineup, check the fitment notes for your platform, and order the kit that matches your chassis before your next shop day.
Sources
- Fender rolling & modification guide: Making aggressive fitment work
- Automotive Refinishing Tips 2026: Pro Techniques That Last
- 2018-2019 Mustang widebody kit: how-to install guide
- Wheel Light Sizing Guide
FAQ
How Long Does a Widebody Fender Installation Take?
A bolt-on mechanical install runs several hours, with adhesive curing for 24 hours before heavy handling and paint work adding another 1 to 3 days.
What Shut-Line Gap Should I Target Between Panels?
Aim for a consistent 2 to 3 mm gap on both sides of the car, checked with calipers or feeler gauges during the dry-fit before any drilling happens.
Should I Roll or Cut My Fender for Wheel Clearance?
Roll first. It typically gains 5 to 15 mm of clearance without permanent risk, and cutting should only follow if rolling doesn’t get you enough room.
Do I Need an Alignment After Installing a Widebody Kit?
Yes. Widening the track changes camber and scrub radius, so a full alignment and corner balance are necessary once the new wheels and fenders are mounted.
Which Fender Material Is Easiest for a First Widebody Build?
Polypropylene tolerates minor fitment error and flexes rather than cracks, making it the more forgiving choice compared to fiberglass or carbon fiber for a first attempt.
Recommended
- Chassis-Specific Fitment Best Practices for DIY Builders – Underground Dynamics
- Why Car Builders Choose Fiberglass for Custom Builds – Underground Dynamics
- Side Skirt Extensions for Builders: Fit Install Buy – Underground Dynamics
- Underbody Aero Panels: What Performance Owners Need to Know – Underground Dynamics