FREE SHIPPING ON ORDERS OVER $150

Cart
0

Nail chassis-specific fitment best practices before you touch a drill: always dry-fit every panel first, torque suspension fasteners to spec with a calibrated torque wrench, replace every single-use self-locking nut, verify clearance at full steering lock and full suspension travel, then re-torque after the first 50–100 miles. Skip any one of those steps and you are looking at cracked fiberglass, pulled fasteners, or a car that eats tires. Undergrounddynamics publishes model-specific fitment notes with each product, and ChrisFix’s reassembly walkthroughs on YouTube are worth bookmarking before you start.
Key Takeaways
Chassis-specific fitment best practices require dry-fitting every panel, torquing to spec with a calibrated wrench, replacing single-use fasteners, and verifying clearance at full suspension travel before driving.
| Point | Details |
|---|---|
| Dry-fit before any cut | Clamp every panel and check symmetry, gaps, and clearance before drilling or trimming. |
| Torque wrench, not impact | Use a calibrated torque wrench for all final suspension and steering fasteners to protect seals and sleeves. |
| Replace single-use fasteners | Self-locking nuts, shear bolts, and crushed-lock washers must be replaced every time, not reused. |
| Verify at full travel | Check tire and panel clearance at full steering lock and full suspension droop before the first drive. |
| Undergrounddynamics fitment data | Model-specific torque notes, hardware lists, and install galleries are published on each product page. |
Table of Contents
- What chassis-specific fitment best practices actually look like in the garage
- Which fasteners are single-use and how to torque them correctly
- How to press ball joints, bushings, and bearings without wrecking them
- How to trim, seal, and attach body kit panels without stress cracks
- What tools and workspace setup actually matter
- How do you verify fitment and what does a DIY install actually cost?
- What to do when fitment goes wrong
- How Undergrounddynamics validates and documents fitment guidance
- The part most builders skip until it costs them
- Undergrounddynamics has the fitment data your build needs
- Sources
- FAQ
What chassis-specific fitment best practices actually look like in the garage
Skipping the dry-fit phase is the single most expensive mistake in body kit installation. It exposes alignment, symmetry, and clearance problems before you make any permanent modification. Here is the sequence that works.
Step-by-step dry-fit procedure:
- Park on a flat, level surface. Lift the car on jack stands if you need wheel clearance for wide-body panels.
- Remove wheels if the fender lip or rocker panel extends past the stock wheel arch.
- Unbox each panel and lay them out in order. Check for shipping damage before anything else.
- Clamp the first panel loosely using panel clamps or binder clips with foam padding. Do not drill.
- Check symmetry from the front and rear of the car using a tape measure. Record measurements from fixed datum points: door handle to fender edge, headlight corner to panel lip, rocker end to bumper edge.
- Mock up your actual wheel and tire combination. Spin the wheel to full lock in both directions and check for rubbing at the fender lip, inner liner, and any chassis brace.
- Compress the suspension through its full travel by hand or with a floor jack under the control arm. Confirm clearance at every extreme.
- Mark gap lines with masking tape. Photograph every panel from multiple angles before removing it.
Key measurement points to record:
- Door handle to front fender edge
- Headlight corner to front lip panel
- Rocker end to rear bumper edge
- Wheel centerline to fender lip (both sides)
Pro Tip: Use masking tape to mark the panel’s intended position on the car body before removing it. When you re-clamp for trimming, the tape lines give you a repeatable reference so symmetry doesn’t drift.
Which fasteners are single-use and how to torque them correctly
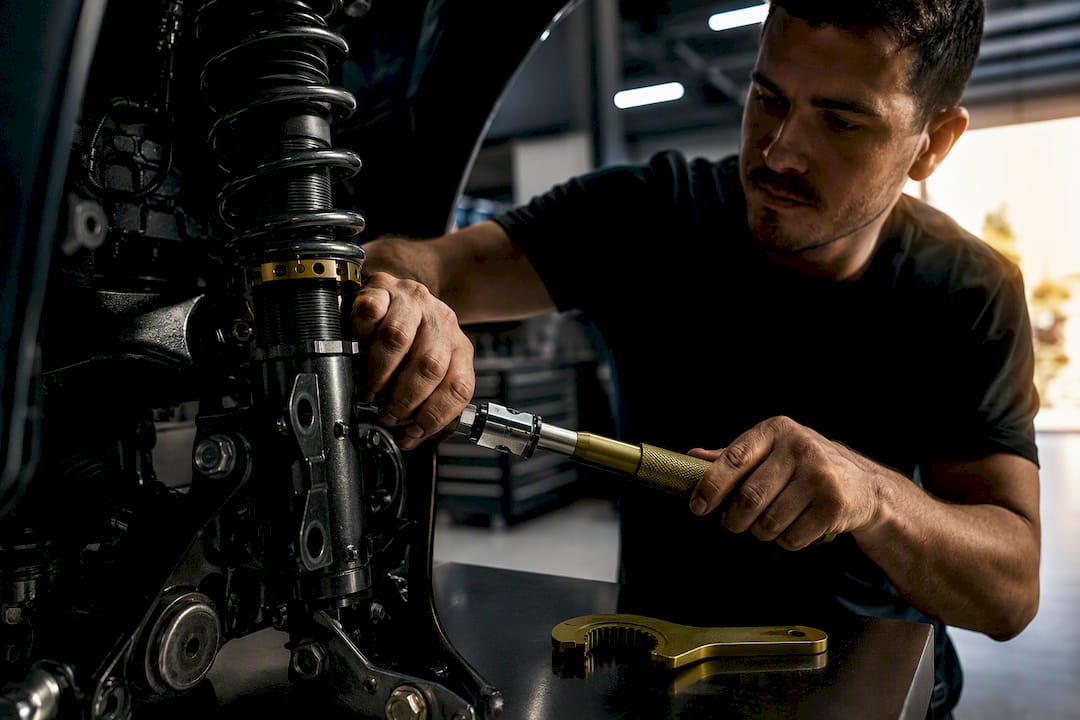
Use a torque wrench for every final suspension and steering fastener. An impact wrench gets you close, but it cannot tell you when you have hit spec, and the heat and friction it generates can damage seals and internal sleeves on shock absorbers and ball joints.

Steering and suspension fasteners with self-locking features are often designed for single use. Reusing them reduces locking effectiveness under vibration, which is how fasteners back out on the highway.
Replace these every time:
- Prevailing-torque (nylon-insert) locknuts on control arms, tie rods, and sway bar end links
- Shear-type bolts on subframe and differential mounts
- Crushed-lock washers on hub and bearing assemblies
- Any fastener that shows deformation, corrosion, or thread damage
Find torque specs in the factory service manual for your chassis, the part manufacturer’s installation sheet, or the Undergrounddynamics product page for that component. Torque in a star or cross sequence where multiple fasteners share a flange. Mark each bolt head with a paint pen after torquing so you can spot any rotation at the re-torque check.
Threadlocker vs. anti-seize: Use medium-strength threadlocker (blue, such as Loctite 243) on fasteners that see vibration but need to be removable, like body kit mounting screws and bracket bolts. Use anti-seize on aluminum-to-steel interfaces and exhaust hardware where galling and corrosion are the real risk. Never use anti-seize on fasteners that require a dry torque spec — it changes the friction coefficient and throws off the reading.
Pro Tip: Write the torque value and date on a small sticker inside the door jamb or on the strut tower. Future-you will thank present-you at the 100-mile re-torque check.
How to press ball joints, bushings, and bearings without wrecking them
Suspension reassembly requires hand tools for final torque and a proper press for any interference-fit component. Forcing a ball joint or wheel bearing in with a hammer destroys the seal and the sleeve before the part ever sees road load.
Safety first: Never use an impact wrench for final tightening of shock absorber or ball-joint fasteners. Professionals recommend a torque wrench to meet manufacturer-specified settings and protect internal seals. Wear eye protection during any press operation, and keep hands clear of the press ram.
Press-fit procedure:
- Clean mating surfaces with a wire brush and brake cleaner before pressing anything in.
- For tight-tolerance fits, place the new ball joint or bearing in a freezer for 30–60 minutes. The slight thermal contraction makes the press operation smoother and reduces the force needed.
- Grease the press tool threads before each operation to prevent galling and get accurate force feedback.
- Press squarely. If the part cocks to one side, stop, back out, and realign.
- Rent a hydraulic press from AutoZone, O’Reilly, or your local tool-rental shop rather than buying one for a single job. Hagerty’s front suspension reassembly guidance also recommends bolting the wheel on and lowering the car before final axle-nut torque to properly load the hub assembly.
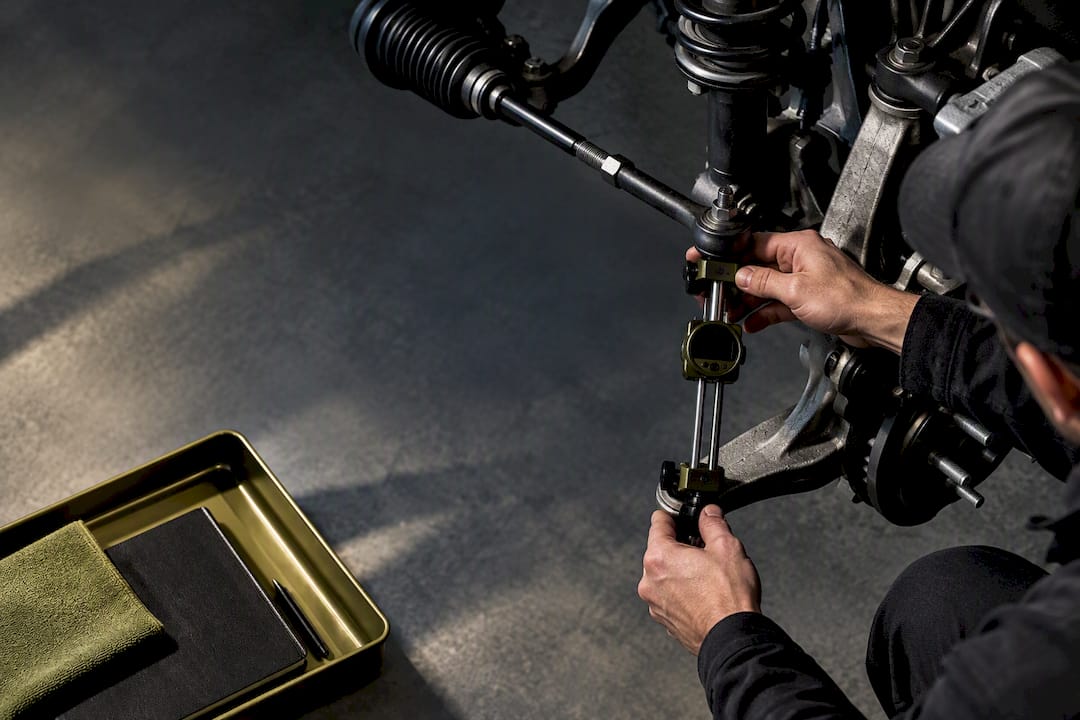
Tie-rod trick: When removing tie rods, count the exact number of turns it takes to unthread each one and write it down. Threading the replacement back in the same number of turns gets your toe close enough to drive safely to the alignment shop. Always get a professional four-wheel alignment after any suspension disassembly. ChrisFix’s suspension reassembly videos on YouTube walk through this sequence clearly if you want a visual reference.
How to trim, seal, and attach body kit panels without stress cracks
Factory-like results come from methodical trimming, gap verification, and choosing the right attachment method before you commit. Rushing a cut is how you end up with a $600 bumper that looks like it was installed with a chainsaw.
Mark your trim line with a fine-tip marker, then cut conservatively — remove less than you think you need and test fit again. Use 80-grit to remove material quickly, step to 120-grit to refine the edge, and finish with 220-grit before painting or bonding. Test fit after each grit change.
Attachment options by situation:
- Self-tapping screws with rubber washers: best for fiberglass panels on steel body work where flex is expected
- Rivets: use where screw access is limited and the panel is rigid enough not to crack around the hole
- Structural adhesive (3M 08115 or equivalent): use on wide-body fender flares bonded to painted surfaces; pair with mechanical fasteners on any panel longer than 18 inches
- Rubber spacers or foam tape: place between panel and body to prevent paint chipping and distribute clamping load
Prime all bare metal edges before final panel attachment. Apply seam sealant at any joint that could trap water, especially at the rocker-to-door-sill transition and the lower bumper-to-chassis interface. Corrosion starts at unsealed edges, not in the middle of panels.
Pro Tip: Do your final mock-up with the finished, painted part before drilling into any painted body panel. One extra dry-fit with the real part saves a repaint.
What tools and workspace setup actually matter
The right tools and a controlled workspace cut fitment rework significantly. You do not need a professional shop, but you do need a few non-negotiables.
Priority tool list:
- Calibrated click-type torque wrench (3/8" and 1/2" drive)
- Panel clamps and binder clips with foam padding
- Floor jack and four jack stands rated for your vehicle weight
- Variable-speed drill with step bits and hole saws
- Tape measure, straight edge, and digital calipers
- Masking tape and fine-tip paint markers
- Wire brush, brake cleaner, and surface prep solvent
- Hydraulic press (rent, don’t buy for one job)
Borrow or rent spring compressors and a ball-joint press rather than buying them. Specialty tools used once are a budget drain. Keep your workspace well-lit and free of clutter — a panel dropped on concrete from waist height can crack a fiberglass lip kit in half.
How do you verify fitment and what does a DIY install actually cost?
Verification has two phases: static checks before the car moves, and dynamic checks after the first drive.
Static checks:
- All gaps even and consistent at full steering lock (both directions)
- Hood, trunk, and doors open and close without binding
- No panel contact with tires or chassis at full suspension droop
- All sensors, cameras, and lighting unobstructed
Dynamic checks:
- Test drive at low speed; listen for rubbing, rattling, or scraping
- Re-torque all suspension fasteners after 50–100 miles
- Recheck panel gaps after the first heat cycle
| Install type | Estimated time | Notes |
|---|---|---|
| DIY beginner (body kit) | 8–16 hours | Includes dry-fit, trimming, and sealing cycles |
| Experienced DIY (suspension) | 4–8 hours | Assumes press rental and alignment visit |
| Professional shop (full kit) | 6 hours billed | Paint, alignment, and hardware extra |
Cost drivers for a DIY install:
- Press rental: $20–$50/day at most auto parts stores
- Professional alignment: $80–$150 at most shops
- Replacement fastener hardware: $15–$40 per axle
- Paint or primer for bare edges: $20–$60 in materials
Nearly 35% of aftermarket part returns are caused by fitment problems. Even parts marketed as direct-fit often need minor adjustment due to manufacturing variability. Budget time for at least two dry-fit cycles.
What to do when fitment goes wrong
Most fitment problems follow predictable patterns: gap asymmetry, tire rubbing at full lock, or fastener pull-through on thin fiberglass. Each has a standard fix.
Diagnostic steps:
- Re-measure all datum points from the dry-fit record. Identify which measurement has drifted.
- Remove the panel and re-seat it from scratch. Clamp order matters — start at the center, work outward.
- Swap in your mockup wheel and tire if rubbing is the issue. Confirm whether the problem is at the fender lip, inner liner, or chassis brace.
- Check whether the car is sitting level. A corner with a weak spring or a blown shock will change panel gaps.
Repair options by problem:
- Gap asymmetry: add or remove spacers behind mounting tabs; fabricate a small aluminum adapter bracket if the tab location is off
- Tire rubbing: roll the fender lip with a fender roller tool, or trim the inner liner conservatively
- Fastener pull-through: back the hole with a large-diameter washer or a backing plate bonded to the inside of the panel
- Persistent misalignment: involve a body shop for any modification that requires cutting structural sheet metal
Document every change. Label removed hardware with painter’s tape and a marker so reassembly is not a guessing game three weeks later.
How Undergrounddynamics validates and documents fitment guidance
Undergrounddynamics uses model-specific documentation to build fitment notes for each product in the catalog. Parts sourced from suppliers who use 3D scanning and measured jigs require significantly less trimming and rework than parts built from generic templates — a real difference when you are billing your own labor hours.
What the fitment documentation process covers:
- Model verification against specific chassis variants (trim level, year range, factory body style)
- Mock-up cycles with hardware lists and mounting point photos
- Torque notes and recommended alignment steps published with each product
- Installation galleries showing real-world fitment on target vehicles
The Suspension Tuning Checklist for Experienced Builders and the coilover alignment guide are two resources worth reading before any suspension install. Model-specific fitment notes are listed directly on each product page.
The part most builders skip until it costs them
The builders who get clean installs every time share one habit: they document obsessively and they never rush a cut. Measure twice, dry-fit once, write down every torque value and datum measurement before you remove a single bolt.
Budget for the alignment shop and the press rental from the start. Treating them as optional extras is how a weekend job turns into a three-week ordeal. If your build requires cutting structural sheet metal, welding fender flares, or modifying chassis mounting points, bring in a professional fabricator. The line between a DIY body kit install and structural modification is real, and crossing it without the right equipment and skills creates safety risk, not just cosmetic problems.
Undergrounddynamics has the fitment data your build needs
Spending hours hunting for torque specs and mounting dimensions across forums is a waste of seat time. Undergrounddynamics publishes model-specific fitment notes, hardware lists, and installation galleries directly on each product page — so you know what you are buying before the box arrives.
The body kits and aero catalog covers carbon fiber and fiberglass options for popular chassis including the Civic, BRZ, Supra, 350Z, Miata, Mustang, and more, with fitment notes that reflect real test-fit data rather than generic “fits most” descriptions. The suspension category pairs coilovers, air suspension, and lowering springs with the hardware specs and alignment recommendations you need to finish the job right. Browse the catalog, pull the fitment notes for your chassis, and start your build with real data in hand.
Sources
- Complete Widebody Kit Installation Guide: What to Expect
- Tips for Automotive Suspension Service
- Steering and suspension replacement tips
- Tips for reassembling front suspension
- Installation Challenges: Common Fitment Issues with Aftermarket Parts
FAQ
What is the first step in any chassis-specific fitment job?
Dry-fit every panel before making any permanent cut or drill. Clamping components temporarily lets you catch alignment, symmetry, and clearance issues without damaging parts.

Which fasteners must be replaced during a suspension install?
Self-locking (prevailing-torque) nuts, shear-type bolts, and crushed-lock washers are single-use hardware. Reusing them reduces clamping integrity under vibration.
Do I need a professional alignment after installing coilovers or replacing tie rods?
Yes. Any suspension disassembly that involves tie rods, control arms, or camber adjustments requires a four-wheel alignment at a shop before normal driving.
How long does a DIY body kit install typically take?
A beginner should budget 8–16 hours, including dry-fit cycles, trimming, and sealing. An experienced DIY builder handling suspension work can expect 4–8 hours, plus time at the alignment shop.
Where can I find torque specs and fitment notes for my specific chassis?
Check the factory service manual, the part manufacturer’s installation sheet, or the product page on Undergrounddynamics, which publishes torque notes and hardware lists for each suspension component.