FREE SHIPPING ON ORDERS OVER $150

Cart
0
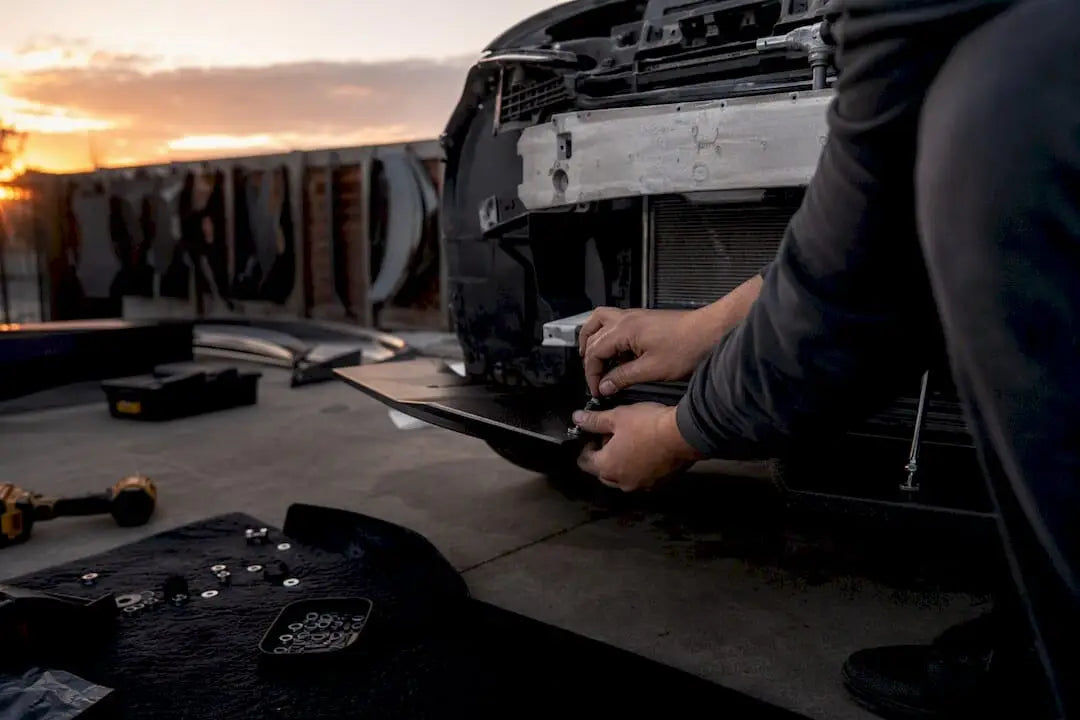
A sedan aero kit is a coordinated set of aerodynamic components engineered to work as a system, managing lift and improving high-speed stability. It only produces measurable performance benefits when the kit is engineered for your specific chassis and driven at the speeds where aerodynamics actually kicks in.
That last part trips up a lot of builders. A splitter, some canards, and a wing bolted onto a sedan don’t automatically make it faster or more stable. They make it look the part. Whether it acts the part depends on three things:
- Design intent — was this piece engineered for your chassis, or shaped to look aggressive on a shelf?
- System balance — does the front-end aero match what’s happening at the rear, or is one end fighting the other?
- Speed and use case — are you driving highway on-ramps and track days, or stop-and-go commuting where none of this matters?
Get those three right, and a sedan aero kit changes how your car feels at speed. Get them wrong, and you’ve spent real money on drag and ground clearance problems.
Key Takeaways
A sedan aero kit only delivers real performance benefits when its components are engineered together for a specific chassis and used at the speeds where aerodynamic forces actually matter.
| Point | Details |
|---|---|
| Engineered kits beat universal ones | Chassis-specific systems with sealed undertrays outperform generic bolt-on pieces designed mainly for looks. |
| Balance front and rear together | A rear wing without matching front-end aero can overload the rear and hurt front traction mid-corner. |
| Speed thresholds matter | Most aero benefits appear above roughly 60 to 75 mph; city driving rarely shows any measurable effect. |
| Fitment sheets beat product photos | Always request chassis-specific fitment data, mounting instructions, and test conditions before buying. |
| Underground Dynamics prioritizes fitment data | Its carbon fiber and fiberglass kits ship with chassis-specific spec sheets instead of generic universal-fit claims. |
Table of Contents
- What Is a Sedan Aero Kit Explained: Engineered Systems vs. Cosmetic Body Kits
- Common Aero Kit Components and What Each One Actually Does
- System-Level Aerodynamics: Why Balance Matters More Than Any Single Part
- When Aero Kits Actually Make a Difference: Speed Thresholds That Matter
- Materials, Fitment, and Installation: Getting the Engineering Right
- The Real Tradeoffs: Drag, Fuel Economy, and Clearance Problems
- How to Evaluate an Aero Kit Before You Buy
- Underground Dynamics’ Approach: Fitment Data Over Guesswork
- What Actually Matters When You’re Evaluating an Aero Kit
- Get Chassis-Specific Aero Instead of Guessing on Fitment
- Sources
- FAQ
What Is a Sedan Aero Kit Explained: Engineered Systems vs. Cosmetic Body Kits
Not everything sold as an “aero kit” deserves the name. The aftermarket splits into three rough categories, and knowing which one you’re looking at saves you from disappointment later.
- Full engineered kits. These are designed as a matched set, splitter, side skirts, undertray, diffuser, and rear device, built around one chassis and tested (ideally) as a system. The parts are meant to work together, not just sit next to each other.
- Lip and bolt-on kits. Individual pieces, often a front lip or rear spoiler, added piecemeal to an existing bumper or trunk without a full system behind them. These can help if chosen carefully, but they don’t carry the same guarantee of system-level benefit.
- Universal styling kits. Generic pieces designed to fit “most” cars with minimal chassis-specific engineering. These exist almost entirely for visual effect, and universal kits often increase drag with little or no aerodynamic benefit because they were never designed around your car’s specific airflow.
The difference between these three usually comes down to fitment work. A kit engineered for your exact platform accounts for your car’s stock airflow, ride height, and structural mounting points. A universal kit is guessing.
That distinction matters because “aero kit” gets used loosely online to describe anything from a $150 trunk spoiler to a $2,000 track-focused system with a sealed undertray. Chassis-specific fitment and design intent, track use versus show use, separate the two.
So who actually needs a functional kit versus a styling one? A few use cases justify going engineered:
- You’re running sustained highway speeds regularly and want more front-end confidence at 80+ mph.
- You track your car and need consistent, repeatable handling balance lap after lap.
- You’ve added meaningful power and your factory aerodynamics were never designed to handle the extra speed.
- You’re chasing lower lap times, where every bit of stability translates to confidence to carry more speed through a corner.
If none of that describes your driving, a lip kit chosen for looks isn’t a mistake. Just don’t expect it to change how the car handles.
Common Aero Kit Components and What Each One Actually Does
Every piece in a sedan aero kit has a specific aerodynamic job. Understanding what each one does helps you evaluate a kit instead of just admiring it.
- Front splitter or front lip. This extends the leading edge of the bumper forward and down, creating a pressure differential that reduces front-end lift. It’s one of the few single components that reliably moves the needle on stability, and front splitters paired with underbody sealing are among the most cost-effective upgrades you can buy for highway confidence.
- Canards. Small winglets mounted near the front corners that shape local airflow entering a turn. They generate a small amount of front downforce right where you need it most: corner entry, when the front tires are asking for grip while braking.
- Side skirts. These extend down along the rockers to seal the gap between the underbody and the ground, keeping high-pressure air from the sides from sneaking underneath and disrupting the low-pressure channel your undertray and diffuser are trying to maintain.
- Undertray or belly pan. A flat panel bolted beneath the car that smooths out the mess of exhaust components, subframes, and suspension arms living under there. Turbulent underbody air kills diffuser performance before it starts, so the undertray’s job is making that airflow predictable.
- Diffuser. Mounted at the rear underbody, it expands the accelerated air exiting from beneath the car, which lowers pressure underneath and creates suction that pulls the rear of the car down. This only works if the undertray feeding it is doing its job.
- Spoiler vs. wing. A spoiler typically manages airflow separation off the trunk lid and can reduce drag or lift with minimal downforce. A wing, mounted on risers above the trunk in cleaner airflow, generates real downforce and is often adjustable for angle of attack. They’re not interchangeable terms, despite how often people use them that way.
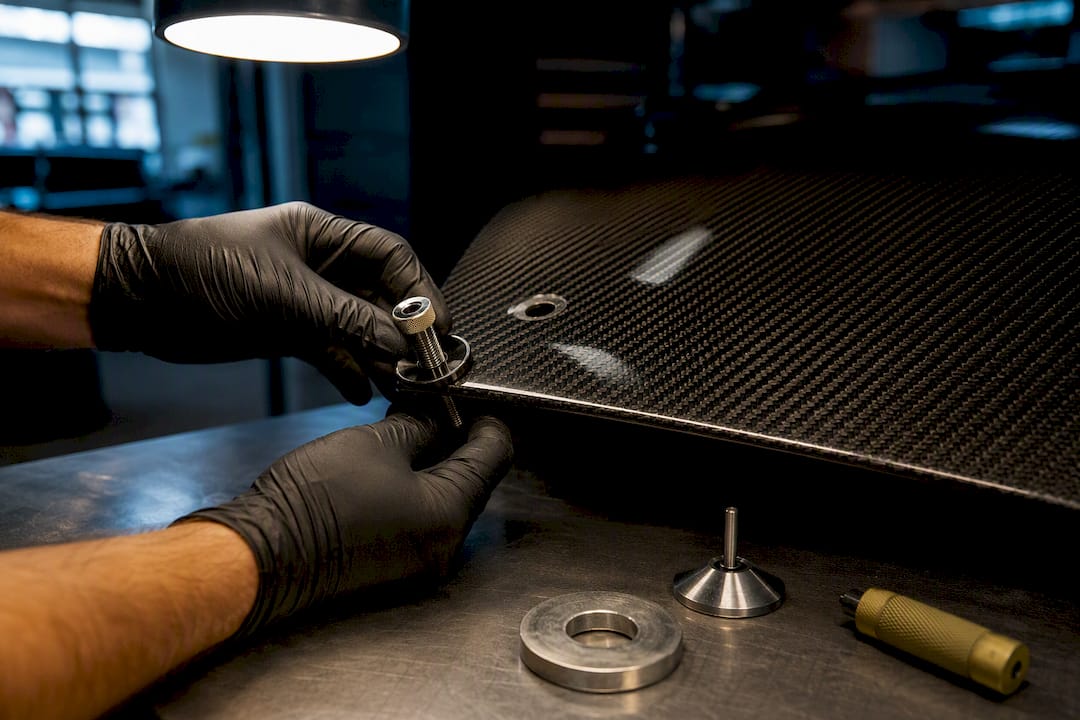
- Mounting hardware. Pedestal height determines how far into clean airflow a wing sits, and location affects how much leverage it has on the chassis. Cheap or undersized hardware can flex under load, which quietly erodes whatever downforce the wing was supposed to generate.
Pro Tip: If you can only afford one piece to start, the front splitter with a sealed underbody connection tends to deliver more real-world stability per dollar than a rear wing bought in isolation.
System-Level Aerodynamics: Why Balance Matters More Than Any Single Part
A sedan aero kit lives or dies on balance, not on any individual component’s spec sheet. Front and rear downforce have to work in proportion to each other, or you end up with a car that handles worse than stock.
Here’s the airflow chain in order: air hits the front splitter, gets managed by the undertray as it travels beneath the car, and exits through the diffuser before interacting with whatever’s happening at the rear, spoiler or wing. Each stage depends on the one before it. A front splitter paired with a sealed undertray and diffuser is one of the few combinations that reliably improves highway-speed stability, while an isolated rear wing bolted onto an otherwise stock front end often does more harm than good.
Why? Because downforce that isn’t balanced front-to-rear changes how the car rotates. A big rear wing without matching front-end work loads the rear tires with grip while the front stays neutral or lifts slightly at speed. That imbalance can overload the rear and reduce front traction, which shows up as a car that understeers into a corner, then snaps into unexpected oversteer once you’re past the apex and the rear grip advantage disappears.
A few practical signs your car’s aero balance might be off:
- The car feels stable braking into a corner but nervous on exit.
- High-speed straight-line stability is fine, but mid-corner confidence doesn’t match it.
- You added a rear wing and the car got twitchier under trail braking, not more composed.
- Front tire wear is uneven compared to the rear despite normal alignment.
Adjustment tradeoffs come into play here too. A wing set to a steeper angle of attack generates more downforce, but it also adds more drag, which costs you top speed and, over time, fuel economy. Pedestal height changes how much of that downforce transfers to the chassis versus how much gets lost to turbulent air closer to the trunk deck. None of these settings exist in a vacuum. Every adjustment at the rear should be considered against what the front end is doing, and vice versa.
For a deeper look at how this balance plays out specifically on lighter platforms, our builder’s guide on small sports car aero walks through the same principles in more detail.
When Aero Kits Actually Make a Difference: Speed Thresholds That Matter
Aerodynamic forces scale with the square of speed, which is the single most important fact in this entire conversation. Drive around town at 35 mph and even the best-engineered aero kit is doing almost nothing for you. It’s dead weight with a nice paint job at that point.
Wings and spoilers generally start producing noticeable downforce above roughly 60 mph, with many aftermarket components showing meaningful aerodynamic changes closer to 60 to 75 mph. Below that range, you’re mostly just adding drag and weight without getting the tradeoff back in stability.

That threshold is exactly why highway driving and track use are where aero kits earn their keep, and why city driving almost never shows a benefit. On-ramp merges at 70 mph, sustained highway cruising, and track corners taken at higher speeds are the scenarios where a properly engineered splitter and diffuser combination actually changes how the car feels.
Two things shift that threshold lower in practice, meaning you’ll feel benefits sooner:
- Added power. A car making 400 horsepower reaches those aero-relevant speeds faster and holds them longer, so the aerodynamic benefit becomes relevant more often in your actual driving.
- Wider or stickier tires. More mechanical grip means you can carry more speed into and through a corner, which puts you into the speed range where aero starts contributing meaningfully to that grip.
A practical example: a 300 horsepower sedan doing occasional highway trips at 75 mph will notice a splitter-and-undertray combination smoothing out high-speed steering feel. The same car doing nothing but 25 mph neighborhood errands won’t notice a thing, no matter how good the kit is.
Materials, Fitment, and Installation: Getting the Engineering Right
Choosing a material isn’t just about looks or budget. It affects weight, stiffness, and how well the part actually does its aerodynamic job once it’s on the car.
- Carbon fiber. Light and stiff, which matters for wings and splitters that need to hold their shape and angle under aerodynamic load at speed. It costs more, and repairs after a curb strike or track incident tend to be pricier than other materials.
- Fiberglass (GRP). More affordable and easier to repair after damage, though it’s heavier and slightly less rigid than carbon under sustained load. Fiberglass remains a common choice for builders balancing cost against performance, especially for street-driven cars that see occasional curb contact.
- PU (polyurethane). Flexible and impact-resistant, often used on daily-driven cars where a slight bump shouldn’t mean a cracked bumper. It flexes under aero load at higher speeds, though, which can undermine the precision an engineered splitter or wing is trying to achieve.
Material choice only matters if the fitment is right. A splitter that doesn’t seal properly against the bumper lets high-pressure air sneak underneath, undermining the whole point of the undertray and diffuser system downstream. For a sealed undertray and diffuser system to work, the undertray needs to reduce underbody turbulence and the diffuser needs enough length and angle for that accelerated airflow to reattach properly. A short, shallow diffuser paired with a leaky undertray does almost nothing, no matter how good the individual parts look on paper.
Mounting reinforcement matters just as much. Wings need pedestals rated for the loads they’ll see at speed, and splitters need support that won’t flex or crack against road debris. Ride height changes the geometry your kit was designed around, so lowering your car after installing a splitter can change how air hits it and how much ground clearance you have left to work with.
The most common installation mistakes that quietly kill aero performance: skipping gap sealing between the splitter and bumper, mounting a diffuser at the wrong angle relative to the undertray, and installing a wing on undersized hardware that flexes under load. Every one of those mistakes is invisible from a photo, which is exactly why fitment sheets and installation instructions matter more than product photos when you’re shopping.
The Real Tradeoffs: Drag, Fuel Economy, and Clearance Problems
More downforce almost always means more drag. That’s not a flaw in the engineering, it’s physics. A wing generating meaningful downforce is also pushing against the air harder than a flat trunk lid would, which can cost you top speed and, over sustained highway driving, a measurable hit to fuel economy.
For a daily-driven sedan, that tradeoff shows up in a few concrete ways:
- Ground clearance. A front splitter that looks great in photos might scrape on speed bumps, steep driveways, or parking curbs you never thought twice about before.
- Durability. Lower splitters and side skirts take more road debris hits than stock bumpers, and repair costs add up over years of daily use.
- Inspection and roadworthiness. Some regions restrict how far aftermarket body components can extend beyond stock dimensions, so it’s worth checking local vehicle inspection rules before committing to an aggressive splitter or wide-body setup.
- Handling risk from poor design. A poorly engineered kit that adds rear downforce without front balance can genuinely make a car less predictable at speed, the opposite of what most buyers are chasing.
None of this means aero kits are a bad idea. It means the “more aero equals better” assumption doesn’t hold up once you account for what a daily driver actually needs versus what a dedicated track car needs. A splitter that’s perfect for weekend track days might be a constant headache on your regular commute.
How to Evaluate an Aero Kit Before You Buy
Most buying mistakes in this category come from judging a kit by photos instead of by evidence. A short checklist fixes that.
- Ask for CFD or wind-tunnel data, including the test conditions. Manufacturers who invest in wind-tunnel or CFD testing produce parts with documented aerodynamic effects, while cheaper kits often rely on visual design alone. No testing doesn’t automatically mean a bad part, but it raises how much scrutiny you should apply before buying.
- Request a fitment sheet specific to your chassis, not a generic “fits most sedans” claim. Mounting instructions and ride-height requirements should be spelled out, not left for you to figure out during install.
- Check material specs and warranty coverage. Know whether you’re getting carbon, fiberglass, or PU, and what happens if a piece cracks within the first year.
- Look for documented case studies or measured results, even informal ones, rather than relying on marketing copy alone.
- Prioritize suspension and brakes before aero if you’re driving mostly on the street. A realistic buyer checklist puts fitment sheets, installation requirements, and available test data ahead of photos every time, and for street-driven cars, better coilovers or lowering springs often deliver more noticeable handling improvement per dollar than aero does below track speeds.
Pro Tip: If a product page shows a wind-tunnel photo but no actual numbers, that’s marketing, not engineering. Ask for the delta, drag coefficient change, downforce figure, whatever they measured, not just the picture of the smoke trail.
Modified bumpers and splitters can also sit close to sensors used for driver assistance systems on newer sedans. If your car relies on forward radar or cameras integrated into the bumper, it’s worth understanding how aftermarket body modifications can affect ADAS calibration before you install anything that changes that area’s geometry.
Underground Dynamics’ Approach: Fitment Data Over Guesswork
Underground Dynamics sells chassis-specific aero parts in carbon fiber and fiberglass, built around the fitment-first philosophy this whole article has been arguing for. Every kit in the catalog comes with fitment and spec data attached, not a generic “universal fit” claim that leaves you guessing until install day.
That matters because the biggest theme running through everything above is that aero only works when the parts were engineered for your specific chassis. A few resources worth bookmarking as you plan a build:
- The full aero package builder’s guide walks through what a complete, matched system looks like versus buying pieces one at a time.
- The small sports car aero guide covers how these same balance principles apply to lighter platforms where weight distribution changes the math slightly.
If you’re comparing kits across brands, ask each one for the same things: fitment sheets for your exact chassis, testing data where available, and clear installation requirements. That standard doesn’t change whether you’re buying from Underground Dynamics or anyone else, it’s just the bar a genuinely engineered kit should clear.
What Actually Matters When You’re Evaluating an Aero Kit
Most advice on this topic treats aero kits as a single purchase decision: buy the kit, bolt it on, done. That framing undersells how much this is a systems problem, not a shopping problem. The research keeps circling back to the same point: individual parts don’t produce results, matched systems do.
The conventional wisdom that “any aero helps at speed” falls apart once you look at what happens when a rear wing gets added without front-end work. It’s not a neutral upgrade, it can actively make the car less predictable. That’s the nuance most buyers miss when they’re chasing a look instead of a function.
If you’re building for the street, prioritize suspension and fitment data before you chase downforce numbers. If you’re building for the track, insist on chassis-specific engineering and ask hard questions about testing before you spend money on anything with a wing attached to it.
Get Chassis-Specific Aero Instead of Guessing on Fitment
Underground Dynamics sells chassis-specific aero and performance parts built around the same fitment-first standard this guide has been pushing for: no generic “universal fit” claims, no guessing whether a splitter clears your bumper.
Every kit in the catalog is available in carbon fiber or fiberglass, with fitment data attached so you know what you’re buying before it ships. If you’ve decided your build needs a real splitter, sealed undertray, or matched rear device rather than a single styling piece, start by browsing the body kit catalog for your chassis. And if the research above convinced you that suspension work should come first for street-driven performance, the coilover and lowering spring lineup is worth checking before you spend a dollar on aero.
Sources
For readers who want to dig deeper into the mechanics covered here, these sources informed the technical claims in this guide:
- Car Aerodynamics - Body Kits, Wings, Spoilers - Tech - Super Street
- Aerodynamic Body Kit 2026: What It Really Does and How to Choose
- Engineerskill
FAQ
What Is an Aero Kit in a Car?
An aero kit is a set of components, typically a splitter, side skirts, undertray, diffuser, and a spoiler or wing, engineered to manage airflow around and under a car to reduce lift or generate downforce at speed.
What Does an Aero Kit Actually Do?
A well-engineered aero kit manages the pressure zones around your car so the front and rear stay balanced at speed, improving stability rather than just adding visual flair.
What Does “Aero” Mean on a Car?
“Aero” refers to aerodynamic components and modifications that change how air flows around, under, or over a vehicle, affecting drag, lift, and downforce.
What Are the Disadvantages of a Body Kit?
Aero body kits typically add drag, which can reduce top speed and fuel economy, and lower splitters or side skirts often reduce ground clearance and increase the risk of scraping on speed bumps or curbs. Poorly designed kits without front-to-rear balance can also make handling less predictable rather than more stable.
Do Aero Kits Work at Normal Driving Speeds?
Not really. Most aerodynamic effects become noticeable above roughly 60 to 75 mph, so a kit that feels great on the highway will do almost nothing during typical city driving.