FREE SHIPPING ON ORDERS OVER $150

Cart
0
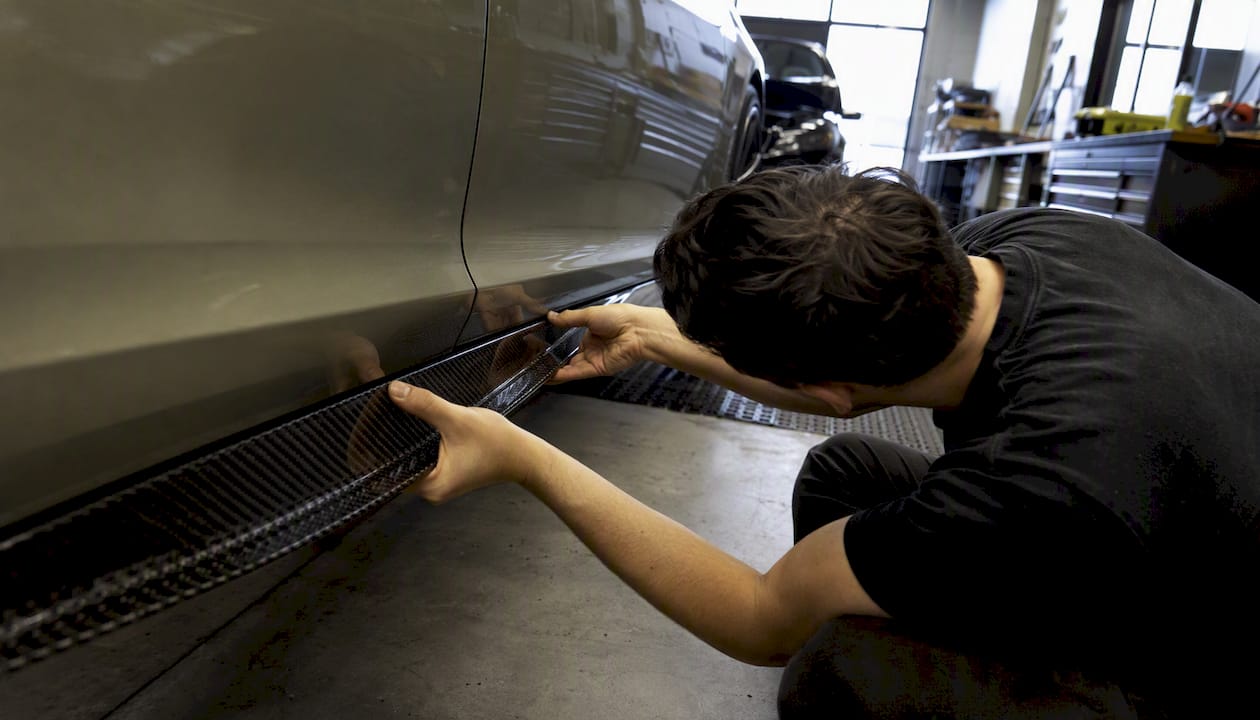
Buy vehicle-specific bolt-on side skirt extensions when you want a clean, factory-level fit with minimal prep work. Go universal cut-to-fit when you’re working with a tight budget or a less common chassis that doesn’t have a dedicated listing yet. Either way, the rocker panel gets protection, the stance gets sharper, and the aero gets a real functional upgrade.
Quick buy paths:
- Vehicle-specific bolt-on: Best for popular platforms (Civic, BRZ, 350Z, Miata, Supra, Mustang). Uses factory mounting points, no cutting required, and typically ships primed or painted. Start at the body kits catalog to filter by your make and model.
- Universal cut-to-fit: Best for budget builds, custom setups, or chassis with limited model-specific options. Comes as a long blank panel you trim to length and attach with adhesive or screws. More work, but more flexibility.
Key Takeaways
Vehicle-specific bolt-on side skirt extensions deliver the cleanest fit and fastest install for popular enthusiast platforms; universal cut-to-fit panels work best when no bolt-on option exists for your chassis.
| Point | Details |
|---|---|
| Fitment type first | Choose vehicle-specific bolt-on for popular platforms; use universal cut-to-fit only when no bolt-on listing exists. |
| Measure before ordering | Take three measurements: rocker length, rocker height to ground, and door gap clearance, before selecting a panel. |
| Match material to use case | PU for daily drivers, fiberglass for paint-match builds, carbon fiber for track and show cars. |
| Install flush and sealed | Use 3M VHB tape plus mechanical fasteners, and seal the top edge with butyl tape to prevent gaps and water intrusion. |
| Undergrounddynamics | Offers vehicle-specific fiberglass and carbon fiber side skirt extensions with real fitment data for popular enthusiast platforms. |
Table of Contents
- What are side skirt extensions, and which type fits your build?
- Undergrounddynamics side skirt extension options: materials and specs
- How do polyurethane, fiberglass, and carbon fiber compare?
- How to measure your car for the right fit
- How to install side skirt extensions: bolt-on and cut-to-fit
- What do side skirt extensions cost, and what should you expect on delivery?
- Keeping your extensions in good shape after installation
- A builder’s honest take on side skirt extensions
- Undergrounddynamics: carbon fiber and fiberglass side skirts for your build
- Sources
- FAQ
What are side skirt extensions, and which type fits your build?
Side skirt extensions are aerodynamic panels mounted along the lower edge of the car body, between the front and rear wheel arches. They reduce underbody turbulence, cut drag along the rocker area, and protect the sill from road debris. The industry term you’ll see on product pages is “rocker panel extensions” or simply “side skirts,” used interchangeably with side skirt extensions depending on the vendor.
The two fitment categories work very differently in practice.
Universal cut-to-fit panels ship as a single long piece per side. A standard universal polyurethane extension comes in a size suitable for trimming to fit most vehicles, typically around two meters in length with a narrow width and slight projection from the body. You trim it to your car’s rocker length, then attach with double-sided tape, clips, or screws. The upside is price and flexibility. The downside is that trimming, aligning, and finishing the cut ends takes time and some skill.
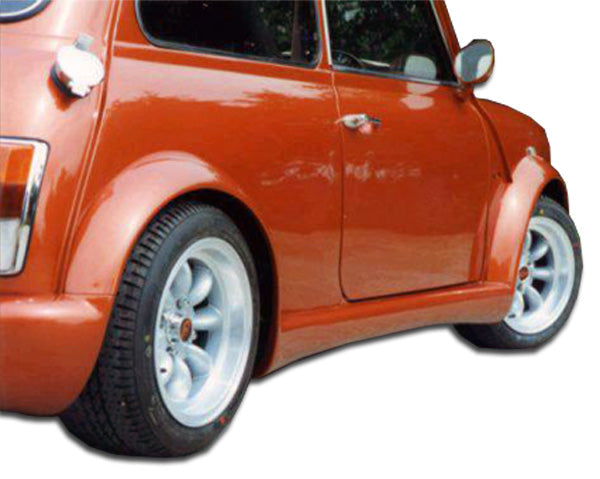
Vehicle-specific bolt-on panels are engineered for a named year/make/model. They use factory mounting points for a no-drill, no-cut install, and they arrive shaped to match the body line exactly. Air Design’s vehicle-specific skirts, for example, are built around factory hole patterns so alignment is essentially built into the part.
| Feature | Universal cut-to-fit | Vehicle-specific bolt-on |
|---|---|---|
| Fitment | Trim to length, adhesive/screws | Factory mounting points, no cutting |
| Finish options | Usually unpainted | Primed, painted, or raw |
| Installation difficulty | Moderate to high | Low to moderate |
| Price range | Lower | Mid to premium |
| Flexibility | Any chassis | Named year/make/model only |
| Best for | Budget builds, custom setups | Clean finish, popular platforms |
Pro Tip: Pick fitment type before you pick material. If your car has a vehicle-specific listing, start there. Universal only makes sense when no bolt-on option exists for your chassis, or when you’re building something one-off.
Undergrounddynamics side skirt extension options: materials and specs
Undergrounddynamics carries side skirt extensions in fiberglass and carbon fiber, sourced from established composite suppliers and listed with chassis-specific fitment data. Here’s how the two main material variants break down:
Fiberglass side skirt extensions
- Fitment: Vehicle-specific bolt-on for popular platforms
- Material: Composite fiberglass layup
- Finish: Unpainted/primed (ready for body shop color match)
- Installation: Moderate; standard hand tools, some panel adhesive
- Typical lead time: Varies by SKU; check individual product listing
- Best for: Daily drivers and builds where you plan to paint-match to OEM color
Carbon fiber side skirt extensions
- Fitment: Vehicle-specific bolt-on
- Material: Woven carbon fiber composite
- Finish: Clear-coated exposed weave or painted
- Installation: Moderate; same hardware approach as fiberglass
- Typical lead time: Varies; made-to-order SKUs run longer
- Best for: Track builds, show cars, or any setup where weight and visual impact both matter
Before ordering, check the project gallery for customer fitment photos on your specific platform. Matching your car’s rocker line to a gallery image is the fastest way to confirm the extension sits flush rather than floating or tucking too far under.
Fitment photo callout: If you’re on a less common submodel or a modified chassis with aftermarket fenders, reach out before ordering. Customer photos and post-install notes are often the most reliable confirmation for edge-case fitment, especially on model-year variants with subtle body differences.
How do polyurethane, fiberglass, and carbon fiber compare?
Material choice affects how the part installs, how it survives daily use, and how much prep work you’ll do before it looks finished. Here’s the practical breakdown:
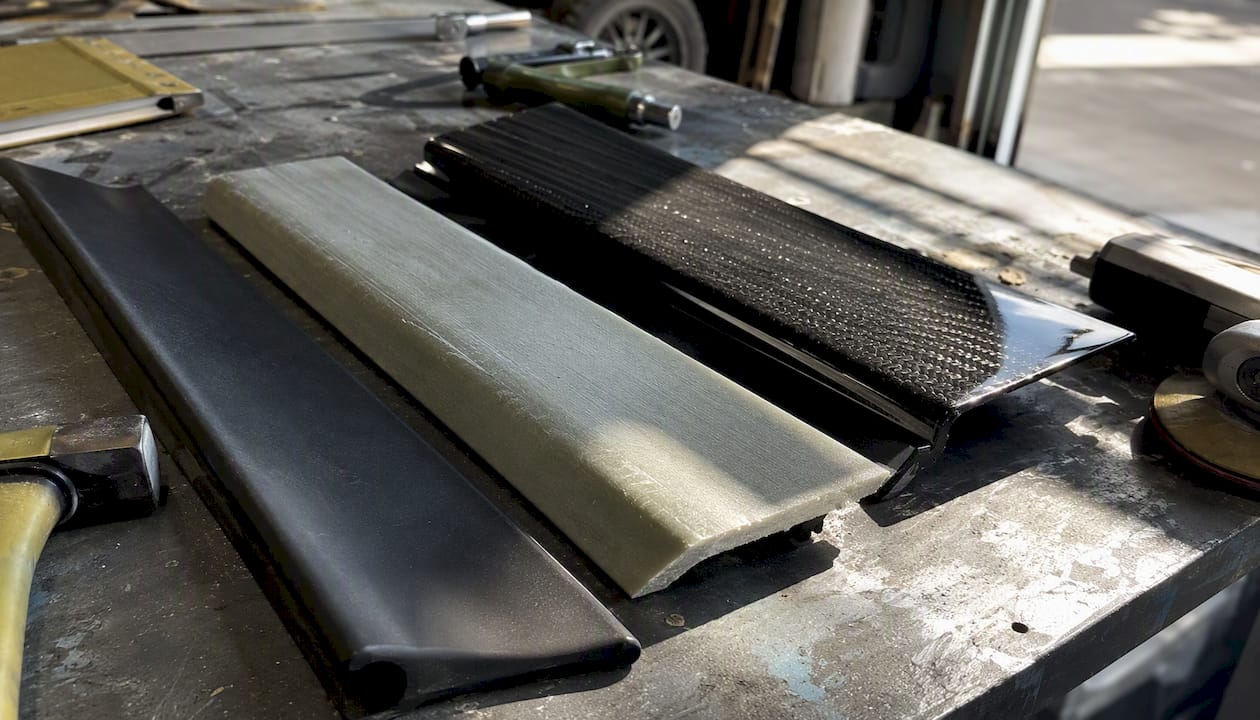
Polyurethane (PU): Flexible and impact-resistant. PU panels absorb minor curb scrapes and parking lot taps without cracking. They’re the go-to for daily drivers and anyone running a lowered street car where ground clearance is marginal. Paint adhesion requires proper prep (scuff, adhesion promoter, flexible paint), but the material itself is forgiving.
Fiberglass: Rigid, easy to repair, and straightforward to paint. A fiberglass panel bonds well with body filler and standard automotive primers, which makes color-matching at a body shop simpler than with flexible materials. The trade-off is brittleness at impact points. A hard curb strike can crack fiberglass where PU would flex and recover.
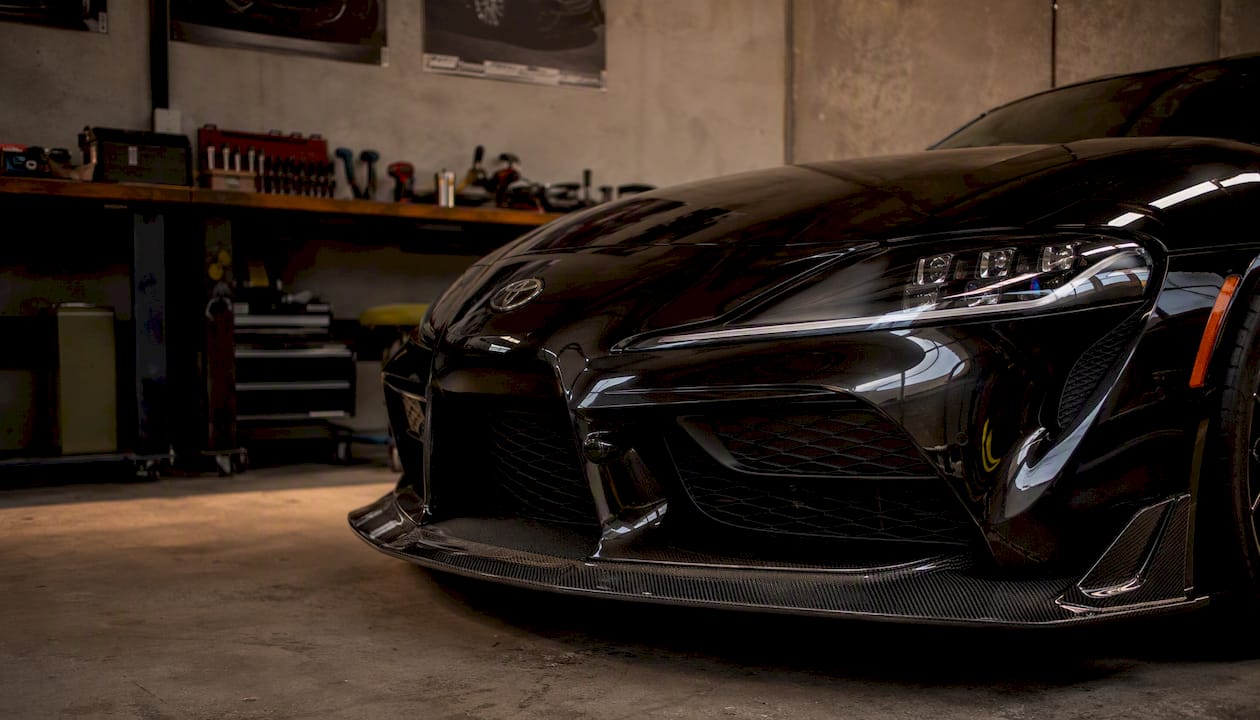
Carbon fiber: The premium option. Lighter than fiberglass, stiffer, and visually distinctive with an exposed weave finish. Carbon fiber panels don’t flex like PU, so they’re best suited to track cars or show builds where ground clearance is managed and curb contact is unlikely.
| Material | Durability | Weight | Paint prep | Cost | Best use |
|---|---|---|---|---|---|
| Polyurethane | High (flex) | Medium | Adhesion promoter required | Low to mid | Daily driver, street |
| Fiberglass | Medium (rigid) | Medium | Standard primer/filler | Mid | Street/show, paint-match builds |
| Carbon fiber | High (stiff) | Low | Clear coat or paint | Premium | Track, show car |
Finish options matter for your timeline. Unpainted panels need scuffing, priming, and painting before they look finished. Primed panels cut one step. Painted panels ship ready to install, but color matching to your OEM paint is only guaranteed if you order that option explicitly. If you’re sending a panel to a body shop anyway, ordering unpainted and having them match in-house usually produces the cleanest result. For painted finishes, a proper spray booth setup makes a real difference in finish quality.
Pro Tip: Daily driver on salted winter roads? Go fiberglass or PU, not bare carbon. Exposed carbon weave can delaminate with prolonged moisture and road salt exposure if the clear coat gets chipped and isn’t touched up quickly.
How to measure your car for the right fit
Getting the measurement right before you order saves you a return and a week of waiting. Three measurements cover most fitment decisions:
The three measurements to take:
- Rocker panel length: Measure from the front wheel arch opening edge to the rear wheel arch opening edge, running along the bottom of the door sill. This is your usable panel length. For universal cut-to-fit, you need this number to be shorter than the panel’s listed length (87" on a standard universal PU piece) so you have material to trim.
- Rocker height to ground: Measure from the bottom of the rocker panel straight down to the ground. This tells you how much projection you can run before the extension drags. Factor in your ride height, especially if you’re on coilovers or air suspension.
- Door gap clearance: Check that the extension won’t interfere with door swing at the bottom edge, and that it clears any factory side-impact moldings or trim pieces.
Common fitment pitfalls to avoid:
- Extensions that are too wide can block door seals or interfere with factory rocker moldings
- On lowered cars, projection beyond 1.5" can catch on steep driveways
- Aftermarket wide-body fenders shift the wheel arch edge outward, which changes your effective rocker length measurement
- Exhaust exits routed along the rocker need clearance from the panel’s rear edge
Fitment verification checklist before you order:
- Confirm year, make, model, and submodel against the product listing
- Cross-reference your rocker length measurement against the listed panel length
- Check the product gallery for your specific platform or a close variant
- For vehicle-specific listings, verify the VIN-level submodel (e.g., Sport vs. base trim often have different rocker moldings)
Pro Tip: Mark your three measurement lines on the car with masking tape before you measure. It keeps the tape measure consistent and gives you a visual reference for checking panel alignment during a dry-fit.
How to install side skirt extensions: bolt-on and cut-to-fit
The aerodynamic benefit of side skirts depends on the panel sitting flush and sealed against the body. A poorly installed extension with gaps or flex points undercuts the aero effect and looks rough. Install it right the first time.
Tools you’ll need:
- Drill and drill bits (for screw attachment or pilot holes)
- Rivet gun and rivets (optional, for permanent attachment)
- 3M VHB double-sided foam tape (minimum 1" width)
- Butyl tape or panel sealant (for edge sealing)
- 80–120 grit sandpaper (surface prep on attachment points)
- Masking tape (dry-fit alignment)
- Jack stands (to safely work under the car)
- Torque wrench (for bolt-on hardware)
- Threadlocker (for any threaded fasteners)
Skill level: Bolt-on installs are beginner-friendly with basic hand tools. Cut-to-fit installs are intermediate, requiring comfort with a jigsaw or oscillating tool and patience for progressive trimming.
Vehicle-specific bolt-on installation
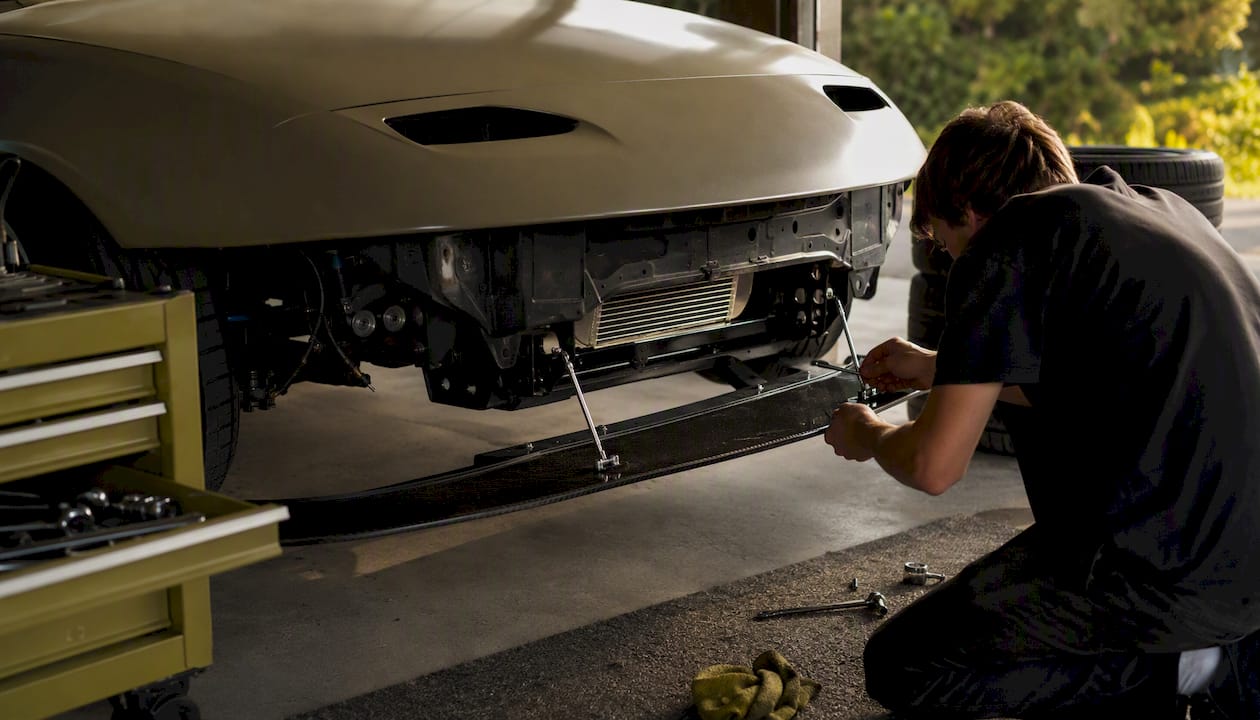
- Lift the car on jack stands and clean the rocker panel surface thoroughly.
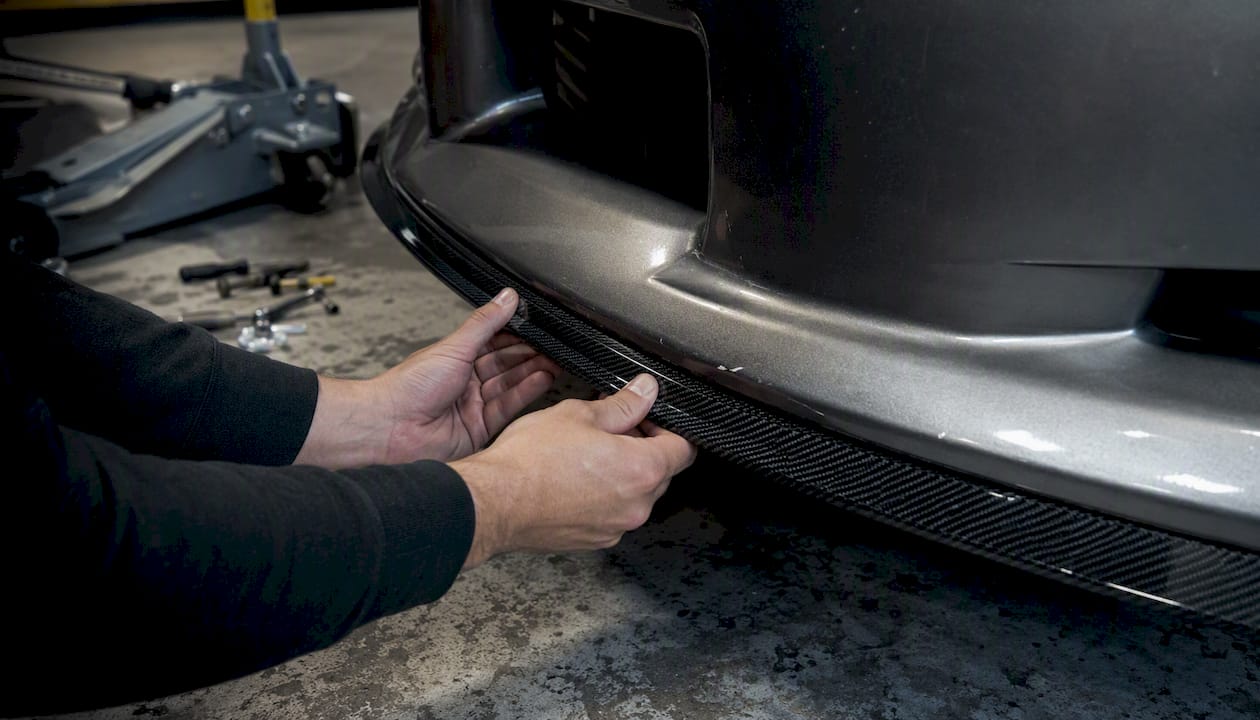
- Dry-fit the panel against the factory mounting points to confirm alignment.
- Apply threadlocker to any threaded hardware before final torque.
- Torque fasteners to spec and verify the panel sits flush along the full length.
- Apply butyl tape or panel sealant along the top edge where the panel meets the body to prevent water intrusion.
Universal cut-to-fit installation
- Measure your rocker panel length and mark the cut line on the panel with masking tape.
- Make your first cut conservatively, leaving 0.5" extra. Test-fit the panel against the car.
- Trim progressively in small increments until the panel fits the rocker length with clean end clearances.
- Sand the cut edges smooth with 80 grit, then finish with 120 grit.
- Clean the rocker surface with isopropyl alcohol. Apply 3M VHB tape along the top edge of the panel.
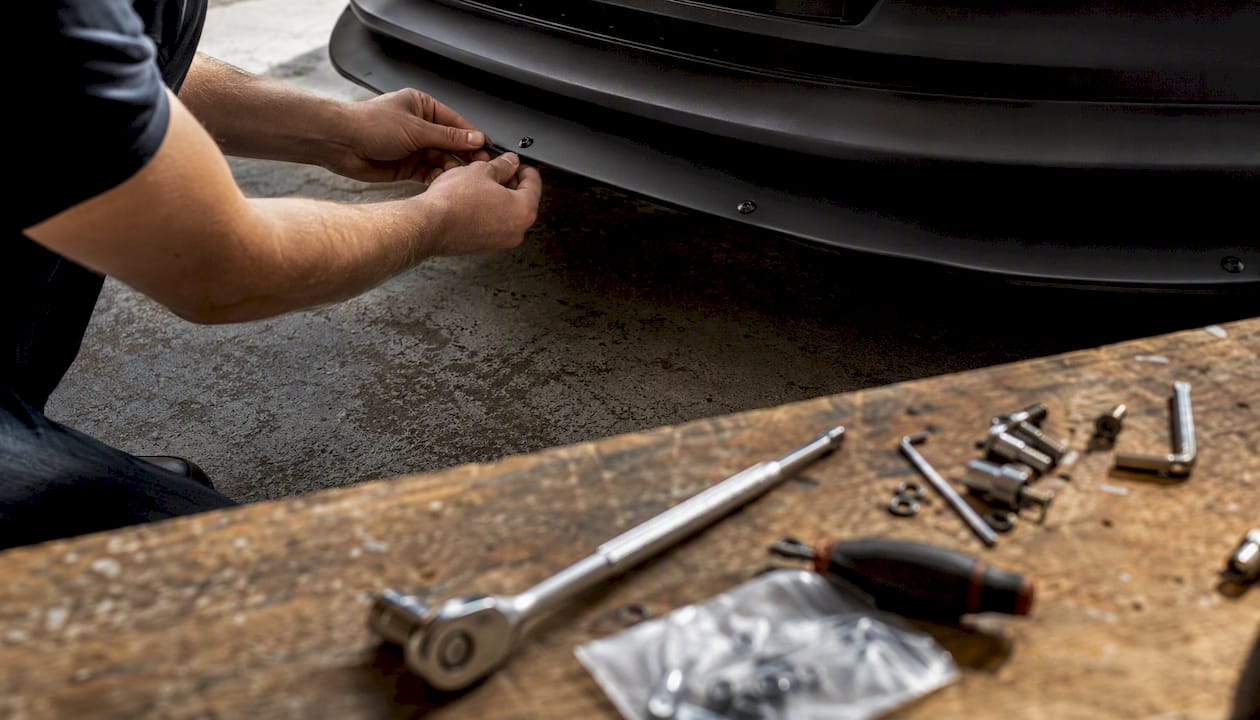
- Press the panel firmly into position and hold for 60 seconds. Add screws or clips at the front and rear ends for mechanical retention.
- Run butyl tape or sealant along any gaps at the top edge.
- If painting, prime cut edges before final color coat to prevent moisture ingress.
Troubleshooting common problems:
- Gap at the top edge: The rocker surface may be curved. Use thicker VHB tape or add a second tape strip to fill the gap before sealing.
- Rattling at speed: Add a clip or screw at the midpoint of the panel. Long panels flex at highway speed without a center retention point.
- Tape peeling after a few weeks: Surface wasn’t clean or dry at install. Remove the panel, clean both surfaces with isopropyl alcohol, and reapply fresh VHB tape.
Pro Tip: Support the panel with a helper or a prop while you drill or rivet. A panel that shifts 2mm during drilling ends up with a fastener hole in the wrong spot, and that’s not a quick fix.
What do side skirt extensions cost, and what should you expect on delivery?
The market for aftermarket side skirts spans a wide range depending on material, fitment type, and finish. Here’s a realistic breakdown:
- Entry-level universal PU: Generally the most affordable entry point; ships unpainted, cut-to-fit, typically in stock
- Mid-range fiberglass (vehicle-specific): Higher cost than universal PU; ships primed or unpainted; lead times vary between in-stock and made-to-order depending on the SKU
- Premium carbon fiber (vehicle-specific): Highest price tier; made-to-order composite parts commonly carry longer lead times but often ship with a finished clear-coat option
Shipping and lead time expectations:
- In-stock PU panels typically ship within a few business days
- Fiberglass and carbon fiber vehicle-specific panels may be made-to-order; check the individual listing for lead time before purchasing
- Painted SKUs add production time but reduce your prep work after delivery
Inspection checklist on arrival:
- Match the part number on the box to your order confirmation
- Check for surface cracks, chips, or delamination along edges
- Verify the panel dimensions against the listing (length, width, projection)
- For painted panels, inspect the finish under good lighting before installation
Warranty and returns: Keep your original packaging and take photos of the part on arrival. Most vendors require photo evidence of damage or defect for warranty claims. Coverage periods and return windows vary by seller, so confirm the policy at checkout. For vehicle-specific parts, confirm fitment before ordering since returns on custom or made-to-order items are often limited.
Keeping your extensions in good shape after installation
A well-installed extension lasts years with minimal attention. The main threats are road salt, curb contact, and loose fasteners from vibration.
Routine maintenance:
- Wash the extensions with every car wash; road grime and salt accumulate in the gap between the panel and rocker
- Apply wax or ceramic coating to painted finishes to protect against UV fade and rock chips
- Check all fasteners and tape edges after the first 100 miles of driving
- Rinse the undercarriage and rocker area after winter driving or any exposure to road salt
Common damage modes and prevention:
- Curb scrapes: The most common damage on lowered cars. Running a mild ride-height adjustment on air suspension when parking in tight lots reduces contact frequency.
- Driveway hang-ups: Steep driveway aprons catch the front edge of the extension. Approach at an angle to reduce the contact angle.
- Rock chips on painted finishes: Touch up chips quickly. Bare fiberglass or carbon fiber exposed to moisture at a chip site can delaminate or absorb water over time.
DIY vs. replace: Surface scuffs and small cracks in PU or fiberglass are repairable with flexible body filler or fiberglass repair kits. Structural cracks that run through a mounting point, or delamination on a carbon fiber panel, usually mean replacement is cleaner than repair.
Pro Tip: Stick-on skid plates or UHMW tape along the bottom edge of the extension add meaningful protection on low-clearance builds. They take the scrape before the panel does, and they’re cheap to replace. Check underbody protection basics for a broader maintenance framework.
A builder’s honest take on side skirt extensions
Side skirts are one of the most misunderstood aero upgrades in the enthusiast space. Most buyers focus on how they look, which is fair, but the functional case is just as strong. Paired with a front splitter and rear diffuser, side skirts complete an aero circuit that actually reduces lift and stabilizes the car at speed. On their own, they still reduce underbody turbulence, but the full benefit shows up when the whole package works together.
The part that gets underestimated is fitment quality. A universal panel that’s trimmed sloppily, with gaps at the top edge and a misaligned rear cut, doesn’t just look bad. It creates turbulence at exactly the point you’re trying to smooth airflow. Vehicle-specific bolt-on panels eliminate most of that risk because the geometry is already solved. For builders who care about the aero working as intended, not just looking the part, that precision matters.
The other thing worth saying plainly: material choice is a build-context decision, not a prestige decision. Carbon fiber on a daily driver that scrapes parking lots every week is a waste of money. PU on a track car where weight and stiffness matter is leaving performance on the table. Match the material to how the car actually gets used, and you’ll be happy with the result for years.
Undergrounddynamics: carbon fiber and fiberglass side skirts for your build
Undergrounddynamics carries vehicle-specific side skirt extensions in fiberglass and carbon fiber, listed with real fitment data for popular enthusiast platforms including the Civic, BRZ, 350Z, Miata, Supra, Mustang, Camaro, and G35. Every listing includes material specs, finish options, and chassis compatibility so you can buy with confidence rather than guess and return.
The catalog is direct-to-consumer, which means you’re buying from the source without a distributor markup. If you’re building a complete aero package, the body kits page lets you pair side skirt extensions with front lips, rear diffusers, and wide-body components for a balanced setup. For fitment questions on a specific submodel or modified chassis, reach out directly before ordering. Browse the full catalog at Undergrounddynamics and filter by your platform to see what’s available for your build.
Sources
- Side Skirts & Side Skid Plates | Air Design
- What are Side Skirts on a Car: Benefits, Installing and Drawbacks
- Are Side Skirts and Side Spoilers Worth It? — JustV
- Side Skirts in Body Kits, Side Skirts & Rocker Panels (1000+)
- Aeroflowdynamicsoverlays
Check the product pages and customer gallery photos before purchasing, especially for less common submodels or modified chassis builds.
FAQ
What are side skirt extensions on a car?
Side skirt extensions are panels mounted along the lower rocker area between the front and rear wheel arches. They reduce underbody turbulence, improve stability at speed, and protect the sill from road debris.
Are side skirts worth it for a street or track build?
Yes, particularly when paired with a front splitter and rear diffuser. Side skirts reduce lift and smooth side airflow, but their aero benefit is most pronounced as part of a complete aero package rather than a standalone addition.
What’s the difference between universal and vehicle-specific side skirt extensions?
Universal panels ship as long cut-to-fit pieces you trim to your rocker length and attach with tape or screws. Vehicle-specific panels are shaped for a named year/make/model and use factory mounting points for a no-cut, bolt-on install.
How hard is side skirt installation for a home builder?
Vehicle-specific bolt-on installs are beginner-friendly with basic hand tools. Universal cut-to-fit installs are intermediate level, requiring comfort with trimming, surface prep, and adhesive application.
Does Undergrounddynamics carry vehicle-specific side skirt extensions?
Yes. Undergrounddynamics offers vehicle-specific side skirt extensions in fiberglass and carbon fiber for popular platforms including the Civic, BRZ, 350Z, Miata, Supra, and Mustang, listed with chassis-specific fitment data at undergrounddynamics.com.