FREE SHIPPING ON ORDERS OVER $150

Cart
0
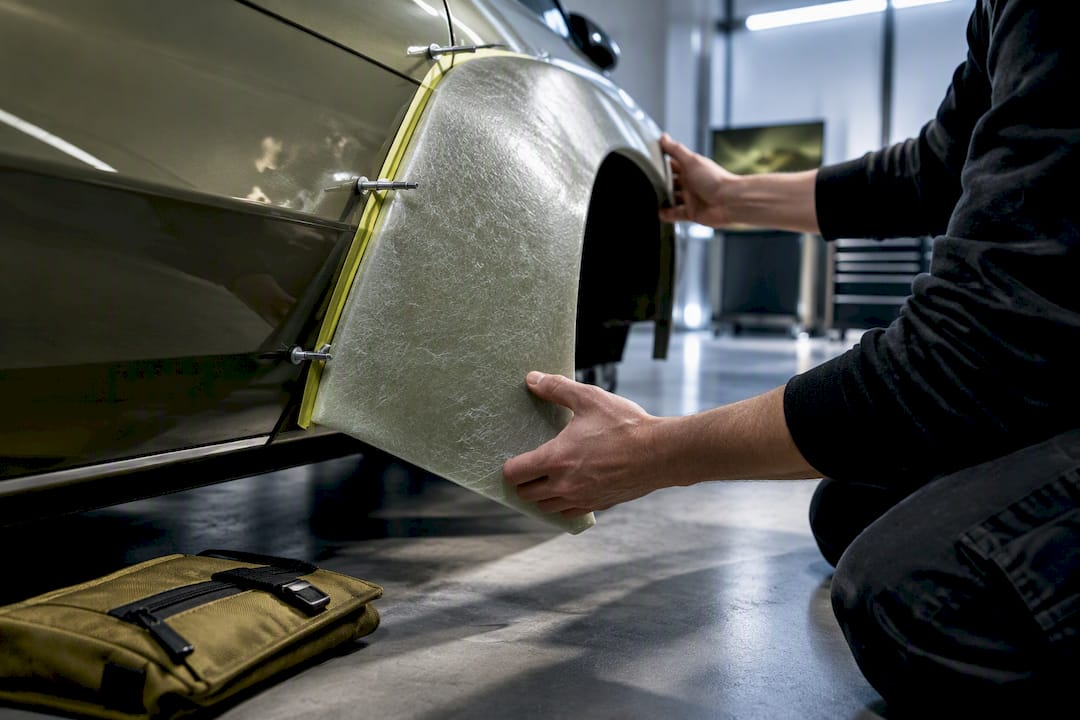
Bolt-on widebody kits are a reasonable weekend-to-week DIY project for anyone comfortable with a drill and a torque wrench. Cut-fender and molded kits are shop territory. Either way, the job splits into two phases: mechanical mounting (test-fit, drill, bond, rivet) that you can handle in a garage, and paint or sealing work that belongs with a professional for a factory-quality finish.
TL;DR:
- Widebody kits in fiberglass or polyurethane are easier for DIY installation, while carbon fiber and cut-fender options require professional metal work and permanent modifications.
- Proper tool selection and workspace organization are crucial to avoid common mistakes, such as missed backing plates or improper fastener sizing, that cause long-term panel stress.
- Follow a sequence of dry-fitting, marking, cutting, mounting, bonding, and verifying fitment before painting to ensure a clean and symmetrical final appearance.
- A full paint job is the most time-consuming phase, with quality blending, primer, and finish matching critical for a seamless look; outsourcing this step is strongly recommended.
- Budget for parts, labor, paint, and wheels separately, with total costs generally ranging from $8,000 to over $18,000, depending on kit material, complexity, and customization.
Table of Contents
- What You Need Before Starting a Widebody Installation
- Bolt-On, Rivet-On, or Cut-Fender: Which Kit Type Fits Your Build?
- How Do You Install a Widebody Kit Step by Step?
- Getting the Paint and Finish Right
- Wheels, Tires, and Alignment After Going Wide
- What a Widebody Installation Really Costs and How Long It Takes
- Common Widebody Installation Mistakes to Avoid
- Underground Dynamics’ Fitment Workflow
- Maintaining Your Widebody After Installation
- Safety Precautions for Widebody Installation
- How Widebody Kits Change Handling and Performance
- Are Widebody Kits Legal? What to Check Before You Start
- What I Learned Building My First Widebody Setup
- Source Your Kit With Fitment Data, Not Guesswork
- Sources
- FAQ
What You Need Before Starting a Widebody Installation
A widebody installation goes sideways fast when you’re missing the right tool mid-cut. Build your kit before you touch a panel, not after you’ve already got clecos scattered across the garage floor.
Tools:
- Cordless drill with a step bit and standard bit set for pilot holes
- Pneumatic or hand rivet gun sized for your fastener range
- Clecos and cleco pliers for temporary panel alignment during dry-fit
- Dual-action (DA) sander for feathering and surface prep
- Jigsaw or cutting wheel for trimming fiberglass or sheet metal
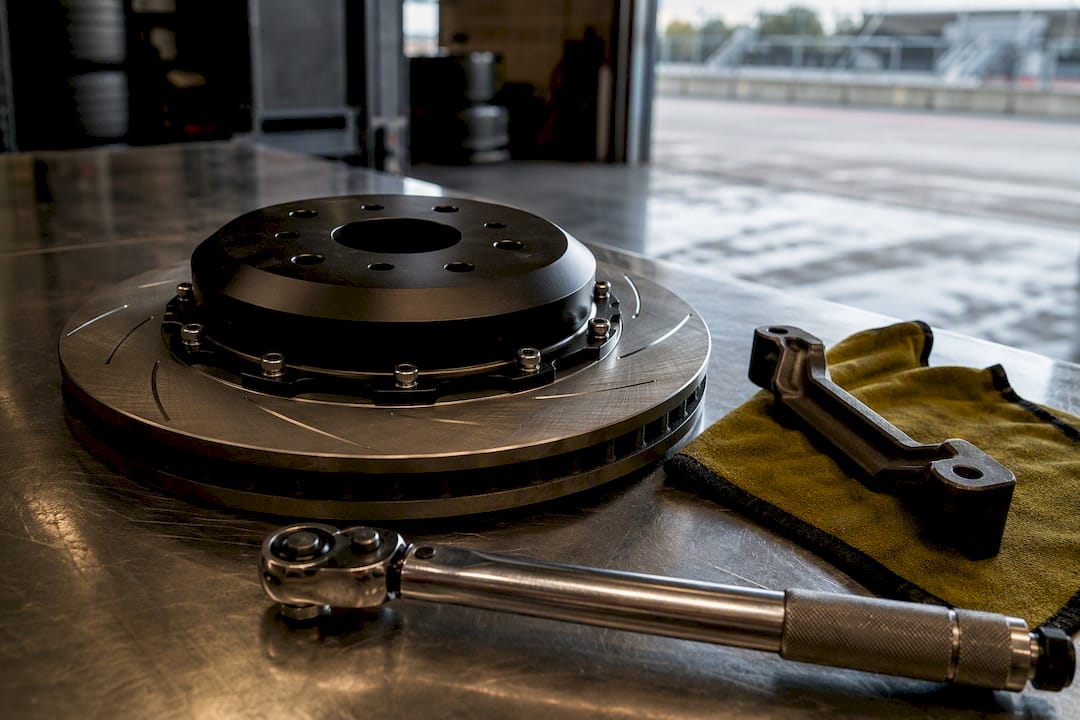
- Torque wrench for hardware that ties into structural mounting points
Adhesives and fasteners: Panel bonding adhesives like 3M’s automotive line are the industry standard for combining with mechanical fasteners. You’ll also want the correct rivet diameter and length for your panel thickness, aluminum or stainless backing plates where composite flares meet thin factory sheet metal, and stainless hardware to avoid corrosion down the road.
Consumables and PPE: Stock sandpaper across an 80 to 320 grit range, high-quality masking tape and fine-line tape for cut lines, self-etching primer for exposed metal, a respirator rated for sanding dust and adhesive fumes, and cut-resistant gloves.
Workspace: You need a flat, clean, well-lit space, either a lift or a solid set of jack stands, and ideally a second set of hands. Large quarter panels and full flares are awkward to hold steady solo while you mark and drill, and a shifted panel during test-fit throws off every measurement that follows.
Bolt-On, Rivet-On, or Cut-Fender: Which Kit Type Fits Your Build?
The kit style you buy decides how much of this job you can do yourself. Bolt-on, or over-fender, kits mount to existing body lines using factory holes or minimal drilling, and they’re the most forgiving option for a first-time installer. Rivet-on kits go a step further, requiring you to drill new mounting points and set rivets alongside adhesive, which means more precision but still falls within DIY range for most builders. Cut-fender, or molded, kits require removing sections of the factory quarter panel or fender and molding the new flare into the body. That’s a permanent modification best left to a shop with metal fabrication experience.
Material matters just as much as mounting style:
- FRP/fiberglass takes paint well and holds sharp body lines, but it’s brittle before prep and needs thorough sanding and priming to bond with factory panels.
- ABS/polyurethane flexes more, resists cracking on impact, and is generally easier to test-fit, though it can be trickier to get a razor-sharp paint line.
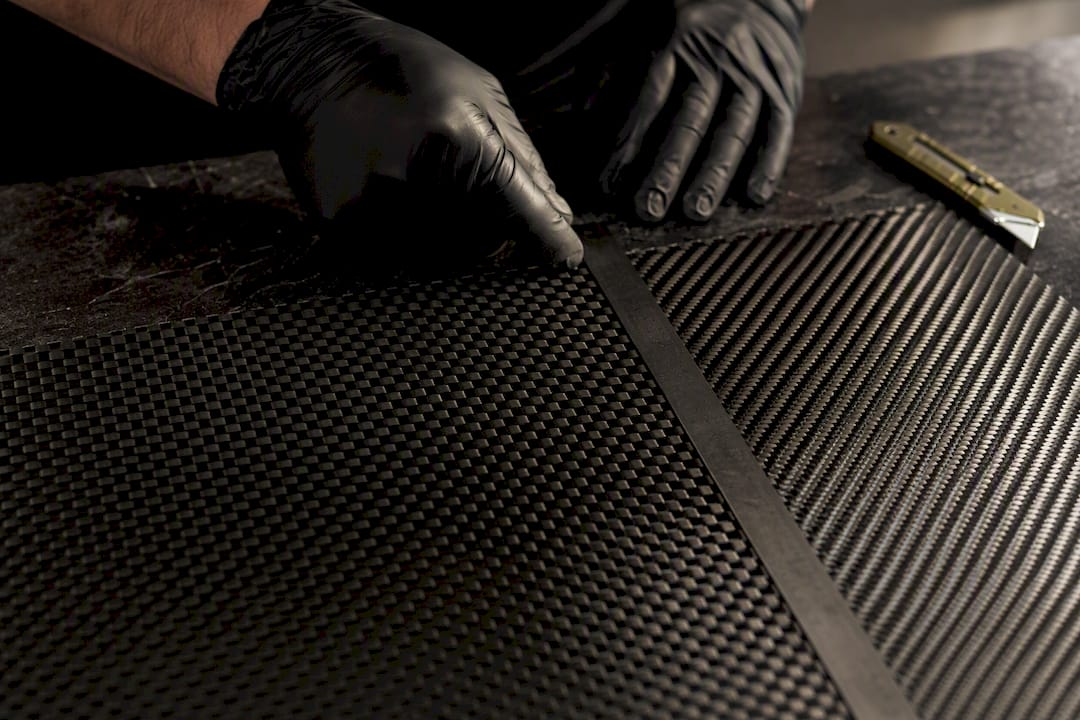
- Carbon fiber offers the lightest weight and a premium look but costs more and usually calls for a clear-coat finish rather than color match, since painting over the weave defeats the purpose.
Bolt-on and rivet-on kits in FRP or ABS are reversible in the sense that you’re not permanently altering the factory panel underneath. Cut-fender work is not. Once you’ve removed metal and molded in a new flare, there’s no going back to stock without a full panel replacement.
Pro Tip: If you’re on the fence between rivet-on and cut-fender, buy the rivet-on kit. You get 90 percent of the aggressive stance without committing your fenders to a one-way trip.
How Do You Install a Widebody Kit Step by Step?
This is where most of your labor hours go, and it’s also where rushing costs you the most in rework. Vendor installation guides for kits like Vicrez’s widebody lineup consistently point to the same sequence: dry-fit every panel before any permanent work, scuff and bond surfaces, back up adhesive with mechanical fasteners, and hand paint off to a professional.
1. Dry-fit and document everything first
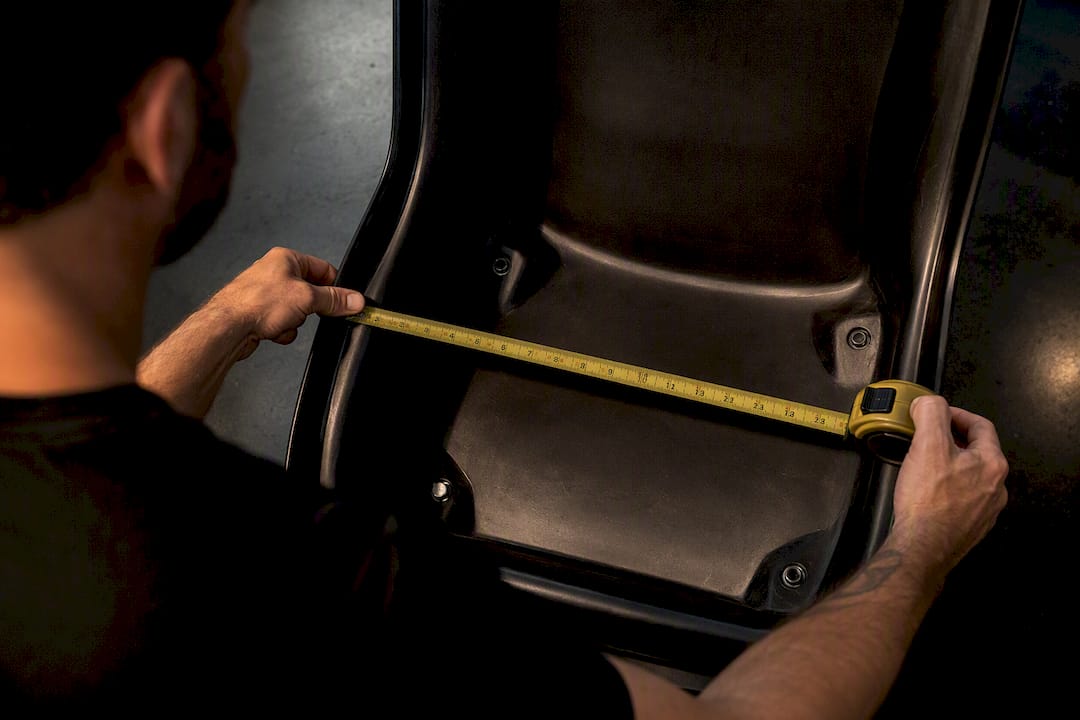
Tape or cleco each panel into its final position without drilling or bonding anything. Take photos from multiple angles, measure panel gaps at several points along each seam, and check that flares are symmetrical side to side. Installer write-ups on S550 Mustang widebody builds recommend documenting fitment dimensions before removing OE fenders, since those measurements become your reference point if anything shifts later.
2. Mark before you cut
Use fine-line tape to mark cut lines directly on the panel, then step back and eyeball symmetry against the opposite side of the car. Measure twice, mark once, then measure again after marking. A single crooked cut line on a fiberglass flare usually means ordering a replacement panel.
3. Cut and protect exposed metal
For cut-fender work, use a cutting wheel or jigsaw with a metal-rated blade, and grind cut edges smooth to remove burrs. Any exposed sheet metal needs weld-through or self-etching primer immediately. Bare metal left exposed overnight in a humid garage starts showing surface rust within days, and that rust will telegraph through paint later if you don’t catch it now.
4. Mount in the correct order
Start from a fixed reference point, usually the front or rear-most mounting location, and work outward so misalignment doesn’t compound across the panel. Hand-tighten hardware first, confirm gaps are even, then torque to the fastener manufacturer’s spec. Overtightening self-tapping screws into thin composite strips them instantly.
5. Use backing plates where composite meets thin metal
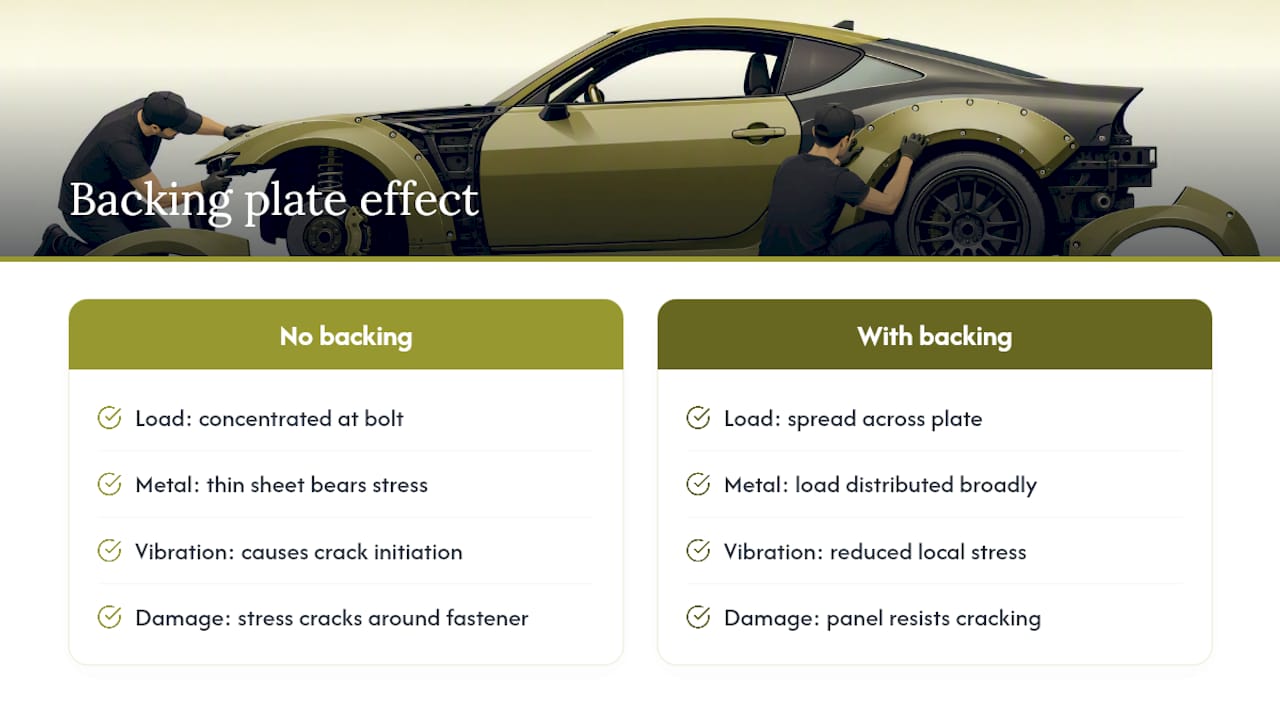
Anywhere a fiberglass or ABS flare bolts directly to factory sheet metal, a backing plate spreads the load and stops the panel from cracking around the fastener under vibration. This step gets skipped constantly on rushed installs, and it’s the single most common reason flares develop stress cracks within the first year.
6. Bond, then back it up mechanically
Scuff both bonding surfaces with 80 to 120 grit before applying panel bonding adhesive. Vendor documentation recommends pairing adhesive with rivets or bolts rather than relying on either method alone. Adhesive alone can fail under heat cycling and vibration; fasteners alone can work a composite panel loose at the bond line over time. Together, they hold.
7. Respect the cure window
Panel bonding adhesives typically need a set clamp time before you move the vehicle and a longer full-cure window before you drive it hard or wash it. Check your adhesive’s data sheet and don’t shortcut this. Clecos and clamps hold panels in position during that window; removing them early is a common reason for shifted flares.
Pro Tip: Cycle the suspension through full compression and turn the wheel lock to lock before you call the mechanical mount finished. Catching a rub now costs you ten minutes. Catching it after paint costs you a repaint.
8. Verify before you call it done
Check wheel clearance at full steering lock in both directions, compress the suspension by hand or with a floor jack to simulate a hard corner, and run a straightedge across seams to confirm gap consistency panel to panel. This is your last chance to catch a problem before the car goes to paint.
Getting the Paint and Finish Right
Paint is where a bolt-on job either looks factory or looks like a bolt-on job. This is also the phase most enthusiasts underestimate, and it’s why so many guides tell you to outsource it even if you did every mechanical step yourself.
Block-sanding is not optional if you want panel lines that read as one continuous surface instead of a kit stuck onto a car. A body shop will typically apply high-build primer, block-sand it flat, then feather the edges into at least one adjacent factory panel so the transition disappears. A breakdown of paint prep for body kits covers why blending beyond just the new panel matters for color match, particularly on metallic or tri-coat finishes where a straight line at the panel edge shows up under any angle of light.
- Vinyl wrap costs less upfront and installs faster than paint, but it doesn’t hide seams or filler work the way paint does, and it holds up worse on high-flex areas like flares that see rock chips.
- Paint costs more and takes longer, but it’s the only option that gives you a true color and clear-coat match across old and new panels.
- Exposed cut edges on cut-fender kits need seam sealer and corrosion protection before any filler or primer goes on, or you’ll see rust bleed through within a season or two.
When you hand the car to a shop, ask specifically for color match verification, blending into the panels adjacent to the kit, and clear-coat specs that match your factory finish. A shop like Greensboro Auto Body that handles both collision repair and custom panel blending understands this workflow better than a shop that only does insurance jobs.
Wheels, Tires, and Alignment After Going Wide
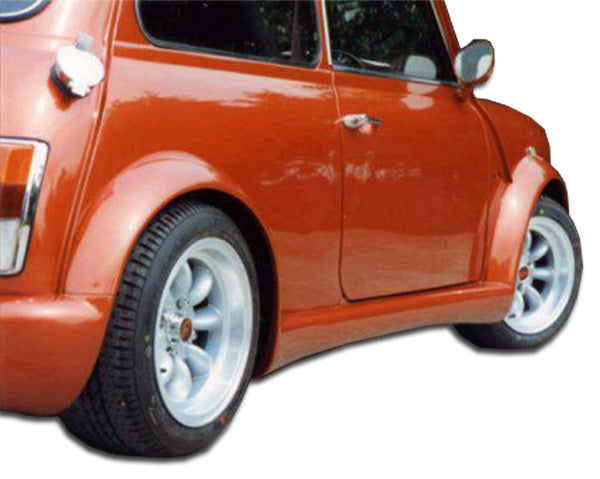
Widening the body without addressing wheel fitment leaves you with a kit that looks aggressive but tucks the wheels awkwardly inside the new flares. Most widebody kits add somewhere in the range of an inch or more of width per side, which means your factory wheel offset is almost certainly wrong for the new stance.
- Plan on wheels with a lower offset (more negative, or less positive) than stock to push the face of the wheel closer to the new flare edge.
- Widen your tire section width to match, but confirm actual clearance with a physical test-fit rather than trusting a fitment calculator alone.
- Get a full alignment after any suspension or wheel change, and have the shop corner-balance the car if you’re also changing coilovers or springs at the same time.
- Roll or tuck the inner fender liner if the tire contacts it under compression or at full steering lock.
- Check clearance at full lock, at full compression, and while turning with the suspension loaded, not just sitting static in the driveway.
Installer guides for platforms like the S550 Mustang note that fitment problems after a widebody install trace almost entirely back to skipping the loaded, full-lock clearance check before finalizing wheel and tire size. A wheel that clears at rest can still rub the flare hard under body roll.
What a Widebody Installation Really Costs and How Long It Takes
Budgeting a widebody build means separating parts cost from labor cost, because they don’t scale together. Enthusiast guides put realistic total project budgets between roughly $8,000 and $18,000 or more, depending heavily on kit material, paint complexity, and wheel choice.
- FRP kits sit at the lower end of the parts range; carbon fiber kits cost substantially more for the same coverage.
- Bolt-on mechanical labor generally runs a weekend to a few days; full cut-fender conversions with paint can stretch multiple days to several weeks depending on shop backlog and how many panels need blending.
- Paint and blending are frequently the largest single line item on the invoice, often exceeding the cost of the kit itself once multiple panels are involved.
- Budget separately for wheels and tires, a post-install alignment, and a contingency for unplanned rust repair if you’re cutting into older sheet metal.
When you’re comparing shop quotes, ask each one to break out parts, labor hours, paint materials, and blending scope separately. A quote that bundles everything into one number makes it impossible to tell whether you’re paying for four hours of mechanical mounting or forty. For a deeper breakdown of where the money actually goes, A widebody kit cost guide walks through bolt-on versus cut-fender pricing in more detail.
Common Widebody Installation Mistakes to Avoid
Most widebody problems trace back to a handful of repeatable errors, and almost all of them show up months after the install, not during it.
- Tape-only mounting. Tape holds a panel in place for a photo. It does not hold a flare through heat cycling, vibration, or a pothole. If a shop or a DIY job relies on tape as a long-term fix anywhere, that panel is coming loose.
- Skipping backing plates. Composite bolted straight to thin sheet metal without a backing plate cracks around the fastener, usually within the first year of regular driving.
- Rushed paint prep. If a shop skips block-sanding or tries to spray over unfeathered edges, you’ll see the seam under direct sunlight even if it looks fine in the shop’s fluorescent lighting.
- Over-torqued or wrong-size fasteners. Cranking a bolt down into fiberglass strips the material instantly. Match rivet diameter to the panel thickness, not just what’s in the kit box.
- Shop red flags. Walk away from any shop that skips a dry-fit, doesn’t mention backing plates, or wants to bond panels without scuffing the surface first. These are the fundamentals, not upgrades.
Pro Tip: Ask to see the dry-fit before anything gets bonded or riveted, even if the shop is doing the work. A shop confident in its process will show you the fit and the gaps before committing to anything permanent.
Underground Dynamics’ Fitment Workflow
Ismael and the team at Underground Dynamics built a fitment-first workflow because the biggest cost overruns on widebody builds come from guesswork, not from bad parts. The sequence is simple: measure your chassis, dry-fit the kit, document everything with photos and written measurements, mock up hardware without committing, then finalize the mount.
Before you order a kit, check three things: your current ride height against the kit’s intended stance, expected wheel clearance targets once you’re wider, and where your OEM mounting points actually sit relative to the new flare’s mounting holes. Underground Dynamics’ fitment workflow guide walks through mapping those OEM points and preparing backing plates in advance, which avoids the guesswork that turns into rework once panels are already bonded.
- Measure ride height and existing panel gaps before ordering
- Dry-fit and photograph every panel before drilling or bonding
- Document hardware locations and torque specs for the body shop
- Mock up wheel and tire clearance before finalizing offset choices
If your build involves cutting factory metal or blending into multiple adjacent panels, hand it to a body shop with a full hardware map and your dry-fit photos. That documentation is what separates a clean handoff from a shop calling you three times a week with fitment questions.
Maintaining Your Widebody After Installation
A widebody kit needs periodic attention just like any other bolted and bonded component on the car. Check torque on all mechanical fasteners after the first few hundred miles, since new bonds and hardware settle slightly as the panels flex under real driving loads. Re-torquing once early on catches anything that backed off during that break-in period.
Inspect bond lines every few months for hairline separation, especially in flares that see direct sun exposure or extreme temperature swings, since UV and heat cycling stress adhesive over time. A flashlight run along the seam edge reveals lifting long before it’s visible from a normal viewing angle.
Watch for stress cracks around fastener points, particularly on composite panels that flex more than factory sheet metal. Small cracks caught early can be reinforced or filled; ignored cracks spread and eventually require panel replacement. Wash widebody panels the same way you’d wash the rest of the car, but pay extra attention to seam edges where road grime and moisture tend to collect and accelerate corrosion on any exposed metal underneath.
If you added wheel spacers or changed offset, recheck wheel bolt or lug torque after the first hard drive and periodically after that. Vibration from an aggressive stance setup works hardware loose faster than a stock fitment ever will.
Safety Precautions for Widebody Installation
Widebody work involves power tools, adhesives, and vehicle support, and each carries its own risk if you rush it. Never work under a vehicle supported only by a jack. Use rated jack stands or a proper lift, and confirm the vehicle is stable before you put any part of your body underneath it.
Panel bonding adhesives and primers release fumes that build up fast in an enclosed garage. Wear a respirator rated for organic vapors, not just a dust mask, and work with adequate ventilation or a fan pulling air out of the space.
Cutting fiberglass or sheet metal throws fine particulate and sharp fragments. Safety glasses and cut-resistant gloves are non-negotiable during any trimming step, and a respirator matters here too since fiberglass dust is a genuine respiratory irritant. Keep a fire extinguisher within reach any time you’re using adhesive accelerators or working near an open flame source for weld-through primer application.
Finally, disconnect the battery before drilling or cutting near the fender wells, quarter panels, or anywhere wiring harnesses commonly route. A drill bit through a wiring loom is an expensive mistake and, in the wrong spot, a fire risk.
How Widebody Kits Change Handling and Performance
Adding width isn’t purely cosmetic. A wider track, once you’ve fitted wheels and tires to match the new flares, generally improves cornering stability by widening the contact patch and reducing body roll leverage. That’s the performance case enthusiasts make for widebody builds beyond the visual stance.
The trade-offs are real, though. Added flare width and any structural cutting on cut-fender kits add weight, which works against the handling gains if you’re not careful about material choice. This is where carbon fiber earns its price premium: it delivers the wider stance without the weight penalty that heavier FRP panels carry.
Wider tires also change steering feel, typically requiring more effort at low speeds and demanding a proper alignment to avoid uneven wear. Skipping the alignment step after a widebody conversion is one of the fastest ways to chew through a fresh set of tires in a few thousand miles. Get the alignment done, and get the corner balance checked if you touched suspension components during the same build.
Are Widebody Kits Legal? What to Check Before You Start
Widebody legality depends on your local vehicle code, not on what a kit vendor’s marketing copy claims. Vendor guides consistently recommend checking with your insurer and local DMV before modifying vehicle width or lighting, since some jurisdictions regulate overall vehicle width, fender coverage over the tire, and lighting placement once a flare shifts a marker light’s position.
Insurance is the piece most builders forget. A widebody conversion is a documented modification, and failing to disclose it to your insurer can affect a claim down the road if you’re ever in an accident. Call your provider before you start cutting, not after the car is already at the body shop.
Beyond the physical legality of the kit, check your state’s or region’s rules on aftermarket lighting if your flares reposition marker lights or reflectors, since that’s a more commonly enforced rule than width itself in most areas. When in doubt, a quick call to your local DMV or a licensed inspection station clears up ambiguity faster than forum threads ever will.
What I Learned Building My First Widebody Setup
The mechanical mounting always goes faster than you think. It’s the paint that eats your weekends. I underestimated how many hours block-sanding and blending would add to a project I thought was mostly done once the flares were bolted and riveted on.
The lesson that stuck: DIY the mount, hire the finish. You’ll save real money doing the dry-fit, drilling, and bonding yourself, but a rushed paint job on a widebody kit is the one mistake that’s visible from across a parking lot. Spend where it shows.
— Ismael
Source Your Kit With Fitment Data, Not Guesswork
Chassis-specific body kits, fenders and flares, hoods, and suspension components are available, all backed by real fitment detail instead of generic sizing charts. That’s the difference between ordering a kit that bolts up cleanly and one that turns into three weeks of trimming and swearing in the garage.
Product pages list compatibility specs needed before purchase, and a fitment workflow blog walks through the measuring and dry-fit process in more depth than most kit instructions. The suspension category covers coilovers, air suspension, and lowering springs sized for relevant platforms.
Start by browsing a body kits, fenders, and flares catalog for your chassis, cross-check the listed fitment data against your own measurements, and order with confidence instead of hoping the panel lines up when it shows up on your porch.
Sources
For platform-specific instructions beyond what’s covered here, Vicrez’s step-by-step widebody installation guide and fiberglass-focused installation walkthrough both cover kit-specific mounting sequences in detail. For a real-world example on a specific chassis, the S550 Mustang widebody install guide documents an actual build from dry-fit through paint.
- How to Install Vicrez Widebody Kits – Step-by-Step
- 2018-2019 Mustang widebody kit: How-To Install Guide
- Complete Widebody Kit Installation Guide: What to Expect
- Before you bolt on a widebody, read this
FAQ
How much does it cost to get a widebody installed?
Total project costs typically run between $8,000 and $18,000 or more, depending on kit material, paint complexity, and wheel choice. Bolt-on kits in FRP sit toward the lower end, while cut-fender carbon builds with full paint push toward the higher end. Underground Dynamics’ cost guide breaks down how parts and labor scale differently across kit types.
How hard is it to install a widebody kit?
Bolt-on and rivet-on kits are manageable DIY projects if you’re comfortable dry-fitting panels, drilling accurately, and using a rivet gun. Cut-fender and molded kits require metal fabrication skill and are best handled by a shop. The mechanical mounting is the DIY-friendly half of the job; paint and blending are where professional skill matters most.
How much does it cost to install a widebody kit on a Charger?
Costs on a Charger widebody build follow the same general ranges as other platforms, roughly $8,000 to $18,000 or more total once parts, paint, and wheels are included, since the cost driver is kit material and paint complexity rather than the specific chassis. Get a shop quote that breaks out parts, labor, and paint separately to compare against these ranges accurately.
Are widebody kits legal?
Legality depends on your local vehicle code, particularly rules around overall vehicle width and lighting placement, so checking with your local DMV and your insurer before starting is the only reliable way to confirm. Insurance disclosure matters too, since an undisclosed modification can complicate a claim after an accident.
Should I paint a widebody kit myself or hire a shop?
Hire a shop for paint if you want a factory-quality, blended finish. Block-sanding, feathering into adjacent panels, and color matching on metallic or tri-coat paint require equipment and experience most home garages don’t have, and a botched paint job is the most visible mistake on an otherwise well-executed install.