FREE SHIPPING ON ORDERS OVER $150

Cart
0
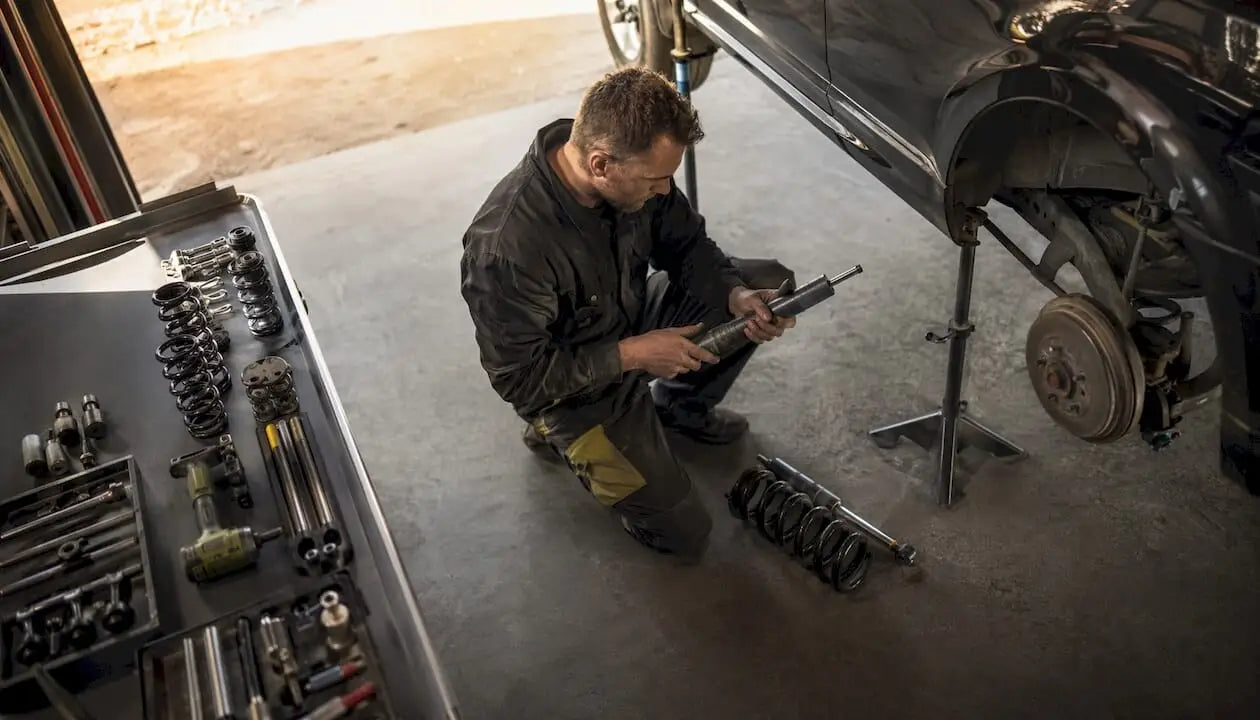
Starter suspension upgrades, ranked by performance return and beginner suitability, follow a clear order: restore worn factory parts first, then add adjustable or matched aftermarket components. Suspension upgrades directly affect handling, braking, and overall vehicle dynamics, not just ride comfort. Skipping the restoration step and jumping straight to coilovers is the most common and costly mistake new builders make. This guide ranks each upgrade category by real-world impact so you spend money where it actually moves the needle.
Why restoring factory suspension is the top starter upgrade
The highest return on investment in suspension work is not a coilover kit. It is replacing worn shocks, mounts, and bushings on a car that has never had them touched. Vehicles over 60,000 miles that get fresh factory-spec shocks, mounts, and bushings recover 80–90% of original handling before a single performance part is bolted on. That number should reset how you think about where to start.
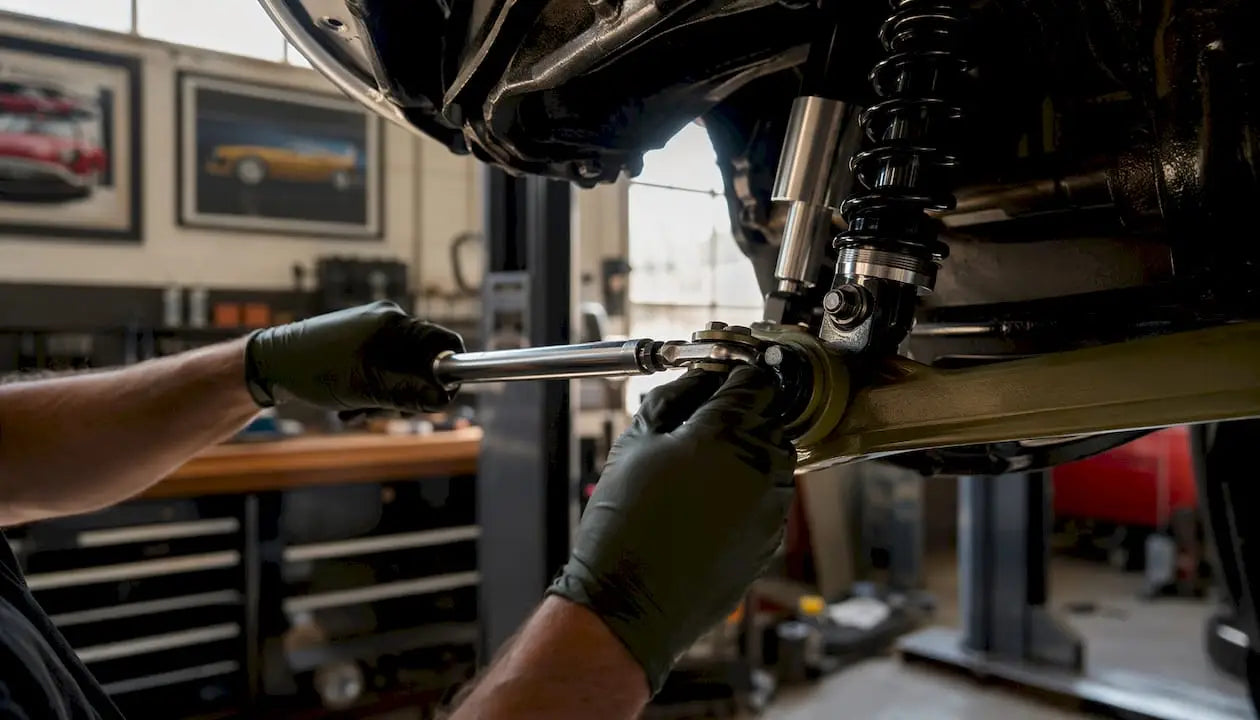
Worn components mask what your car is actually capable of. A soft, blown shock absorber allows excessive body roll, delayed steering response, and inconsistent braking. You can bolt on a sway bar and still feel like you are driving a boat if the shocks are cooked.
Here is what to inspect and replace before spending on upgrades:
- Shock absorbers and struts: Bounce each corner. More than two rebounds after releasing means the shock is worn.
- Strut mounts and top hats: Worn mounts cause clunking, vague steering, and uneven spring load.
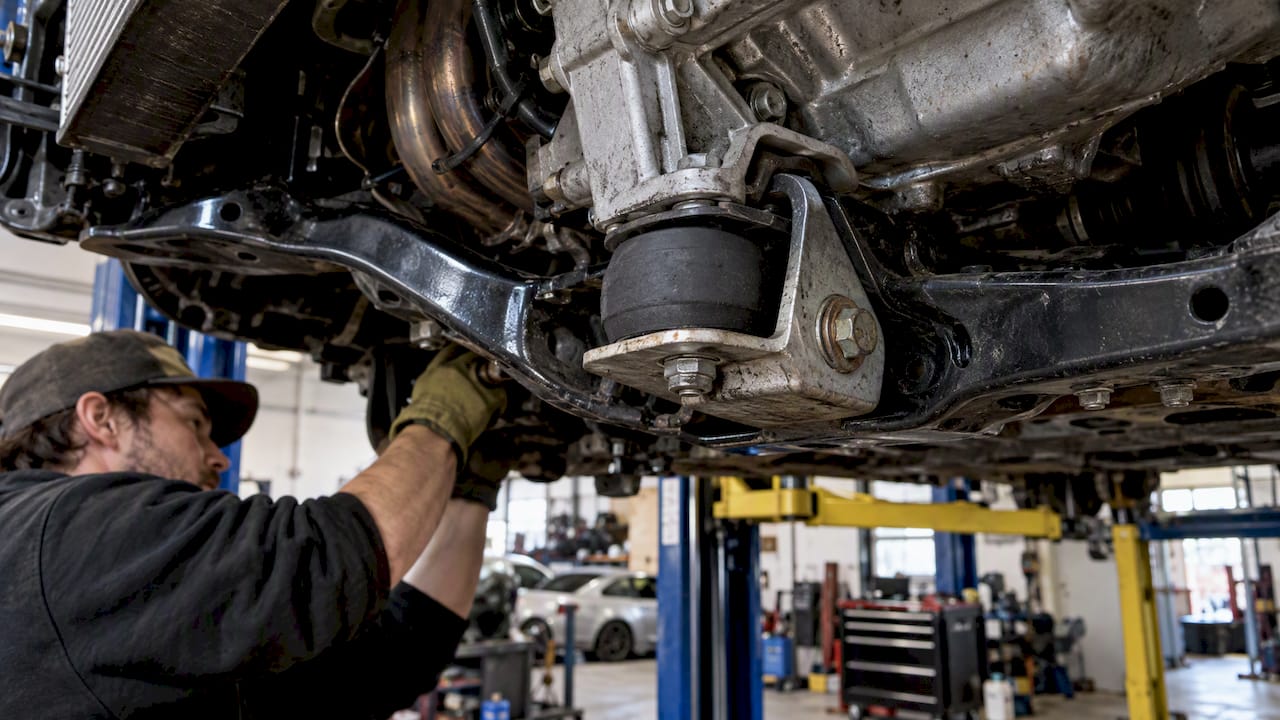
- Control arm bushings: Cracked or collapsed bushings allow the wheel to move in ways the geometry was never designed for.
- Sway bar end links and bushings: Loose end links create a knocking sound and reduce the sway bar’s effectiveness entirely.
Pro Tip: Before buying any performance part, inspect worn suspension parts on a lift with the wheels hanging free. Grab each wheel at 9 and 3 o’clock, then 6 and 12 o’clock, and check for play. Five minutes of inspection can save you $800 in parts you did not need yet.
Starter suspension upgrades ranked: the full list
Once the factory components are solid, the following upgrades are ranked from highest to lowest beginner suitability, combining performance gain, ease of installation, and adjustability.
1. Coilovers
Coilovers are the top performance upgrade for beginners who want real adjustability. A coilover replaces the stock shock and spring as a single unit, giving you control over ride height and, on most kits, damping stiffness. Adjustable coilovers require understanding spring rates and suspension travel to avoid a harsh ride or poor handling, so they reward builders who take time to learn the setup.
The main advantage is that one kit handles both lowering and damping. The tradeoff is cost. Entry-level coilover kits start around $400–$600, and quality jumps significantly in the $800–$1,200 range. For a beginner who plans to track the car or tune it over time, coilovers are the right call.
2. Lowering springs with matched shocks
Lowering springs paired with matched shocks are the best budget-friendly option for mild performance improvement. Lowering springs offer a mild drop and improved control, but stiffer springs on stock shocks can reduce ride quality and accelerate shock wear. Always pair new springs with new shocks rated for the spring rate you are running.
This combination costs less than a full coilover kit and installs with basic tools. The downside is that ride height is fixed. You cannot adjust it after installation without buying new springs. For a daily driver with occasional spirited driving, this setup hits the right balance of cost and performance.
3. Sway bars
Sway bars are the most underrated upgrade in this list. Sway bars reduce body roll and improve steering feel without changing ride height. That means you get a sharper, more connected feel through corners without touching your spring or shock setup at all.
The catch is that going too stiff on a sway bar reduces grip on uneven roads. A bar that is too aggressive for street use will cause the inside rear wheel to lift in tight corners, which is the opposite of what you want. Stick to a mild to moderate upgrade over stock, especially on the front.
4. Upgraded bushings
Upgraded bushings tighten steering response and improve durability compared to worn rubber factory units. Harder bushings can add noise and vibration, especially on polyurethane versions, so this is a trade-off you need to accept for street use. For track-focused builds, the added precision is worth it.
Bushings are often overlooked because they are not glamorous. But a set of fresh polyurethane control arm bushings on a high-mileage car can transform steering feel more noticeably than a sway bar upgrade. They are also one of the more affordable upgrades on this list.
5. Adjustable end links
Adjustable sway bar end links let you fine-tune sway bar preload after installation. Stock end links are fixed length, which means a lowered car often runs the sway bar at the wrong angle. Adjustable end links correct that geometry and let the sway bar work as designed.
This is a supporting upgrade, not a standalone one. Pair them with a sway bar upgrade or after lowering the car. Cost is low, installation is straightforward, and the handling improvement is real.
6. Strut tower brace
A strut tower brace connects the tops of the front strut towers, reducing chassis flex under hard cornering. Less flex means more consistent suspension geometry through a corner. The result is sharper turn-in and more predictable handling.
This upgrade works best on older or lighter chassis cars where flex is measurable. On a modern unibody with a stiff platform, the gains are smaller. Still, for a beginner looking for a bolt-on improvement with zero alignment impact, it is a solid addition.
7. Helper springs
Helper springs sit above or below the main spring on a coilover and prevent the spring from going into a bind at full droop. They are not a performance upgrade on their own. They are a setup tool that lets you run a stiffer main spring without the coilover going coil-bound over bumps.
If you are running coilovers and notice a clunking or popping sound over dips, a helper spring is likely the fix. This is an intermediate addition, not a day-one purchase, but worth knowing about before you start tuning.
Alignment and setup: the step most beginners skip
Alignment is not optional after any suspension change. Without proper geometry, including camber, caster, and toe, even the best suspension parts perform poorly or cause handling issues. A set of quality coilovers installed without an alignment is money wasted.
“Alignment is more important than high-end parts for extracting performance beginners can get from basic upgrades. Proper geometry settings are what make the parts work together as a system.” — WheelPrice technicians
Coilovers need a settling period of 500–1,000 miles before final adjustments. Springs and bushings compress and seat during that break-in window. Getting a full alignment immediately after installation and then again after the settling period saves money and gives you accurate final geometry.
Here are the baseline practices every beginner should follow:
- Measure ride height before and after: Take baseline measurements from the center of the wheel to the fender arch on level ground. This gives you a reference point and helps you dial in even drop side to side.
- Set ride height before alignment: Never go to an alignment shop with the ride height still being adjusted. Lock in your target height first.
- Align for your use case: A street alignment uses near-zero camber. A track alignment runs more negative camber for grip in corners. Know which one you need before you walk in.
- Check toe after any height change: Even a small ride height adjustment shifts toe. Toe out causes instability at speed. Toe in causes tire scrub. Neither is acceptable on a car you drive daily.
Pro Tip: Read the coilover alignment guide before your first install. Understanding camber, caster, and toe before you touch the car means you will ask the right questions at the alignment shop and avoid paying for corrections later.
How to choose the right upgrade for your goals and budget
The right upgrade depends on three things: how you drive, what condition your car is in, and how much you want to spend. The table below maps common use cases to the most suitable upgrade path.
| Driving goal | Recommended upgrade path | Budget range |
|---|---|---|
| Daily driver, worn suspension | Replace shocks, mounts, and bushings | $300–$700 |
| Daily driver, spirited weekend use | Lowering springs with matched shocks | $500–$900 |
| Street and occasional track | Entry-level coilovers, sway bar upgrade | $700–$1,400 |
| Track-focused build | Full coilover kit, polyurethane bushings, adjustable end links | $1,000–$2,500+ |
Beginners often ask whether to restore factory parts or skip straight to coilovers. The answer depends on mileage and condition. A car with 80,000 miles on stock suspension needs restoration first. A low-mileage car with solid factory components can move directly to a coilover or spring upgrade.
Truck and performance car builders follow the same logic: worn parts undermine every upgrade you bolt on top of them. Spend the money on a solid foundation before chasing adjustability.
The incremental approach works best for beginners. Start with restoration, add one upgrade at a time, and align after each change. This gives you a clear picture of what each part actually does to the car’s behavior. Stacking multiple changes at once makes it impossible to know what is working and what is not.
Key takeaways
The best starter suspension upgrade is always the one that addresses your car’s actual condition before adding performance hardware.
| Point | Details |
|---|---|
| Restore before upgrading | Replace worn shocks, mounts, and bushings on high-mileage cars before adding any performance parts. |
| Coilovers rank first for adjustability | Entry-level coilovers give beginners height and damping control in a single kit. |
| Alignment is non-negotiable | Get a full alignment after every suspension change, and again after the coilover settling period. |
| Match springs to shocks | Never run stiffer lowering springs on worn stock shocks. Pair them with matched units. |
| Go incremental | Change one component at a time so you can measure and understand each upgrade’s actual effect. |
What I have learned from watching beginners build suspension setups
The most expensive mistake I see is buying coilovers before fixing a car that already has worn bushings and blown shocks. The coilovers go on, the car still feels vague and floaty, and the builder assumes the kit is bad. The kit is fine. The foundation was not there.
The second most common mistake is skipping alignment entirely or getting one alignment and calling it done. Suspension geometry is not a set-it-and-forget-it task. Every time you adjust ride height, you shift toe and camber. Every time you swap a bushing, you change how the geometry loads under cornering. Alignment is a recurring part of the process, not a one-time box to check.
The upgrade I see underrated most consistently is the sway bar. Builders spend $1,200 on coilovers and then wonder why the car still rolls in corners. A $150–$250 front sway bar upgrade would have addressed that specific problem directly and cheaply. Know what problem you are solving before you buy.
Patience is the actual skill here. The builders who get the best results are the ones who measure, drive, measure again, and adjust. They are not the ones who bolt everything on at once and hope for the best. Take your time, learn the suspension types that fit your platform, and build a system that works together.
— Ismael
Suspension upgrades at Undergrounddynamics
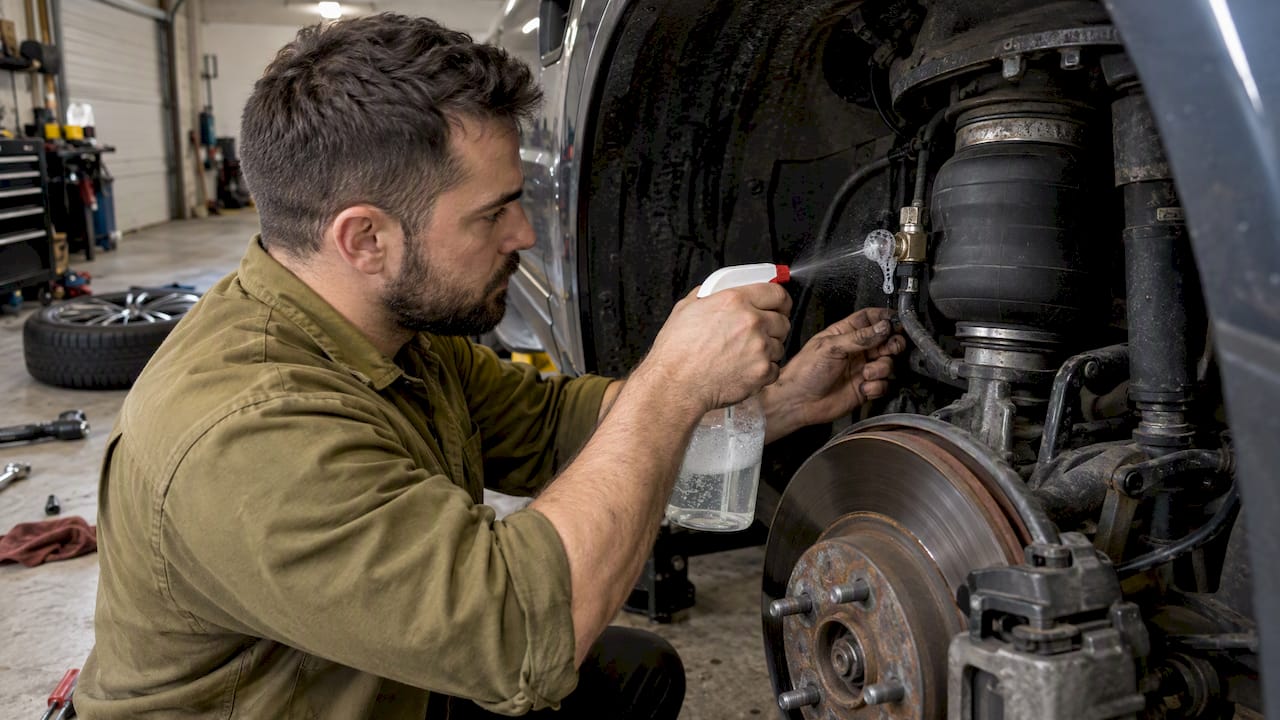
Undergrounddynamics carries a full range of entry-level suspension kits built for enthusiast platforms, including coilovers, lowering springs, and air suspension options with real fitment specs for your chassis. Every product listing includes the technical detail you need to buy with confidence, not guesswork.
The catalog is built for builders who want functional performance, not just a lower car. Whether you are starting with a spring and shock swap or stepping into a full coilover setup, Undergrounddynamics has the parts and the specs to back them up. Visit Undergrounddynamics to find the right kit for your build and your budget.
FAQ
What is the first suspension upgrade a beginner should make?
The first upgrade is restoring worn factory components. Replacing shocks, mounts, and bushings on a high-mileage car recovers most of the original handling before any performance parts are added.
Are coilovers good for beginners?
Coilovers are a strong choice for beginners who want adjustability, but they require understanding spring rates and a proper alignment after installation. Entry-level kits in the $400–$800 range offer a good starting point.
Do I need an alignment after installing lowering springs?
Yes. Any change to ride height shifts camber and toe. Skipping alignment after installing lowering springs causes uneven tire wear and unpredictable handling.
What is the difference between lowering springs and coilovers?
Lowering springs offer a fixed drop at a lower cost but do not replace shocks and provide no adjustability. Coilovers replace the entire shock and spring assembly and allow height and damping adjustment.
How long should I wait before getting a final alignment on coilovers?
Wait 500–1,000 miles after installation for the springs and bushings to fully seat, then get a final alignment. Getting aligned too early means the geometry will shift again as components settle.