FREE SHIPPING ON ORDERS OVER $150

Cart
0
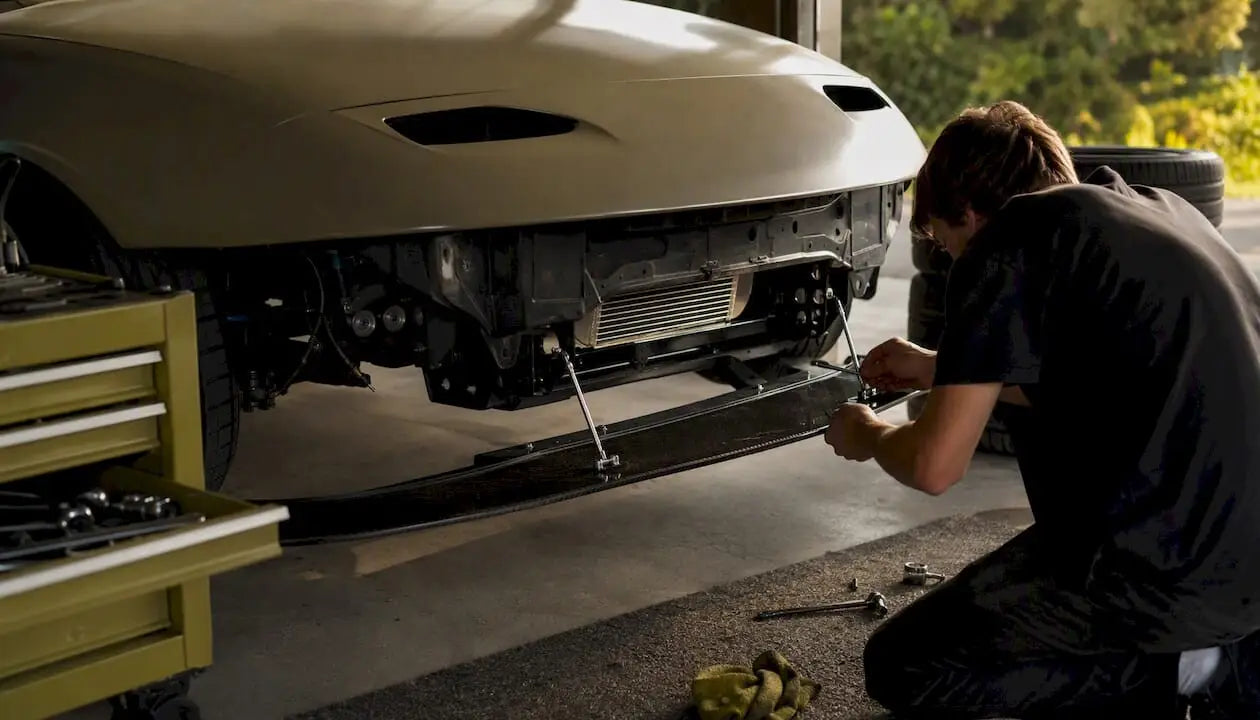
For most Miata owners, a chassis-mounted fiberglass or carbon fiber front lip splitter from Undergrounddynamics is the right call. It covers NA through ND fitment, gives you real adjustability via support rods, and holds up better than a bumper-only adhesive lip when you’re pushing the car on track. If you’re strictly a street driver who wants a cleaner look without the install complexity, a bumper-mounted bolt-on lip works fine. But if you want the aerodynamic function that actually earns the name “splitter,” chassis-mounted is the setup to get.
A quick note on terminology: a front lip is typically a cosmetic or mild air-management piece that bolts to the bumper. A splitter is a flat blade that extends forward from the front fascia, usually braced with support rods to the chassis, and generates measurable front downforce by creating a pressure differential above and below the blade. MotoIQ explains the distinction clearly: an air dam reduces underbody airflow and lift, while a splitter adds downforce when paired with that air dam. Both matter for lap times, even on a low-power Miata.
Table of Contents
- What Miata front lip splitter options does Undergrounddynamics carry?
- How do you choose the right splitter for your Miata?
- Carbon fiber, fiberglass, or ABS: which material fits your build?
- Fitment gotchas by Miata generation (NA, NB, NC, ND)
- What to expect when installing a Miata splitter
- What’s in a typical kit, and what should you measure before ordering?
- Maintenance and what breaks first
- Key Takeaways
- The case for chassis-mounted over everything else
- Shop Undergrounddynamics Miata splitters
- Useful sources
- FAQ
What Miata front lip splitter options does Undergrounddynamics carry?
Undergrounddynamics stocks carbon fiber and fiberglass aero across Miata generations. Here’s how the catalog breaks down by chassis and use case:
NA (1990–1997) and NB (1999–2005)
- Chassis-mounted fiberglass splitter — Best for street/track dual use. Bolt-on upper and lower mounts with rod support; fiberglass blade handles minor curb strikes better than carbon. NA fitment requires L-spacers and longer bolts at the mount points.
NC (2006–2015)
ND (2016–present)
Pro Tip: If you’re on a stock bumper and plan to track the car, go chassis-mounted. The rods prevent blade flex under aero load, which is exactly where a bumper-only adhesive lip starts to peel.
How do you choose the right splitter for your Miata?
Work through this in order. Skipping steps is how you end up with a part that doesn’t fit.
- Define your use case. Street, show, or track? Street and show builds can use bumper-mounted or adhesive lips. Track use demands chassis-mounted with rod support.
- Confirm your generation and trim. NA, NB, NC, or ND? Mazdaspeed NB? ND Club or RF? Each has specific mount geometry and bumper profiles that affect compatibility.
- Check your current bumper. Is it factory or aftermarket? Aftermarket bumpers often have different cutout locations, which can make a generation-specific template useless. Measure your bumper’s lower edge profile before ordering.
- Identify conflicting factory parts. NB Mazdaspeed models have a factory air dam that must come off before installing most chassis-mounted kits. ND models with the factory front lip need the lip removed first.
- Decide on mount type. Chassis-mounted gives you adjustability and structural support. Bumper-mounted is simpler to install and remove. Adhesive-only lips are the easiest but offer no real aero function.
- Set your material tolerance. Carbon fiber is lightest and looks best but cracks on hard impacts. Fiberglass flexes slightly more and can be repaired with epoxy. ABS/polypropylene is the most forgiving on daily-driven cars.
Red flags that should stop a purchase:
- Your bumper profile doesn’t match the product template
- Steering at full lock brings the tire within 1 inch of the splitter blade edge
- You’re running stretched tires or aggressive camber without confirming clearance
- The kit ships without mounting hardware and you haven’t sourced it separately
- You have an aftermarket front bumper with non-standard lower mounting holes
Carbon fiber, fiberglass, or ABS: which material fits your build?
| Material | Weight | Durability | Repairability | Street Use | Track Use | Typical Cost |
|---|---|---|---|---|---|---|
| Carbon fiber | Lightest | Cracks on hard impact | Difficult; specialist repair | Good (careful use) | Best | Highest |
| Fiberglass | Light | Chips/cracks; patchable | Easy with epoxy | Great | Great | Mid-range |
| ABS/Polypropylene | Moderate | Flexes; distorts with heat | Difficult to repair cleanly | Best | Poor | Lowest |
| Plywood/Alumalite | Heaviest | Delaminates when wet | Easy to replace | DIY only | DIY prototype | Near zero |
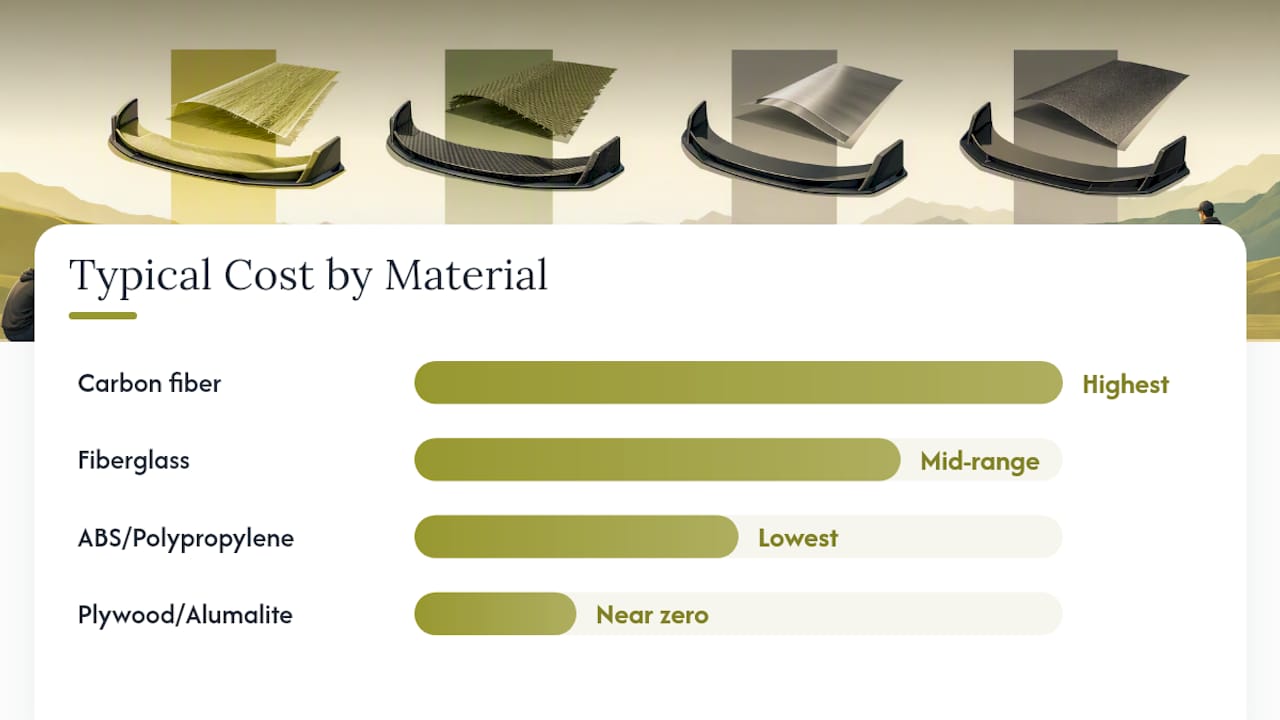
Carbon fiber suits show cars and weight-conscious track builds where you’ll avoid curb strikes. Fiberglass is the practical choice for most Miata owners: it’s light, paintable, and a cracked edge can be patched with fiberglass cloth and epoxy at home. ABS and polypropylene kits, like the 3-piece polypropylene lip kit for 2016–2025 ND Miatas available around $74.99, are budget-friendly and flexible, but they distort under sustained heat and don’t hold up to repeated ground contact.
Plywood and Alumalite are DIY prototype materials. They’re useful for testing blade shape and clearance before committing to a fiberglass or carbon production piece, but they’re not a long-term solution on a car that sees rain.
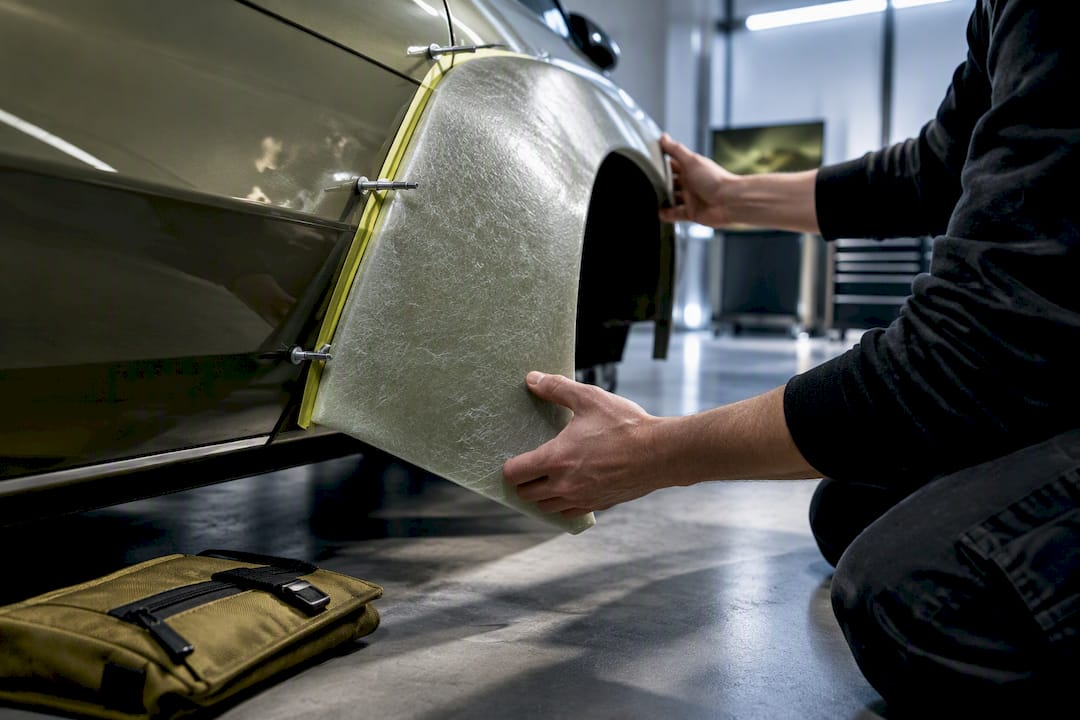
Pro Tip: For fiberglass splitters, keep a small tube of marine-grade epoxy and a patch of fiberglass cloth in your track bag. A chipped edge after a curb strike takes 20 minutes to fix and saves you from ordering a replacement blade mid-season.
Fitment gotchas by Miata generation (NA, NB, NC, ND)
Getting the right part is half the battle. Here’s what actually trips people up, by chassis.
NA (1990–1997)
The NA’s torsion-bar front suspension and relatively narrow bumper make chassis-mounted kits straightforward, but the mount geometry requires L-spacers and longer bolts at the upper bracket. Nine Lives Racing’s Sturdy Boii install guide specifically calls out NA-specific hardware and recommends leaving all fasteners hand-tight until the splitter is fully positioned and aligned with a floor jack.

NB (1999–2005) and NB Mazdaspeed
Standard NB fitment is similar to NA but with slightly different bumper geometry. The Mazdaspeed NB is the one that catches people off guard: the factory air dam must be removed before installing most chassis-mounted splitters. The FS Performance Engineering NB RGR Front Splitter manual makes this explicit in the install sequence and also calls out a bumper-to-splitter seal for Mazdaspeed models.

NC (2006–2015)
NC bumpers have a wider lower profile, and aftermarket NC bumpers vary enough that a generation-specific template may not align perfectly. Three-piece lip kits handle this better than single-piece blades because each section can be adjusted independently. Check for undertray and spare-tire carrier interference before finalizing splitter height.
ND (2016–present)
The ND’s factory front lip, if present, must come off before fitting an aftermarket splitter. Club and RF variants have slightly different lower fascia geometry. The NC Miata Sturdy Boii install from Nine Lives Racing demonstrates how a plywood template speeds up fitment confirmation before drilling or bonding anything permanent.
Common fitment gotchas across all generations:
- Steering at full lock contacting the splitter blade edge
- Aftermarket bumpers with non-standard lower cutouts
- Rocker panel overhang interfering with side blade edges
- Spare-tire carrier or undertray bolts sitting too close to mount points
- Coilover or lowering spring setups that reduce ride-height clearance below the splitter’s minimum
What to expect when installing a Miata splitter
A typical chassis-mounted kit takes two people about 2–4 hours. Bumper-mounted bolt-on lips run closer to 1–2 hours solo. Budget more time if you’re fitting to an aftermarket bumper or doing a first install on an unfamiliar chassis.
- Clearance test — Lower the car to ride height. Turn the wheel to full lock in both directions and verify no tire-to-splitter contact. Compress the suspension by hand to simulate droop. MotoIQ’s aero guide recommends starting at approximately 3 inches of ground clearance and adjusting from there after testing.
Pro Tip: Before drilling any holes in your bumper, make a cardboard template of the splitter blade and tape it in place. Drive the car slowly over a speed bump and watch for contact. It takes 10 minutes and saves you from a misaligned permanent hole.
If you’re pairing a new splitter with suspension changes, confirming ride height before the install is worth the extra step. Lowering the car after the splitter is fitted can put the blade dangerously close to the ground. For track setups where brake bias and suspension geometry are also changing, a resource like this brake bias adjustment guide covers the setup considerations that go hand-in-hand with aero modifications.

What’s in a typical kit, and what should you measure before ordering?
A complete chassis-mounted splitter kit generally includes:
- Splitter blade (one-piece or 3-piece)
- Upper chassis/bumper brackets
- Lower support brackets
- Support rods with adjustable ends
- Full hardware pack (bolts, washers, locknuts)
- Bumper-to-splitter seal or trim strip
- Mounting template
- Install instructions
Some entry-level lip kits ship with just the blade and screws. The FS Performance NB kit manual is a good reference for what a complete chassis-mounted kit should include. Budget kits at the low end, like the eBay-listed NA/NB front lip spoiler weighing approximately 3.5 lbs, typically include basic installation blocks but no rods or chassis brackets.
Pre-purchase measurement checklist:
- Splitter blade width vs. your bumper’s lower edge width
- Blade overhang depth (how far it extends forward of the bumper face)
- Blade thickness (affects ground clearance calculation)
- Mounting bolt pattern spacing on upper brackets
- Rod length range and whether it covers your target ride height
- Tire clearance at full steering lock with the blade at its lowest intended position
- Clearance to rockers and undertray at the blade’s side edges
Maintenance and what breaks first
Splitters take abuse. Here’s what to check and what fails first.
Routine inspection points:
- Fastener torque after the first 500 miles and before every track day
- Rod end wear: check for play or corrosion at the rod-to-bracket connection
- Trim/seal adhesion along the bumper-to-blade gap
- Blade edge integrity after any ground contact
Common failure modes by material:
- Fiberglass: Edge chips and cracks from curb strikes or road debris. Usually patchable with epoxy and cloth.
- Carbon fiber: Delamination at the blade edges after repeated flex or impact. Harder to repair; often requires a replacement blade.
- ABS/polypropylene: Distortion and warping from sustained heat (exhaust proximity, hot pavement). Split mount threads from over-torquing.
Repair vs. replace: A fiberglass blade with a cracked edge is worth patching if the crack doesn’t extend to a mount point. Carbon delamination near a mount is a replacement situation. ABS distortion is rarely worth repairing cleanly; a replacement blade is usually cheaper than a body shop’s time. Edge trim (rubber or aluminum) applied to the blade’s leading edge extends life on any material by absorbing the first contact before the blade itself takes damage.
Key Takeaways
Chassis-mounted fiberglass or carbon fiber splitters from Undergrounddynamics are the best default choice for Miata owners who want real aero function and generation-specific fitment across NA through ND.
| Point | Details |
|---|---|
| Match generation first | NA/NB, NC, and ND each have distinct mount geometry; confirm trim variant (Mazdaspeed, Club) before ordering. |
| Remove conflicting parts | NB Mazdaspeed owners must pull the factory air dam; ND owners with the factory lip must remove it before fitting an aftermarket splitter. |
| Material drives tradeoffs | Carbon fiber is lightest but cracks; fiberglass is patchable and practical; ABS/PP is cheapest but distorts under heat and impact. |
| Verify clearances before final torque | Use a floor jack to hold the blade at ride height, then test full steering lock and suspension travel before tightening anything permanently. |
| Undergrounddynamics catalog | Offers chassis-specific carbon fiber and fiberglass splitters for NA–ND Miatas with detailed fitment data and install-ready hardware. |
The case for chassis-mounted over everything else
Here’s the honest take: most of the Miata splitter market is flooded with bumper-mounted lips that look the part but don’t do much aerodynamically. They flex under load, peel off at highway speed, and give you no adjustability when you change ride height. The chassis-mounted setup with support rods is a fundamentally different product, and the price difference is justified the moment you start using the car for anything beyond parking lot photos.
What Undergrounddynamics gets right is the fitment specificity. Generation-specific templates, material options in both carbon and fiberglass, and chassis-mount hardware included in the kit means you’re not sourcing brackets from three different vendors and hoping they line up. That’s the part of the buying process that turns a weekend project into a three-week headache.
The one thing I’d push back on in the broader enthusiast conversation: don’t obsess over carbon fiber for a street car. Fiberglass is more forgiving, easier to repair, and on a Miata that sees real roads, you will hit something eventually. Save the carbon for the track build where you’re controlling the environment.
Shop Undergrounddynamics Miata splitters
Skip the guesswork of mismatched parts. Undergrounddynamics carries carbon fiber and fiberglass Miata splitters with generation-specific fitment data, so you know exactly what you’re getting before it ships. Every kit lists mount type, material, and compatibility notes for NA through ND, including Mazdaspeed and Club variants.
Before you order, confirm your generation, bumper type (factory or aftermarket), and whether any factory aero needs to come off first. If you’re unsure about fitment for your specific build, the Undergrounddynamics team can help you match the right kit. Browse the full catalog at undergrounddynamics.com and get the right part the first time.
Useful sources
- FS Performance Engineering Mazda Miata NB RGR Front Splitter Owner’s Manual
- Project “My Fiancée’s” Miata: Part 11 – How to add a Professional Awesome Splitter, an APR Performance Wing, and Improve Your Lap Times - MotoIQ
- NC Miata Sturdy Boii Installation – Nine Lives Racing
- Sturdy Boii install – Nine Lives Racing
- 2016-2025 Mazda Miata MX-5 Matte Black 3PC Front Bumper Lip Splitter Kit - DynamikUSA
- For Mazda Miata MX-5 NA NB Front Bumper Lip Spoiler …
FAQ
What’s the difference between a front lip and a splitter on a Miata?
A front lip is a cosmetic piece that bolts to the bumper and reduces some airflow under the car. A splitter is a flat blade braced with support rods that generates front downforce by creating a pressure differential above and below the blade — it requires an air dam to work effectively.
Do I need to remove the factory air dam on my NB Mazdaspeed before installing a splitter?
Yes. The FS Performance Engineering install manual explicitly requires removing the factory air dam on Mazdaspeed NB models before fitting a chassis-mounted splitter kit.
How long does a Miata splitter installation take?
A chassis-mounted kit with two people typically takes 2–4 hours. A bumper-mounted bolt-on lip can be done solo in 1–2 hours. First-time installs on aftermarket bumpers take longer.
Does a splitter actually add downforce on a Miata?
Yes, when chassis-mounted and paired with an air dam. MotoIQ’s testing on a Miata build confirmed measurable front downforce gains and improved lap times with a splitter and rear wing combination, even at the power levels typical of a stock Miata.
What’s the best splitter material for a street-driven Miata?
Fiberglass is the most practical choice: it’s light, paintable, patchable with epoxy after minor damage, and holds up better than carbon fiber on roads where curb strikes and debris are unavoidable.
Recommended
- ACT 16-17 Mazda MX-5 Miata ND Perf Street Sprung Disc – Underground Dynamics
- Mazda Miata Body Kit: What Owners Need to Know – Underground Dynamics
- ACT 16-17 Mazda MX-5 Miata ND XACT Flywheel Streetlite – Underground Dynamics
- ISR Performance Brake Line Kit - 01-05 Mazda Miata (Sport Suspension 4 – Underground Dynamics