FREE SHIPPING ON ORDERS OVER $150

Cart
0
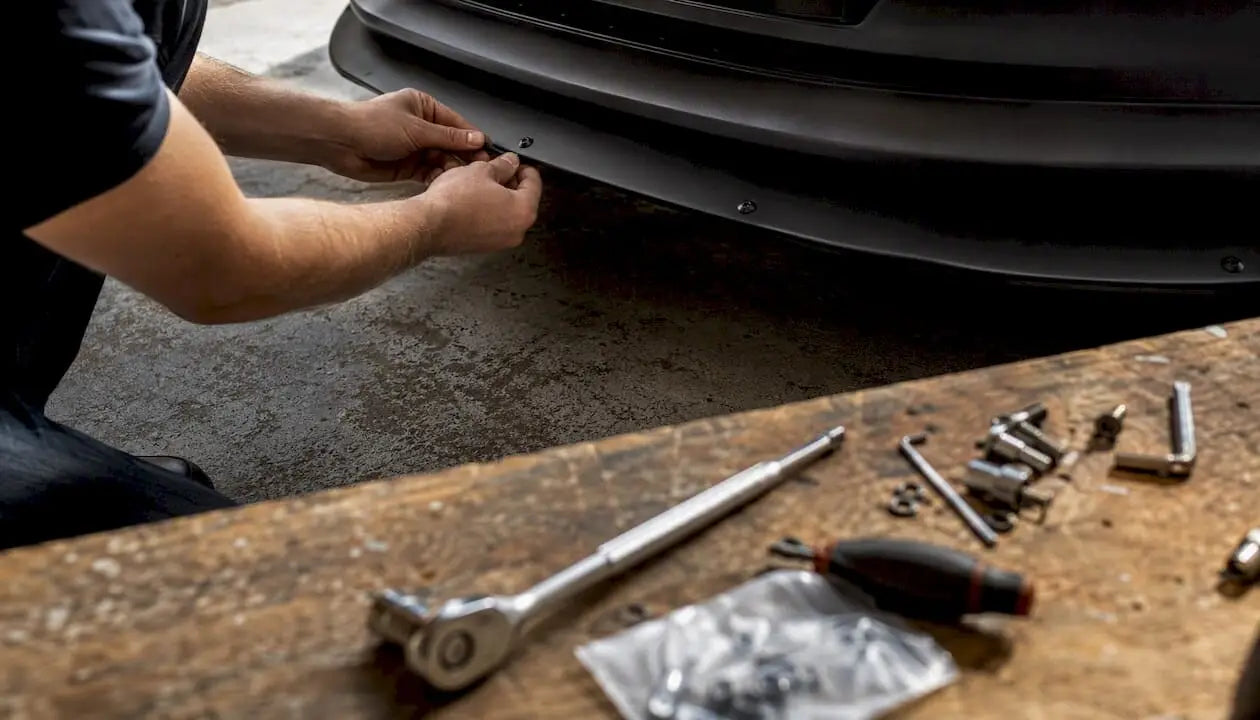
For a 2022+ ZN8/ZD8 BRZ, three options cover nearly every goal: a bumper-mounted OEM+ lip for clean street driving, a chassis-mounted splitter for track balance, and a carbon fiber lip for show builds focused on weight reduction. Here’s the quick breakdown before you dig into the details.
Street (OEM+ lip): A direct-fit molded lip like the S-Style from AeroflowDynamics follows factory bumper lines, installs with included hardware in under two hours, and won’t scrape your driveway every morning. Undergrounddynamics carries fiberglass and carbon fiber options in this category that fit the same brief.
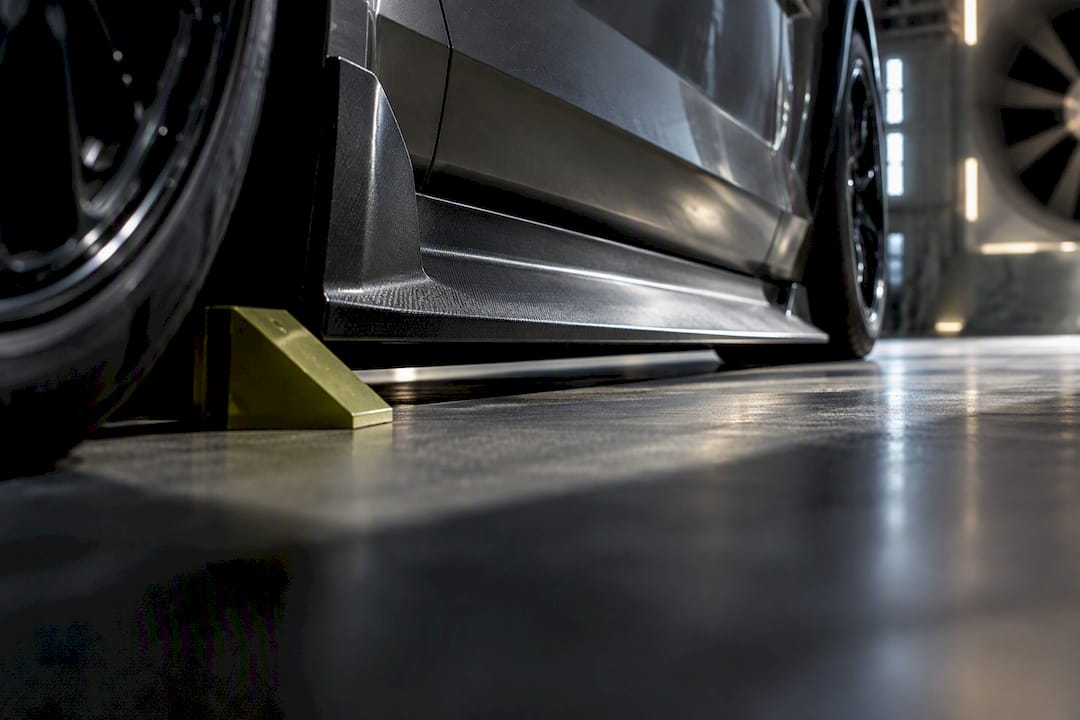
Track (chassis-mounted splitter): The Verus Engineering Ventus 2 is the benchmark here. It transfers downforce load to the crash beam via rivet nuts, clevises, and support rods rather than relying on bumper clips alone. Expect a 2–4 hour install, some drilling, and a made-to-order lead time.
Show/weight reduction (carbon fiber lip): Carbon fiber lips save weight versus fiberglass and ABS, look sharp under UV-stable clearcoat, and pair well with BRZ widebody fenders or full aero kits. Undergrounddynamics stocks carbon fiber aero parts with model-specific fitment data.
Fitment note: The 2022+ ZN8/ZD8 BRZ has a revised front bumper geometry compared to the ZC6. Most aftermarket lips are now designed specifically for ZN8/ZD8, but always confirm before ordering. Pre-drilled crash beam holes are absent on some BRZ bumpers, so drilling is required for chassis-mounted installs.
Table of Contents
- How do the top BRZ front lip splitter options compare?
- How do you choose the right BRZ splitter for your goals?
- What does installing a BRZ splitter actually involve?
- Does fitment differ between BRZ model years?
- Carbon fiber, fiberglass, or ABS: which material is right for you?
- What should you budget for a BRZ splitter?
- Street legality and daily-driving practicality
- Undergrounddynamics recommended BRZ splitter setup and installer tips
- Key Takeaways
- What most BRZ splitter guides get wrong
- Undergrounddynamics has BRZ-specific aero parts ready to ship
- Useful sources and install manuals
- FAQ
How do the top BRZ front lip splitter options compare?
The table below covers the dimensions that actually matter at purchase time. Prices are typical MSRP bands; lead times reflect made-to-order vs. in-stock reality.
| Option | Best for | Material | Mounting | Price range | Hardware included | Install difficulty | Lead time |
|---|---|---|---|---|---|---|---|
| Undergrounddynamics fiberglass lip | Street / show | Fiberglass | Bumper-mounted | $150–$400 | Bolts, clips | Easy (1–2 hrs) | Varies by product |
| Undergrounddynamics carbon fiber lip | Show / weight reduction | Carbon fiber | Bumper-mounted | $300–$700 | Bolts, clips | Easy–Moderate (1–2 hrs) | Varies by product |
| Verus Engineering Ventus 2 | Track / spirited street | Stiff plastic | Chassis-mounted | $400–$600 | Full kit (rods, clevises, rivet nuts, BHCS, fender washers) | Moderate–Hard (2–4 hrs) | Made-to-order |
| OEM+ style ABS lip | Daily driver / street | ABS plastic | Bumper-mounted | $100–$250 | Clips, bolts | Easy (1–2 hrs) | Usually in stock |
Verus Engineering Ventus 2 pros/cons:
- Pros: Full hardware kit included, genuine downforce gain, stiff construction resists pulling under the car, detailed install manual with torque specs
- Cons: Requires drilling into the crash beam, longer lead time, higher price, not ideal for daily-driver clearance
Undergrounddynamics carbon fiber lip pros/cons:
- Pros: Lightest option, premium appearance, pairs well with full aero builds, fiberglass alternative available at lower cost
- Cons: Edge chipping risk if scraped, clearcoat maintenance required, bumper-mounted only
OEM+ ABS lip pros/cons:
- Pros: Cheapest entry point, flexible and forgiving on speed bumps, easy replacement if damaged
- Cons: No aerodynamic benefit, can look aftermarket if finish doesn’t match paint
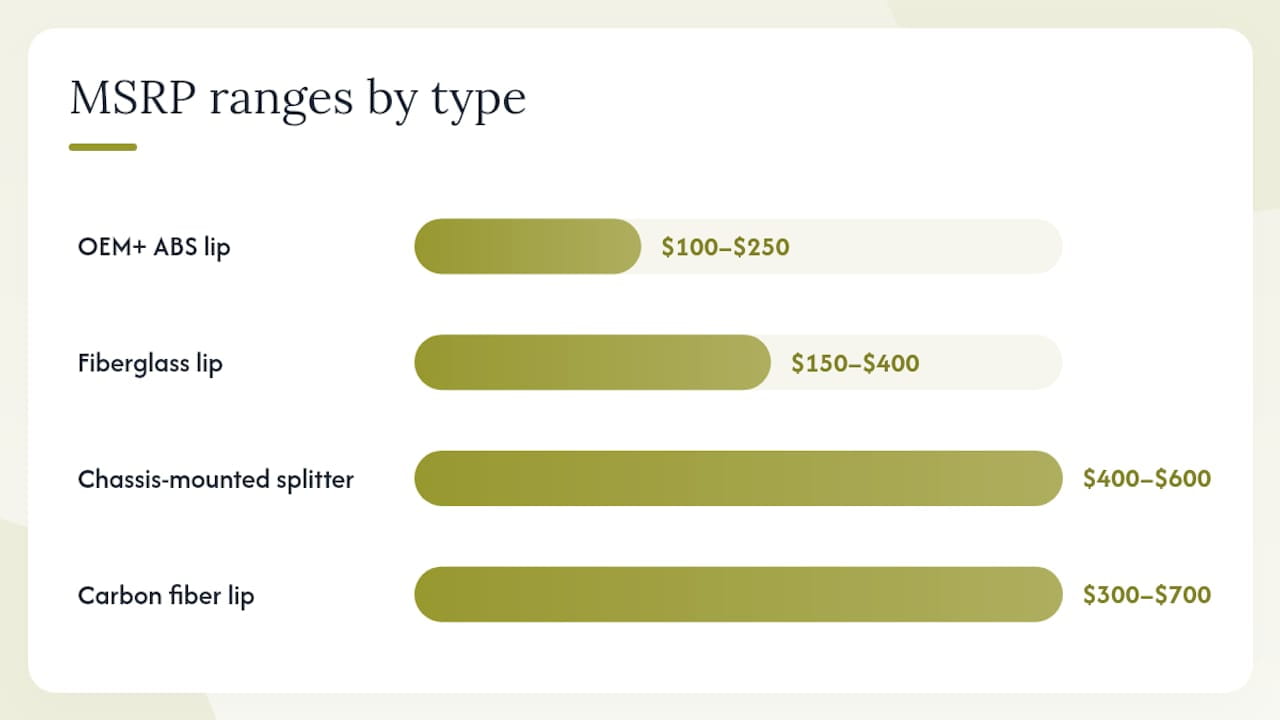
Price callout: Entry-level ABS lips run $100–$250. Mid-range fiberglass OEM+ lips sit at $150–$400. Chassis-mounted track splitters typically land at $400–$600. Carbon fiber show lips range from $300–$700 depending on finish and brand.
Lead time callout: In-stock ABS and some fiberglass lips ship within a few days. Made-to-order carbon runs and chassis-mounted kits like the Verus Ventus 2 can take 2–6 weeks depending on production schedule.
How do you choose the right BRZ splitter for your goals?
Work through this checklist before you click “add to cart.” It saves you from buying a track splitter that scrapes every parking lot exit.
Driving goal:
- Street/daily: Bumper-mounted OEM+ lip, ABS or fiberglass, easy replacement
- Track/HPDE: Chassis-mounted splitter with support rods and rivet nuts
- Show/build: Carbon fiber lip, clearcoat finish, pair with widebody or full aero kit
Clearance and daily driving:
- Measure your current bumper-to-ground clearance before ordering. Most chassis-mounted splitters drop the front profile by 1–2 inches.
- If you run a BRZ air suspension kit or coilovers at aggressive ride heights, confirm clearance at full droop.
Material and finish:
- ABS: Flexible, cheap to replace, limited finish options
- Fiberglass: Paintable, moderate weight, repairable with body filler
- Carbon fiber: Lightest, premium look, harder to repair after impact
Mounting style:
- Bumper-mounted: No drilling into the chassis, reversible, lower aerodynamic load transfer
- Chassis-mounted: Requires rivet nuts and drilling, transfers load to crash beam, better for track use
Budget and lead time:
- Budget under $250: ABS lip, in stock, ships fast
- Budget $250–$500: Fiberglass or entry carbon, some made-to-order
- Budget $500+: Full chassis-mounted kit or premium carbon, expect longer lead times
Questions to ask your vendor before ordering:
- Does the kit include rivet nuts, BHCS, fender washers, and support rods?
- Is bumper removal required for installation?
- Are fitment photos available for my specific BRZ model year?
- What finish options are available, and does it come primed or painted?
Red flags:
- No hardware list provided
- “Universal fit” claims on a chassis-mounted splitter
- Excessive trimming required without clear instructions
- Track-only disclaimers buried in fine print without a street-use warning
Community install threads are worth reading before you buy. Real owners document fitment surprises that product pages don’t mention.
What does installing a BRZ splitter actually involve?
The install sequence differs significantly between a bumper-mounted lip and a chassis-mounted splitter. Here’s what to expect for each.
Core install sequence (chassis-mounted splitter)
- Raise the car on jack stands or a lift. Access to the underside is non-negotiable.
- Remove the front splash shield. Four to six bolts, usually 10mm.
- Drop or remove the front bumper if rivet-nut placement requires it. Many BRZ installs need bumper removal for accurate drilling.
- Mark drilling locations on the crash beam using the template or measurements from the install manual. The Verus install manual specifies exact offsets from centerline for rivet-nut placement.
- Drill pilot holes with a 3/8" drill bit, then install rivet nuts using a rivet-nut tool.
- Attach clevises to the rivet nuts. Torque clevis bolts to 6 ft-lbs per the Verus spec.
- Mount the splitter blade and attach support rods from the clevises to the splitter.
- Install tie extensions and adjust rod length so the splitter sits level and centered.
- Fasten the splitter to the bumper using M6 BHCS at the appropriate lengths (25mm, 40mm, 45mm, or 60mm depending on location) with fender washers to distribute load.
- Reinstall the splash shield and bumper. Leave all fasteners hand-tight until final alignment is confirmed.
- Lower the car, check centerline alignment, then torque all fasteners to spec.
Tools you’ll need
- 3/8" drill with step bits
- Rivet-nut installation tool (hand or pneumatic)
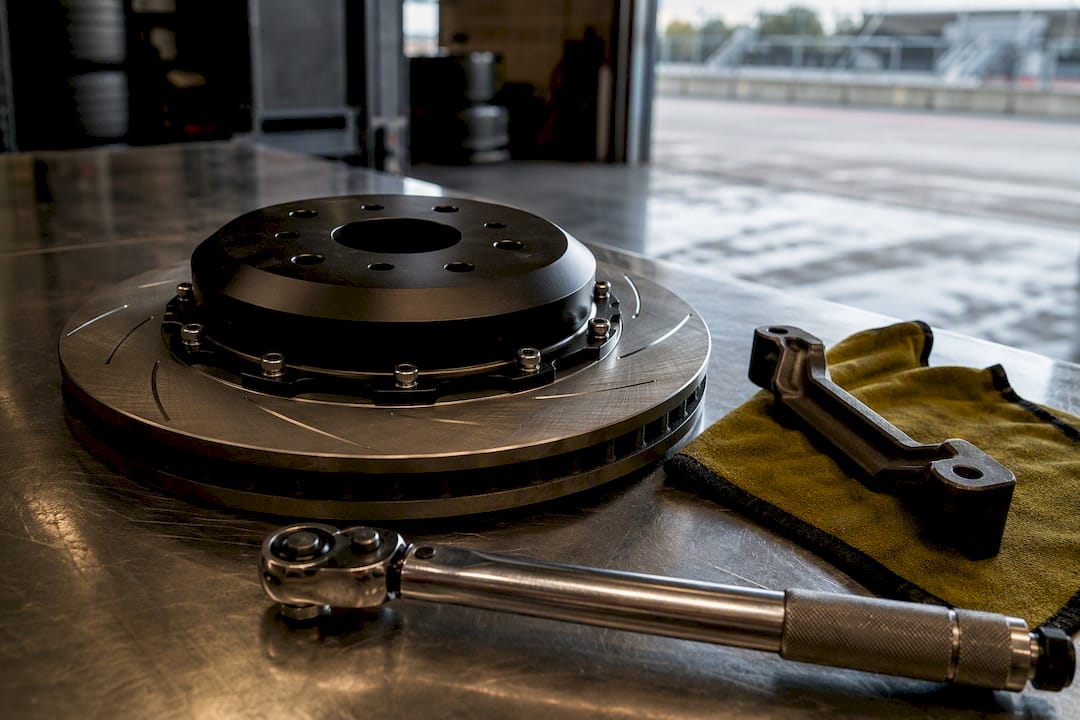
- Torque wrench (in-lb and ft-lb range)
- Metric socket set (8mm, 10mm, 12mm)
- T-handle hex keys (M5, M6)
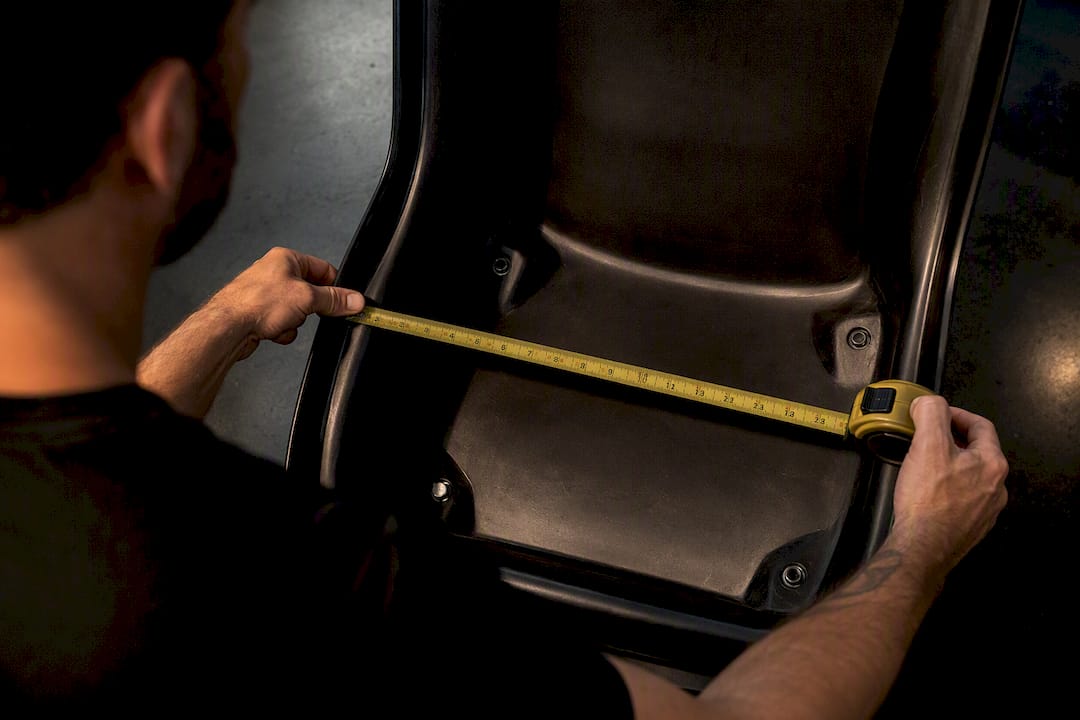
- Tape measure and marker for drilling locations
- Jack stands or a two-post lift
DIY install times typically range from a couple of hours for a bumper-mounted lip to several hours for a chassis-mounted splitter requiring more complex mounting. A shop familiar with BRZ aero installs can cut that time roughly in half.
Pro Tip: Pre-fit the entire splitter with all fasteners hand-tight before torquing anything. Walk around the car, check the gap between the splitter edge and the bumper, and confirm the centerline. Torquing before alignment locks in any misalignment permanently, and correcting it means starting over.
Does fitment differ between BRZ model years?
Yes, and it matters more than most product pages admit.
2022+ ZN8/ZD8 BRZ fitment notes:
- The ZN8/ZD8 front bumper has a different lower grille geometry and crash beam profile compared to the ZC6 (2013–2021). Parts listed for “BRZ” without a year range may be ZC6-specific.
- Pre-drilled holes for accessory lips are absent on many ZN8 bumpers. Chassis-mounted installs require drilling at measured offsets.
- Some ZN8 installs require trimming the lower grille opening for the splitter blade to sit flush. Confirm with the vendor before ordering.
- The OEM accessory installation guide for the factory under-spoiler shows the OEM attachment method and bolt locations, which is a useful baseline for comparing aftermarket bumper-mounted installs.
Bumper variants:
- Sport and Limited trim BRZs share the same front bumper shell on ZN8, but fog light delete vs. fog light equipped bumpers can affect lower lip clip locations.
- If your BRZ has a factory aero package or dealer-installed lip, remove it before measuring for an aftermarket splitter.
When to contact vendor support:
- You can’t find a fitment photo for your specific model year and trim
- The install manual references a crash beam feature you can’t locate on your car
- You’re unsure whether your bumper is a pre-facelift or post-facelift variant
The S-Style lip from AeroflowDynamics is one of the few options that explicitly lists direct fitment for 2022–2026 BRZ with finish and hardware designed for minimal trimming. That kind of year-specific claim is what you want to see before ordering.
Carbon fiber, fiberglass, or ABS: which material is right for you?
| Material | Weight | Cost | Crack resistance | Repairability | Finish options |
|---|---|---|---|---|---|
| Carbon fiber | Lightest | Highest | Low (brittle at edges) | Difficult | Exposed weave + clearcoat, painted |
| Fiberglass | Moderate | Mid-range | Moderate | Good (body filler) | Primer, paint, gel coat |
| ABS plastic | Heaviest of three | Lowest | High (flexible) | Replace panel | Painted, gloss black |
Carbon fiber is the right call for show builds and weight-conscious track setups. The exposed weave under UV-stable clearcoat looks sharp, but the edges chip on hard contact. A scraped carbon lip usually means replacement, not repair.
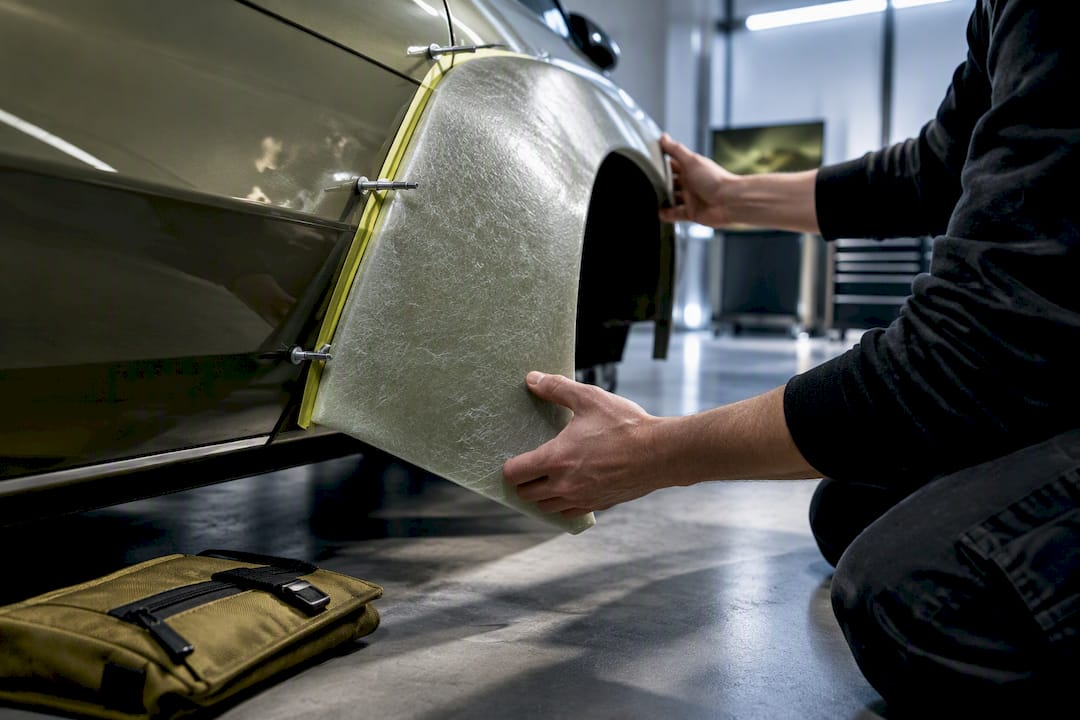
Fiberglass is the most practical choice for owners who want a painted finish that matches their car. Small cracks and chips repair with standard body filler and primer. It’s heavier than carbon but significantly cheaper, and Undergrounddynamics stocks fiberglass options with model-specific fitment data.
ABS wins on daily-driver durability. It flexes on contact rather than cracking, and replacement panels are cheap. The trade-off is weight and the fact that ABS lips offer no aerodynamic function beyond aesthetics.
Maintenance tips:
- Carbon fiber: Wash with pH-neutral soap, apply UV-protective wax or ceramic coating to the clearcoat twice a year. Inspect edges after track days for chips.
- Fiberglass: Check paint adhesion at mounting points annually. Touch up chips before moisture gets under the paint.
- ABS: Wipe down with plastic trim restorer to prevent fading. Replace rather than repair after significant impact.
Pro Tip: Before painting a fiberglass lip, have the body shop flex-add the primer coat. Rigid primer on a flexible panel cracks at the first speed bump. Ask specifically for a flexible primer additive.
What should you budget for a BRZ splitter?
Price and lead time are the two variables that catch buyers off guard most often.
Typical price bands:
- Entry-level ABS lip: $100–$250, usually in stock, ships within a few days
- Mid-range fiberglass OEM+ lip: $150–$400, some made-to-order with 1–3 week lead time
- Chassis-mounted track splitter (e.g., Verus Ventus 2): $400–$600, made-to-order, 2–6 week lead time
- Carbon fiber show lip: $300–$700 depending on finish and whether it’s a standalone lip or part of a larger kit
Extra costs to budget for:
- Paint match: $150–$400 at a body shop depending on complexity
- Professional installation: $100–$300 for a shop familiar with BRZ aero
- Hardware upgrades: Stainless BHCS or grade-8 hardware if the included kit uses mild steel
- Bumper repair: Budget a contingency if drilling goes wrong or bumper clips break during removal
What drives lead times up:
- Made-to-order carbon fiber runs in small batches
- Custom paint or gel coat finish requests
- Hardware kit assembly delays from suppliers
- Shipping from overseas manufacturers
If you need the part for a specific track day or show date, order at least 4–6 weeks out for any made-to-order item. In-stock ABS lips are the only category where same-week delivery is realistic.
Street legality and daily-driving practicality
Installing a front splitter on a public-road car involves more than aesthetics. A few practical checks before you commit.
Legal and insurance considerations:
- Vehicle modification laws vary by state. Some states have bumper height minimums or prohibit modifications that create a road hazard. Check your state’s DMV regulations before installing a splitter that significantly lowers the front profile.
- Track-only disclaimers from manufacturers like Verus are not just liability language. A chassis-mounted splitter at aggressive ride height can ground out on road transitions and cause damage.
- Document your install with photos and keep the original hardware. If you ever need to revert for inspection or resale, you’ll want the factory configuration on hand.
Clearance checklist:
- Measure bumper-to-ground clearance at ride height before ordering. Most chassis-mounted splitters add 1–2 inches of forward extension and reduce ground clearance at the front corners.
- Test-fit with temporary fasteners or foam padding before drilling anything. Confirm the splitter clears your driveway approach angle and any parking lot ramps you use regularly.
- If you run coilovers or air suspension, set the car to your typical street ride height during the test fit, not the lowest setting.
Pro Tip: Use a piece of foam pipe insulation zip-tied to the splitter edge for a weekend test drive before final install. It simulates the profile without risking the part on a scrape. If it contacts anything, you know to adjust ride height or choose a different mounting position.
This article covers general guidance. Confirm current state regulations with your local DMV or a qualified automotive professional before modifying a vehicle for public road use.
Undergrounddynamics recommended BRZ splitter setup and installer tips
For most BRZ owners, the right setup depends on one question: are you building for the street, the track, or the show?
Street: A fiberglass OEM+ lip from Undergrounddynamics gives you a painted finish that matches your car, bumper-mounted hardware that doesn’t require drilling, and a profile that won’t scrape on normal roads. It’s the lowest-commitment entry into BRZ aero parts.
Track: Pair a chassis-mounted splitter with proper ride height. The Verus Ventus 2 is the reference-grade option for ZN8/ZD8, and Undergrounddynamics can supply complementary carbon fiber and fiberglass aero parts to complete the front-end package. Check the body kits catalog for current BRZ-specific inventory.
Show: Carbon fiber lip plus a widebody fender kit changes the entire front-end stance. Full aero packages like the ADRO widebody kit alter approach angles and downforce balance significantly compared to a standalone lip, so plan the full build before committing to any single piece.
Installer tips:
- Mark your centerline on the bumper with tape before any drilling. A splitter that’s 3mm off-center is visible from 10 feet away.
- Install rivet nuts with the tool perpendicular to the crash beam surface. An angled rivet nut won’t seat flush and will back out under load.
- Leave all fasteners hand-tight until the splitter is fully assembled and aligned on the car.
- Torque clevis bolts to 6 ft-lbs. Over-tightening strips the rivet nut threads in the crash beam.
- After the first track session or 500 street miles, re-torque all fasteners. Vibration loosens hardware on new installs.
Complementary upgrades: An air dam or under-spoiler behind the splitter blade improves aerodynamic balance by reducing air pressure under the front of the car. Pair with rear aero (wing or diffuser) for balanced downforce. Wheel and tire clearance should be confirmed after any ride height change that accompanies a splitter install.
Key Takeaways
Matching your BRZ splitter’s mounting style to your actual driving use-case is the single most important decision in this purchase.
| Point | Details |
|---|---|
| Match mounting to use-case | Chassis-mounted splitters suit track use; bumper-mounted lips work best for street and show builds. |
| Confirm 2022+ ZN8/ZD8 fitment | The ZN8 bumper geometry differs from the ZC6; always verify year-specific fitment before ordering. |
| Budget beyond the part price | Add $150–$400 for paint, $100–$300 for professional install, and a contingency for hardware upgrades. |
| Verify the hardware list | A complete kit includes BHCS, fender washers, rivet nuts, clevises, and support rods. Missing hardware means extra cost and delay. |
| Undergrounddynamics for BRZ aero | Undergrounddynamics stocks carbon fiber and fiberglass BRZ-specific lip kits with fitment support and detailed specs. |
What most BRZ splitter guides get wrong
Most articles on this topic treat the choice between a lip and a splitter as a style decision. It isn’t. The mounting method determines how load transfers under aerodynamic stress, and that has real consequences at speed.
A bumper-mounted lip attaches to plastic clips and a few bolts through the bumper fascia. At 60 mph on a highway, that’s fine. At 100 mph on a track straight, the aerodynamic load on a large splitter blade can exceed what bumper clips are designed to handle. That’s not a scare tactic; it’s why chassis-mounted kits exist and why they include rivet nuts, clevises, and support rods rated for that load.
The other thing guides skip: material choice affects repairability more than it affects performance for most street drivers. Carbon fiber looks great until the first parking lot scrape, and then you’re looking at a replacement panel rather than a $20 body filler repair. Fiberglass is genuinely the smarter call for anyone who drives their BRZ on public roads daily. Save the carbon for the parts that don’t contact the ground.
One more overlooked point: the 2022+ ZN8/ZD8 fitment gap is real. Plenty of “BRZ” listings on generic marketplaces are ZC6 parts. The bumper geometry changed enough that a ZC6 lip won’t sit flush on a ZN8 without modification. Verify the year range on every product page before ordering, and if the listing doesn’t specify ZN8 or ZD8, ask before you buy.
Undergrounddynamics has BRZ-specific aero parts ready to ship
Skip the guesswork on fitment. Undergrounddynamics carries carbon fiber and fiberglass lip kits built for the BRZ, with model-specific fitment data so you know what you’re getting before it ships.
The catalog covers street lips, full body kits, and complementary aero parts, all with the hardware specs and fitment notes that generic listings leave out. If you’re unsure whether a part fits your specific ZN8/ZD8 trim or bumper variant, the fitment support team can pull photos and measurements before you order. Check the BRZ aero parts catalog for current inventory, or visit Undergrounddynamics to browse the full lineup and contact fitment support directly.
Useful sources and install manuals
Keep local copies of any PDF install guides before you start work. Manufacturer hosting can change, and you don’t want to be mid-install without your reference document.
| Resource | What it covers |
|---|---|
| Verus Engineering BRZ front splitter page | Product specs, hardware list, and downforce rationale for the Ventus 2 |
| Verus/Vivid Racing install manual PDF | Full step-by-step install, rivet-nut drilling locations, torque specs (6 ft-lbs for clevis bolts) |
| OEM accessory install guide (under-spoiler) | Factory attachment method and bolt locations for bumper-mounted lips; baseline for aftermarket comparison |
| AeroflowDynamics S-Style lip (2022–2026 BRZ) | OEM+ fitment claim, finish options, and hardware for ZN8/ZD8 |
| GR86.org community guide thread | Community-sourced fitment tips, material trade-offs, and real-world install experiences |
For any bolt not listed in an aftermarket install manual, reference the OEM service manual torque specs for that fastener size and thread pitch. Aftermarket instructions sometimes omit torque values for secondary fasteners.
FAQ
What is the difference between a front lip and a front splitter?
A front lip is a bumper-mounted cosmetic extension that follows the bumper’s lower edge. A front splitter is a flat blade that extends forward from the bumper and is typically chassis-mounted with support rods to generate downforce by creating a pressure differential above and below the blade.
Does the 2022+ BRZ need a different splitter than the older ZC6?
Yes. The ZN8/ZD8 (2022+) has a revised front bumper geometry and crash beam profile that is not compatible with ZC6-specific parts. Always confirm the product listing specifies ZN8 or ZD8 fitment before ordering.
How long does a BRZ splitter installation take?
A bumper-mounted lip takes 1–2 hours for a DIY install. A chassis-mounted splitter with rivet nuts, clevises, and support rods typically takes 2–4 hours, requiring drilling into the crash beam as well as fitting clevis bolts torqued to 6 ft-lbs, following install manual guidance.
Is a chassis-mounted splitter street legal?
Legality depends on your state. Some states have bumper height minimums or prohibit modifications that create road hazards. Check your state’s DMV regulations and keep original hardware in case you need to revert. This is general guidance; confirm current rules with your local DMV or a qualified professional.
Where can I buy a BRZ-specific lip kit with fitment support?
Undergrounddynamics stocks carbon fiber and fiberglass BRZ lip kits with model-specific fitment data and a support team that can verify compatibility for your specific ZN8/ZD8 trim before you order.