FREE SHIPPING ON ORDERS OVER $150

Cart
0
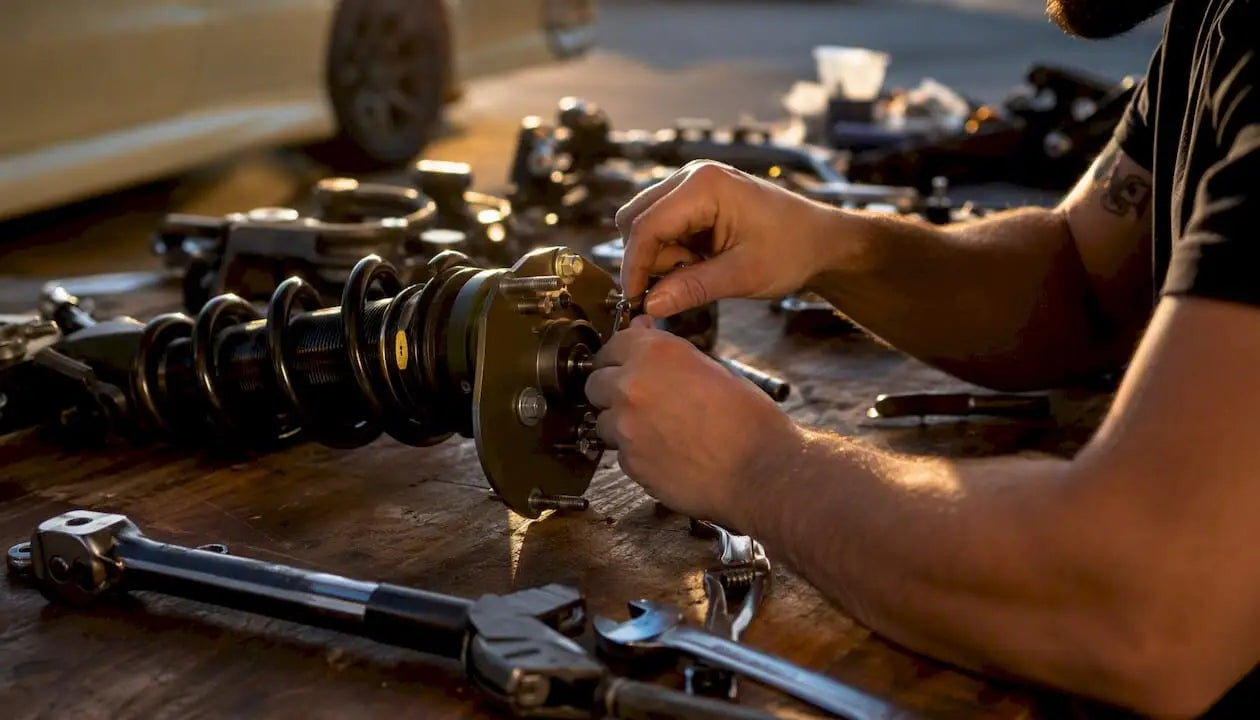
Most lowered cars don’t automatically need a camber kit. Get a four-wheel alignment first, check whether toe can be brought back to spec, and only buy hardware if factory adjustment range can’t correct your camber and toe numbers.
Here’s the quick verdict by drop range:
- Mild drop (under 1.75 inches): Usually fine with a standard alignment. Toe correction alone often fixes the wear pattern.
- Moderate drop (1.75 to 2.5 inches): You’re in the gray zone. Factory adjustment may not have enough range, especially on MacPherson strut front ends. A camber bolt or plate is common here.
- Aggressive drop (over 2.5 inches): You almost certainly need adjustable hardware, front and often rear, to get anywhere near spec.
- Double-wishbone vs. MacPherson strut: Double-wishbone suspension tends to retain more usable camber range after a drop. Strut-based front ends lose range faster because the whole strut tips with the spindle.
Do this right now if you just lowered your car:
- Measure your actual ride height drop, not the advertised spring drop.
- Book a four-wheel alignment and request the printout, not just a “yes, it’s aligned” sign-off.
- Compare your toe and camber numbers against factory spec on the printout.
- Check your fitment notes or forum threads for your specific chassis to see if others hit the adjustment wall at your drop height.
That alignment printout is the single most useful piece of paper in this entire process. Don’t skip it to save $80.
Key Takeaways
A lowered car needs a camber kit only when a proper four-wheel alignment can’t bring toe and camber back within factory range.
| Point | Details |
|---|---|
| Align before you buy | Get a four-wheel alignment printout and compare it to factory spec before purchasing any camber hardware. |
| Check toe first | Toe-out from lowering causes more inner tire wear than camber in most documented owner cases. |
| Know your drop threshold | Drops under roughly 1.75 inches often stay in factory range; drops past 2 inches usually need hardware. |
| Budget for the full job | Camber bolts start cheap; adjustable arms front and rear plus alignment add up fast on aggressive builds. |
| Build the suspension together | Underground Dynamics’ suspension category lists coilovers and lowering springs with fitment data so alignment issues can be planned for at install time, not discovered after. |
Table of Contents
- What Camber Is and Why Lowering Changes It
- What Happens If You Skip Camber Correction?
- Do I Need a Camber Kit? A Decision Checklist
- Camber-Correction Hardware Explained
- Fixed vs. Adjustable Camber Kits: Which One Fits Your Build?
- Alignment First: Why Toe Often Matters More Than Camber
- Installing a Camber Kit: Tools, Safety, and What to Expect
- How to Choose the Right Camber Kit for Your Car
- What Does a Camber Kit Cost, and How Long Does Installation Take?
- What Forums and Alignment Shops Actually Agree On
- Why I Tell Every Reader to Start With an Alignment Shop, Not a Parts Cart
- Where Underground Dynamics Fits Into Your Suspension Build
- Sources
- FAQ
What Camber Is and Why Lowering Changes It
Camber is the inward or outward tilt of the tire when you look at it head on. Negative camber means the top of the tire leans toward the engine bay; positive camber means it leans out. Every production car ships with a small, specific camber setting designed to keep the tire’s contact patch flat under normal load.
Lowering a car doesn’t just drop the body closer to the road. It moves the control arm and strut pivot points relative to where the factory engineered them to sit. On a MacPherson strut car, dropping the spindle downward while the strut top stays fixed at the shock tower rotates the whole assembly, pulling the top of the wheel inward. That’s negative camber, and it happens whether you wanted it or not.
Double-wishbone suspension behaves differently. Because both the upper and lower control arms pivot independently, a moderate drop changes the arm angles gradually instead of all at once. You still lose camber range, but the geometry degrades less aggressively than it does on a strut car at the same drop height.
Camber shift by drop height (typical passenger car geometry):
- Under 1 inch: negative camber shift is usually small, often within stock adjustment range.
- 1 to 2 inches: camber shift becomes noticeable, frequently approaching or exceeding factory tolerance.
- Over 2 inches: camber shift regularly exceeds what factory bolts or cam adjusters can correct.
Picture a top-down view of the front wheel: a straight vertical line represents zero camber, and the tire leaning inward at the top traces a wedge shape against that line. That wedge is what an aligner is trying to close back up, and on a lowered strut car, the wedge often opens faster than most people expect from the numbers alone.
What Happens If You Skip Camber Correction?
Ignore alignment after lowering and the bill shows up on your tires first. The most common consequences:
- Accelerated inner shoulder wear — the inside edge of the tread wears down well before the rest of the tire, sometimes to the cords within a few thousand miles.
- Steering pull — uneven camber side to side pulls the car toward the side with more negative camber.
- Reduced straight-line grip — excessive negative camber shrinks the contact patch during hard acceleration and braking.
- Uneven braking behavior — one side loading differently than the other under braking, especially noticeable at higher speeds.
Here’s the diagnostic trick most people miss: camber wear and toe wear look different on the tire. Camber wear is a smooth, continuous wear band concentrated on one shoulder, following the exact tilt of the tire. Toe wear shows up as a “feathered” pattern, with the tread blocks worn at an angle, almost like the edges have been sanded diagonally. Run your hand across the tread; if you feel sharp ridges on one direction and smooth on the other, that’s toe, not camber.
Pro Tip: Low-profile tires on stiff sidewalls show wear patterns faster than taller sidewall tires because there’s less flex to absorb the misalignment. If you’re running an aggressive drop on 40-series or lower tires, inspect tread every 1,000 to 1,500 miles instead of waiting for your next oil change.
Camber isn’t just a tire-life problem either. Push negative camber too far on an aggressive stance build and you risk fender or inner liner rubbing under compression, plus added stress on ball joints and bushings that weren’t designed to hold that angle constantly. A long-running Honda-Tech thread on this exact topic backs up the community consensus: toe-out from lowering is usually the bigger tire killer, but the thread also documents cases where extreme camber caused real mechanical wear beyond the tread.
Do I Need a Camber Kit? A Decision Checklist
Start with the alignment printout, not a guess. Compare your actual camber and toe readings against the factory range listed on that sheet. If both numbers fall within spec, you’re done, no hardware needed.
If camber or toe reads out of range, walk through this checklist:
- How much did you actually drop? Measure fender-to-hub, not just spring specs on a box.
- What’s your suspension type? Strut front ends lose adjustment range faster than double-wishbone.
- What tire size and profile are you running? Lower-profile tires show wear faster and tolerate less camber deviation.
- How do you drive it? A daily driver prioritizes even tire wear; a track car can tolerate more negative camber for cornering grip.
- Does your car have any factory camber adjustment built in? Some platforms have slotted strut mounts or adjustable arms from the factory; many don’t.
Match your answers to an outcome:
- In spec after alignment, no hardware needed. Rotate tires regularly and recheck at your next service.
- Slightly out of spec, factory adjustment insufficient. A camber bolt or aftermarket camber plate usually closes the gap.
- Significantly out of spec, especially on the rear. Adjustable arms are typically required, particularly on chassis where rear camber has no factory adjustment at all.
- Unsure or conflicting numbers. Consult a performance alignment shop rather than guessing. This is where a technical explainer on alignment strategy recommends the exact sequence: align first, try factory range, then add hardware only if that range comes up short.
Forum case studies back this up repeatedly. A Reddit thread from an Acura TSX owner asking whether their specific drop needed camber kits or control arms shows the exact reasoning process: measure, compare to known thresholds for that platform, then decide.
Camber-Correction Hardware Explained
Once you’ve established that factory adjustment can’t get you back into spec, you’re choosing from a handful of hardware categories. Each solves the geometry problem a slightly different way.
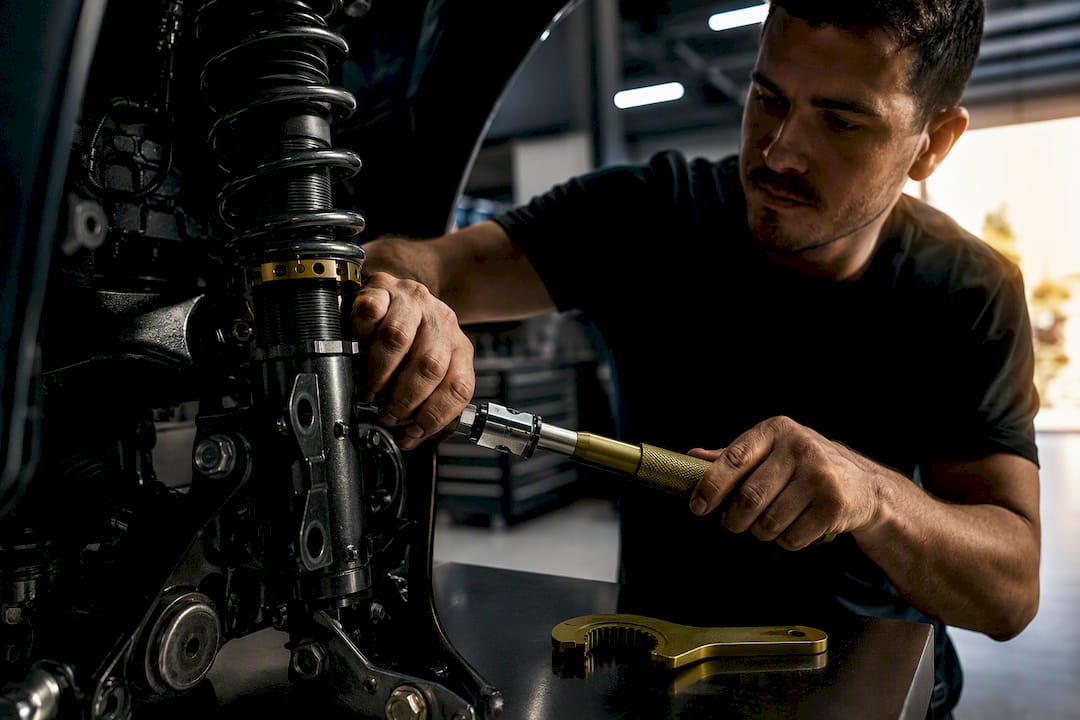
Camber bolts (eccentric bolts) replace the factory strut-to-knuckle bolt with an offset bolt that lets you rotate the knuckle slightly, adding a few tenths of a degree of adjustment. Cheap, simple, but limited range, usually a degree or less.
Strut-top camber plates replace the factory strut mount and let you slide the top of the strut to change camber angle. These offer more range than bolts alone and are common on coilover setups where the whole top-hat assembly is already being swapped out. Manufacturer fitment data on aftermarket camber arms often lists ranges as generous as three degrees positive to three degrees negative, according to product documentation from a rear camber arm listing, which is far beyond what any bolt-and-slot factory setup allows.
Adjustable upper control arms replace the entire upper arm with a unit featuring a turnbuckle or slotted ball joint mount, giving you the widest adjustment range of any front-end solution. These are the go-to for aggressive drops where bolts and plates run out of range.
Rear camber arms do for the rear axle what adjustable upper arms do up front. Many popular chassis, including several Honda platforms, ship with zero rear camber adjustment from the factory, so any meaningful rear camber correction requires this part, not an alternative.
Eccentric bushings and toe arms correct toe rather than camber directly, but they matter here because toe and camber interact. Fixing one without checking the other often leaves you chasing tire wear you thought you’d solved.
| Category | Best for | Adjustability range | Fitment compatibility | Price range | Ease of installation | Durability / warranty |
|---|---|---|---|---|---|---|
| Camber bolts | Street, mild correction | Limited (roughly 1 degree) | Broad, most strut cars | Low | Easy, hand tools | Simple design, warranty varies by brand |
| Camber plates | Street/track hybrid, coilover setups | Moderate to wide | Requires strut-tower compatibility | Mid | Moderate, often installed with coilovers | Good if properly torqued, check bushing wear |
| Adjustable upper arms | Track, aggressive stance | Wide | Model-specific, check clearance | Mid to high | Moderate to advanced | Solid with quality ball joints; inspect regularly |
| Rear camber arms | Any drop with no factory rear adjustment | Wide | Chassis-specific | Mid | Moderate, tight bolt access on some cars | Durable when torqued correctly |
Watch for fitment gotchas before you order anything. Some chassis have notoriously tight bolt clearance around the rear subframe, and installing rear arms can require a low-profile ratchet or, occasionally, minor grinding to clear a bracket. This isn’t a defect specific to any one brand, it’s a known quirk on certain platforms that any adjustable arm has to work around.
Fixed vs. Adjustable Camber Kits: Which One Fits Your Build?
Fixed solutions, like a single-position eccentric bolt or a non-adjustable offset arm, set one camber angle and hold it there. Adjustable solutions, like turnbuckle-style arms or slotted camber plates, let you dial in different angles as your setup changes.
Fixed hardware is cheaper and simpler. There’s nothing to loosen, readjust, or accidentally knock out of position during a curb strike. The tradeoff is flexibility: if you change ride height later, swap tires, or want more aggressive camber for a track day, you’re stuck with what you installed.
Adjustable hardware costs more and requires periodic checking, since turnbuckle-style arms can shift slightly under repeated load if not torqued and thread-locked properly. What you get in return is the ability to tune camber for a specific event, then dial it back for daily driving.
Match the hardware to how you actually use the car:
- Street daily driver, mild drop. Fixed camber bolts, if factory range is close but not quite enough.
- Spirited weekend driving, moderate drop. Adjustable camber plates up front, giving you room to fine-tune after a season of driving.
- Dedicated track car. Adjustable arms front and rear, so you can push more negative camber for cornering grip and dial it back for street driving in between events.
- Slammed or stance build. Adjustable arms are close to mandatory. At those drop heights, fixed hardware rarely has enough range to prevent rubbing or extreme wear.
Alignment First: Why Toe Often Matters More Than Camber
Toe angle, not camber, is the more common villain behind fast tire wear on a freshly lowered car. Both a long AcuRazine forum thread and a Honda-Tech discussion reach the same conclusion from years of owner reports: toe-out introduced by lowering chews through inner tread far faster than camber alone, and correcting toe first frequently resolves the wear problem without spending a dollar on camber hardware.
A shop that jumps straight to recommending a camber kit before checking toe is skipping a step. Here’s the sequence that actually makes sense:
- Measure current alignment with a four-wheel printout showing toe, camber, and caster on all corners.
- Adjust toe to spec first, using factory adjustment if it’s available.
- Re-evaluate camber after toe is corrected. Sometimes the wear problem is already solved.
- Rotate tires and monitor the wear pattern over the next 1,000 to 2,000 miles before deciding whether hardware is worth the investment.
If you’re shopping for coilovers instead of just lowering springs, some setups include adjustable camber plates as part of the kit, which can eliminate the need for separate camber hardware entirely. It’s worth reviewing how lowering springs alter suspension geometry before deciding between springs alone and a coilover setup with built-in adjustment.
Pro Tip: When you call an alignment shop, ask specifically: “Can you print out before-and-after camber, caster, and toe numbers for all four corners?” A shop that hesitates or only gives you a verbal “you’re good” isn’t giving you the data you need to make a hardware decision.
Installing a Camber Kit: Tools, Safety, and What to Expect
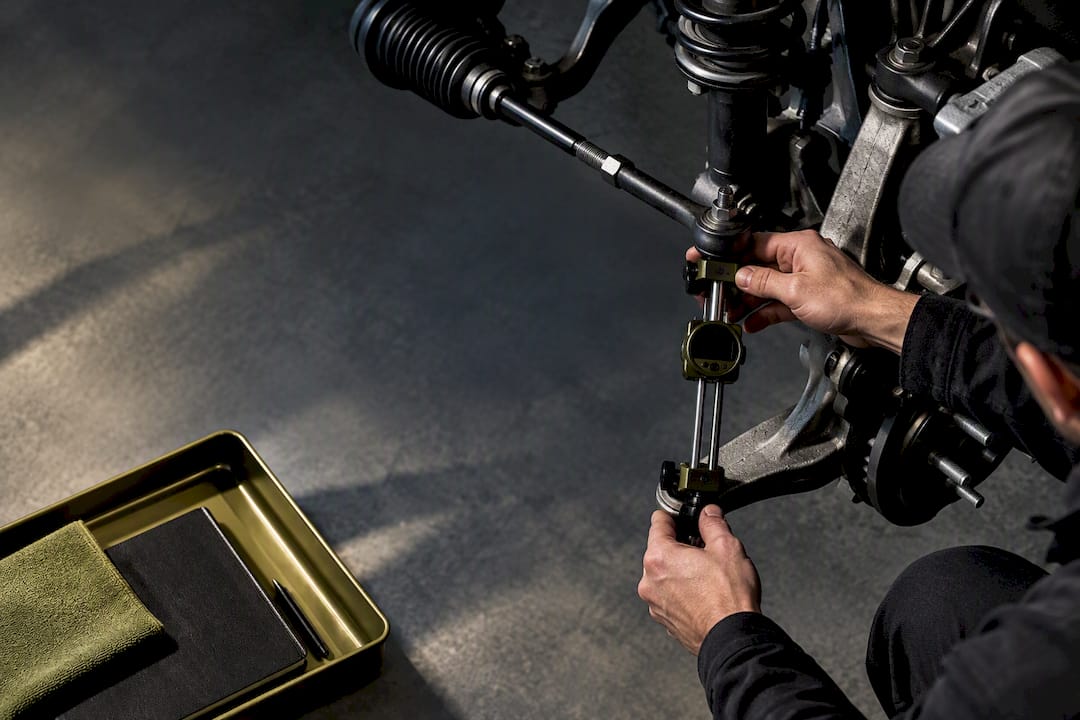
Installing camber hardware isn’t complicated in concept, but a few details separate a clean job from a comeback repair. You’ll want a torque wrench rated for suspension fasteners, the correct socket sizes for your specific arm or bolt kit, jack stands or a lift, and in many cases a low-profile ratchet for tight rear subframe bolts. An alignment tool built for your specific chassis makes measuring camber before and after the swap far more reliable than eyeballing it.

Torque specs matter more than people assume. Over-tighten a ball joint or bushing bolt and you can pre-load the rubber or metal bushing incorrectly, causing premature wear. Under-tighten and you risk the fastener backing out under vibration, which on a suspension arm is a genuinely dangerous failure mode. A technical guide on drivetrain hardware makes the same point in a different context: correct torque and proper installation reduce failure risk far more than the quality of the part itself.
The realistic workflow looks like this: install the kit, torque every fastener to spec, get a four-wheel alignment immediately after, then drive it for a break-in period and recheck torque and alignment again after a few hundred miles. Skipping the recheck is how people end up back at the alignment shop twice.
Shop labor for a front camber plate installation typically runs an hour or two per axle, while rear camber arms can take longer on chassis with tight clearance. Expect the alignment itself to add another hour on top of installation, and budget for the possibility that the shop needs extra time to work the camber and toe into spec if your drop is aggressive.
How to Choose the Right Camber Kit for Your Car
Fitment comes first, always. Confirm the kit matches your exact chassis and model year, not just “fits most” language. Some kits require minor clearance work on specific years even within the same generation, so check fitment notes or ask the seller directly before ordering.
Adjustability range matters based on your goals. A mild street setup might only need a degree or two of correction, while an aggressive stance build could need three degrees or more in either direction. Buying a kit with more range than you need isn’t wasteful, since it gives you room to adjust later if your setup changes.
Materials and finish affect longevity. Look for corrosion-resistant coatings on any exposed hardware, especially if you live somewhere that sees road salt. Cheap unfinished steel arms can start rusting within a season in the wrong climate.
Before you buy, ask the seller these questions directly:
- What’s the exact camber adjustment range, in degrees, for this specific kit?
- Does the kit include all necessary hardware, or do I need separate ball joints or bushings?
- What are the torque specs for installation?
- Will this kit require a separate toe arm to keep toe in spec after the camber adjustment?
- What’s the warranty or return policy if the part doesn’t fit my exact trim?
A seller who can’t answer the adjustability and torque questions specifically is a red flag, regardless of how good the listing photos look.
What Does a Camber Kit Cost, and How Long Does Installation Take?
Budget varies a lot depending on whether you’re correcting one axle or both, and whether you’re paying a shop or doing it yourself.
| Solution | Typical part cost | DIY install time | Shop labor time | Alignment needed after |
|---|---|---|---|---|
| Camber bolts (per axle) | Budget-friendly, entry-level pricing | About an hour | Under an hour | Yes |
| Camber plates (per axle) | Mid-range | 1-2 hours | 1-2 hours | Yes |
| Adjustable arms, front or rear | Mid to higher-end | 2-4 hours | 2-3 hours | Yes |
| Full front and rear kit | Higher-end, combined cost | Half a day or more | Half a day | Yes, often twice |
Factor in extra costs beyond the kit itself. Aggressive drops sometimes need separate toe arms if the camber correction pushes toe out of range. Some installs reveal worn ball joints or bushings that need replacing at the same time, which adds parts cost. And if you’re dialing in camber gradually for a track build, plan on paying for more than one alignment as you adjust.
What Forums and Alignment Shops Actually Agree On
Strip away the arguments and the consensus across owner communities is remarkably consistent: toe correction solves more tire-wear complaints than camber hardware does. The AcuRazine thread on this exact question has authorized distributors weighing in alongside owners, and the recurring advice is the same, check toe before you spend money on camber parts.
“You do not need camber kits” is a stronger claim than the data supports on every platform, but the underlying point holds up: a huge share of owners who bought camber kits after lowering didn’t actually need them, because a proper toe adjustment would have solved the wear problem on its own. The exceptions are real too, cars with no rear camber adjustment, or drops aggressive enough to exceed any factory range, genuinely need hardware. The mistake is skipping the diagnostic step and assuming your car is the exception before you’ve actually checked.
That practical rule of thumb shows up across enough platforms to trust it: drops under roughly 1.75 inches often stay within factory tolerance once toe is corrected, while drops pushing past 2 inches, or chassis with no factory rear adjustment at all, tend to need hardware regardless of how well toe is dialed in.
Before you buy anything, document your case the way a shop would: get the alignment printout, take photos of your current tire wear pattern, and measure your actual ride height drop. That paper trail tells you far more than a forum post about someone else’s car.
Why I Tell Every Reader to Start With an Alignment Shop, Not a Parts Cart
If you take one thing from this article, take this: book the alignment appointment before you open a parts catalog. The number of builds I’ve seen where someone dropped $400 on a camber kit that a $90 toe adjustment would have fixed is genuinely frustrating, and it’s an avoidable mistake if you just get the printout first.
On my own builds, I measure the actual drop with a tape measure at the fender lip, not the marketing number on the spring box, because those two figures rarely match exactly. I rotate tires early and often in the first few thousand miles after any suspension change, since that’s when you’ll spot a wear pattern forming before it becomes expensive. And I always recheck torque on any new arm or bolt after the first hundred miles or so, because threadlocker and bushings need a break-in period to seat properly.
There’s also a judgment call buried in all of this that nobody talks about enough: how much do you actually care about tire life versus stance? If you’re chasing a look and you’re willing to replace tires more often, that’s a legitimate choice, not a mistake, as long as you’re making it with your eyes open. If longevity and daily drivability matter more, lean conservative on camber and lean on alignment adjustment before you add hardware. Neither answer is wrong. The problem is only when someone buys expensive parts without knowing which goal they’re actually optimizing for.
Where Underground Dynamics Fits Into Your Suspension Build
If your lowering springs or coilovers are what triggered the camber conversation in the first place, Underground Dynamics carries the suspension hardware to go with the fix, not just the fix itself. Our suspension category covers coilovers, air ride, and lowering springs with real fitment data listed per chassis, so you’re not guessing whether a part clears your specific model year before it ships.
If you’re planning a full build rather than a single part swap, browse the performance parts category for supporting hardware that pairs with a lowering job, or check the body kit lineup if stance and aero are part of the same project. Every product page lists the technical specs and fitment notes you’d otherwise have to dig up from a forum thread. Check your exact vehicle’s fitment on the product page before ordering, and reach out to support if your year or trim isn’t listed clearly. That five-minute check saves you a return shipment later.
Sources
These threads are anecdotal owner experience, not engineering data. Combine what you read there with your own alignment printout and tire inspection before making a purchase decision.
FAQ
Are Camber Kits Necessary When Lowering a Car?
Not always. Many lowered cars stay within an acceptable range once toe is corrected during a standard alignment, and a camber kit only becomes necessary when factory adjustment can’t bring camber back into spec.
Does Lowering a Car Affect Camber?
Yes. Lowering changes the angle of the control arms and strut, which typically pushes the wheel toward more negative camber, with strut-based suspension usually affected more than double-wishbone designs.
How Do You Fix Camber on a Lowered Car?
Start with a four-wheel alignment to see how far out of spec you actually are, then add camber bolts, plates, or adjustable arms only if factory adjustment range can’t correct it.
What Does a Camber Kit Do for a Car?
A camber kit adds adjustment range beyond what the factory setup allows, letting a shop correct the wheel’s tilt back within spec after modifications like lowering push it out of range.