FREE SHIPPING ON ORDERS OVER $150

Cart
0
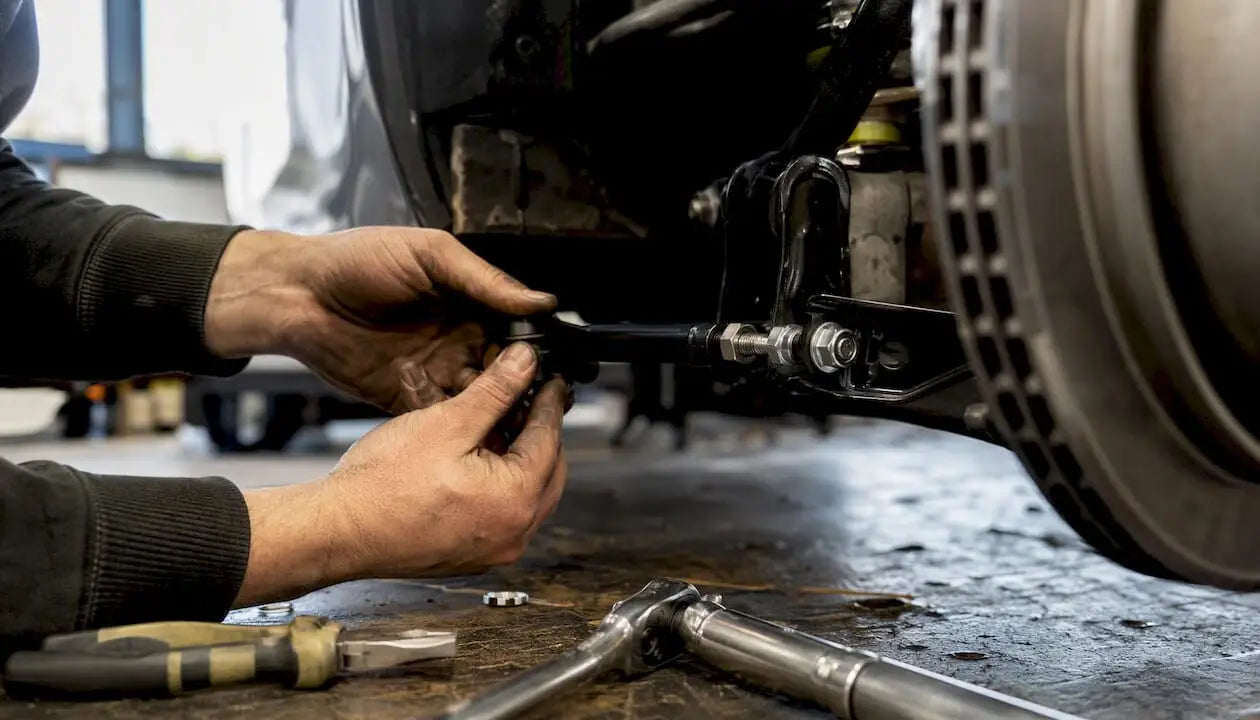
Adjustable control arms restore the camber, caster, and axle position that a lowered car loses when it drops below factory ride height, and they stop the bump steer and binding that come with it. The fix works because lowering a car changes suspension geometry that the factory arms were never built to correct. That’s the whole reason this category exists.
The standard order of operations is ride height first, then camber, then caster, then toe. Suspension guides consistently point to this same sequence because adjustable control arms matter most once a vehicle can’t return to factory alignment specs on its own.
- Restores camber, caster, and pinion/axle angle after a drop
- Cuts down on bump steer and premature tire wear
- Should be followed by a professional alignment when you’re not fully confident in your numbers
Pro Tip: Support the car on jack stands rated for the full weight, never a jack alone, and if your final numbers don’t look right after adjustment, get a shop alignment before you drive it hard.
Key Takeaways
Adjustable control arms fix the camber, caster, and axle geometry a lowered car loses, but only when adjusted in the correct order and verified with a real alignment.
| Point | Details |
|---|---|
| Measure before you buy | Record ride height, camber, and toe baselines so you know what’s actually wrong before ordering parts. |
| Follow the adjustment order | Set ride height, then camber, then caster, then toe. Adjusting out of order forces you to redo earlier steps. |
| Match joint type to use | Heim joints suit track precision; polyurethane suits daily-driven street cars needing less noise. |
| Torque and log everything | Log arm length, torque values, and dates so you can retrace settings if the alignment goes wrong. |
| Buy chassis-specific parts | Underground Dynamics lists ISR Performance arms with documented fitment and adjustability ranges by chassis. |
Table of Contents
- What Do Adjustable Control Arms Actually Change?
- How Do You Know You Need Adjustable Arms?
- Which Control Arm Type Fits Your Build?
- Installing and Adjusting Control Arms in the Right Order
- What Alignment Numbers Should a Lowered Car Target?
- Why Is My Car Still Wandering or Wearing Tires Unevenly?
- What Maintenance Do Adjustable Control Arms Need?
- When Should You Bring in a Professional?
- Where to Find Chassis-Specific Adjustable Arms
- A Builder’s Note on Priorities
- Sources
- FAQ
What Do Adjustable Control Arms Actually Change?
An adjustable arm changes one of three things: its physical length, its mounting position, or a built-in offset that shifts camber and caster independent of length. Every one of those adjustments moves the hub relative to the chassis, and that movement is what changes wheel angle and where your tire contacts the road.
Picture it like this: shorten a front upper control arm and the top of the wheel tucks inward, adding negative camber. Lengthen a rear lower arm and you push the wheel out, changing toe and track width slightly at the same time. It’s a direct mechanical relationship, not a black box.
A lowered car with visibly excessive negative camber usually isn’t a broken part. It’s stock geometry doing exactly what it was designed to do at the wrong ride height. A camber arm brings the angle back into a usable range without touching ride height again.
- Length changes affect camber and toe together on many double-wishbone setups
- Mounting-position changes (cam bolts, slotted brackets) shift camber with less effect on toe
- Offset/heim-style arms let you dial in caster independent of the other two
How Do You Know You Need Adjustable Arms?
Not every lowered car needs new control arms right away. Some setups have enough factory adjustment range to get close. The way to find out is to measure, not guess.
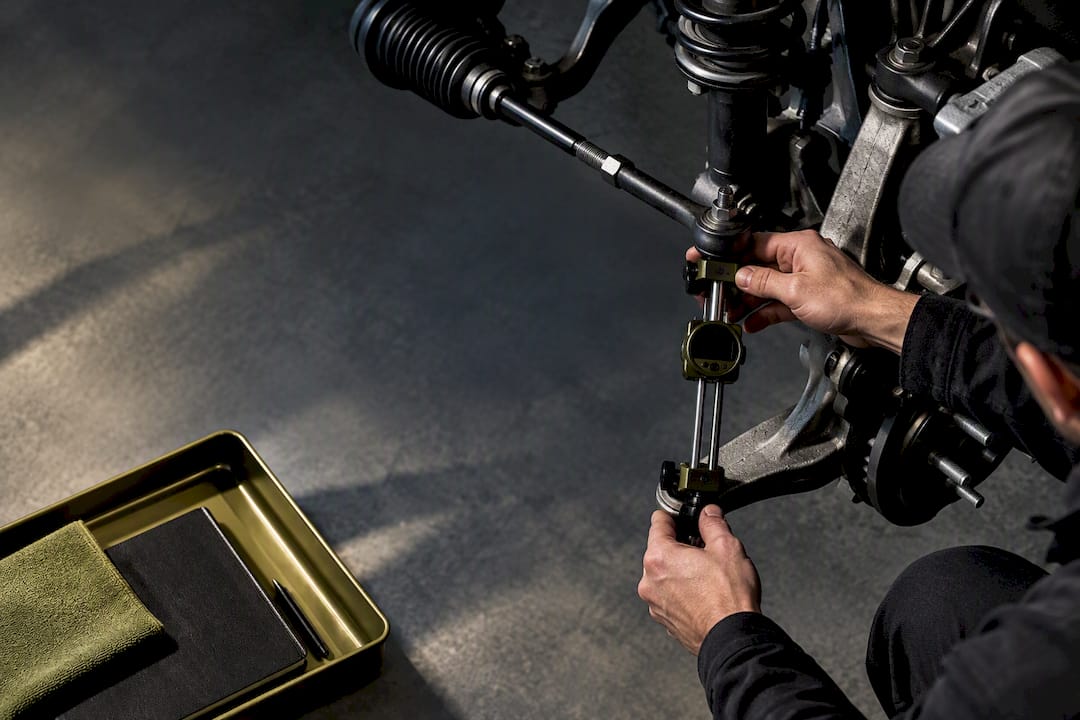
Start with ride height at all four corners, then check static camber with a gauge. Look at the inside edge of your front tires. Feathering or cupping there is often the first visible sign that camber has run past what the stock arms can correct. Watch for toe drift too. It shows up as darting or wander on the highway even when the wheel is centered. If the car tucks the wheel noticeably on compression, that’s a geometry problem, not a driving problem.
Tools worth having before you touch anything:
- Tape measure for ride height at each fender
- Camber gauge or digital inclinometer
- String or a basic toe-alignment gauge
- Jack stands rated for your vehicle’s weight
- Torque wrench matched to your fastener specs
Pro Tip: Record every baseline number and photograph wheel fitment before you swap a single arm. If something feels off later, that baseline is the only way to know what actually changed.
Which Control Arm Type Fits Your Build?
Adjustable arms generally fall into three camps: threaded-body arms that change length by turning a sleeve, cam-bolt kits that shift a stock-style bushing within a slotted mount, and heim-jointed arms that trade rubber compliance for precision. Body construction ranges from stamped or welded steel to billet aluminum, with the higher-end pieces aimed at track use.
The tradeoffs are straightforward once you see them side by side:
- Heim joints give you the widest, most repeatable adjustment range but transmit more road noise and vibration into the cabin
- Polyurethane bushings split the difference: more precise than rubber, quieter than heim, but they still wear and need periodic inspection
- Rubber bushings ride the smoothest but compress under load, which makes your alignment numbers drift over time
- Billet arms cost more but resist bending under hard cornering better than stamped steel
Pro Tip: Match the joint to the job. A daily-driven lowered street car does fine on polyurethane. A car that sees track days or a lot of camber travel benefits from heim joints, even with the extra noise.
Installing and Adjusting Control Arms in the Right Order
Get the car on a lift or jack stands rated for its full weight, and know that most arms need to be unloaded (wheels off the ground, suspension hanging) to remove and install safely. Never work under a vehicle supported only by a jack.
- Measure ride height at all four corners before removing anything, and write it down.
- Remove the factory or old arm, noting orientation and any factory alignment marks.
- Install the new adjustable arm at roughly the factory length or a marked reference point as a starting position.
- Let the car settle to its final ride height on the ground, suspension loaded, before making any adjustment.
- Set rough camber and caster using your gauge, adjusting one corner at a time.
- Torque every fastener to the manufacturer’s spec, not by feel.
- Check toe with a string or toe gauge, and adjust it last since it changes with camber and caster.
- Get a professional alignment or run a careful, full DIY alignment pass, then road-test.
Every credible install guide repeats the same order for a reason: ride height, then camber, then caster, then toe. Adjust them out of sequence and you’ll chase your numbers in circles because each setting shifts the one before it.
Use a thread locker on adjustable jam nuts unless the manufacturer specifies anti-seize instead. Skipping this is how arms back themselves out of adjustment over a few hundred miles.
Pro Tip: Log every setting: arm length, cam bolt position, torque value, date. If you ever need to backtrack after a bad alignment, that log saves hours.
What Alignment Numbers Should a Lowered Car Target?
There’s no single correct number here, only starting ranges you adjust from based on how the car behaves. A street-driven lowered car commonly runs somewhere around negative half a degree to negative one and a half degrees of camber up front, with slightly more caster favored for steering stability at speed. Track-focused setups often push more negative camber to keep the contact patch flat mid-corner, at the cost of faster inner-edge tire wear on the street.
Toe settings follow the same logic: a touch of front toe-out helps turn-in response, while toe-in adds straight-line stability. None of these numbers hold across every chassis. A MacPherson strut front end responds to camber changes differently than a double-wishbone or multi-link setup, and wheel offset and tire width shift the ideal number further.
- Treat published ranges as starting points, not targets to hit exactly
- Re-measure and inspect tires at 500 to 1,000 miles after any alignment change
Manufacturer specs back this variability up directly. SPC Performance’s lowered front upper control arms offer a range of camber and caster adjustment, a range wide enough to correct trucks lowered up to a moderate height, and that range exists because no two lowered setups need the same final number.
Why Is My Car Still Wandering or Wearing Tires Unevenly?
Most post-install complaints trace back to one of three causes: excessive negative camber, a pinion or driveshaft angle problem, or bump steer from a tie rod arc that no longer matches the control arm’s arc.
- Inner tire wear points to camber set too aggressive for how the car is actually driven
- Wobble or vibration under acceleration usually means pinion angle or driveshaft phasing, not the control arm itself
- Bump steer shows up as the car darting over bumps mid-corner, caused by tie-rod and control-arm arcs that no longer match after the ride height change
- Binding at full droop or full compression means an arm or bushing is contacting something it shouldn’t
To isolate the issue:
- Recheck all fastener torque values first. Loose hardware mimics half these symptoms.
- Cycle the suspension by hand and watch for binding at the extremes of travel.
- Road-test at low speed over a rough surface specifically to reproduce bump steer before assuming it’s fixed.
What Maintenance Do Adjustable Control Arms Need?
Adjustable arms have more moving parts than stock rubber-bushed arms, so they ask for more attention. Check fastener torque, joint play, and bushing condition on a schedule instead of waiting for something to feel wrong.
- Recheck torque on every adjustable fastener after the first 100 to 300 miles once things settle
- Inspect joint play and bushing wear at every major service, or annually for lighter use
- Grease fittings on ball-jointed arms need periodic lubrication; sealed heim joints don’t take grease but should be checked for dust boot damage
- Watch for surface corrosion or hairline cracks near welds on steel arms
Pro Tip: A quick visual and torque check takes fifteen minutes and catches most problems before they become handling issues. Do it every oil change if the car sees regular track time.
When Should You Bring in a Professional?
Some symptoms are worth stopping for immediately rather than troubleshooting further on your own.
- Persistent vibration that doesn’t trace back to torque or balance
- Driveline binding that continues after you’ve corrected arm length and pinion angle
- Inability to hit stable camber or toe numbers at full droop or compression
- Steering geometry that feels noticeably off after adjustment, even with numbers that look correct on paper
If you’ve checked torque, rechecked your measurements, and the car still doesn’t behave, that’s the signal to stop guessing and get a four-wheel alignment from a shop experienced with lowered builds and bump-steer diagnosis.
Where to Find Chassis-Specific Adjustable Arms
Guesswork is the enemy of a good alignment, and it’s just as much the enemy of buying the wrong arm for your chassis. Underground Dynamics lists chassis-specific control arms with real fitment data, not generic “fits most” claims, so you know the adjustability range and hardware before it ships.
The ISR Performance rear lower control arm and ISR Performance front lower control arm for the Genesis Coupe platform ship with documented adjustability ranges and bushing specs listed right on the product page. Running a 350Z or G35 with camber issues after a drop? The ISR Performance front upper camber arms are built specifically for that chassis. S13 240SX owners dealing with tension-rod geometry after lowering can check the ISR Performance Pro Series offset angled tension control rods for a direct-fit option.
Measure your baseline numbers before you order anything, and browse the full suspension category if you’re pairing arms with new coilovers or springs. Have a fitment question specific to your chassis? Reach out through the product page before you buy, not after.

A Builder’s Note on Priorities
The biggest gains usually come from small, deliberate changes: mark your starting position, adjust one variable at a time, and road-test between changes instead of guessing at three settings at once. Chasing an aggressive static stance without giving up daily drivability and safe alignment is a real tradeoff, not a solved problem. Prioritize the numbers that keep the car predictable first, then chase the look. If you’re unsure whether a part fits your chassis, ask before you order.
Sources
The Adjustable Control Arms Guide walks through when arms become necessary and the general adjustment order referenced throughout this article, and it’s the best starting point for how-to guidance rather than exact fitment numbers.
For product-specific specs, SPC Performance’s lowered front upper control arm listing documents actual adjustability ranges for a lowered truck application, while Apoc Industries’ rear lowering control arms show how adjustable length preserves pinion and driveline geometry on a dropped solid-axle truck. If you’re shopping for a professional alignment after installation, a shop like Reedsburg Car Care’s suspension check service can verify your numbers with equipment most home setups don’t have.
Save your baseline measurements before you buy, and check chassis-specific product pages for exact adjustability figures rather than relying on general ranges alone.
- Adjustable Control Arms Guide: What They Do, When You Need Them & How to Choose
FAQ
Do I need adjustable control arms after lowering my car?
If your car sits low enough that factory arms can’t bring camber, caster, or toe back to a usable range, adjustable arms are the standard fix. Measure your baseline numbers first to confirm before buying.
What order should I adjust ride height, camber, caster, and toe?
Set ride height first, then rough in camber and caster, and adjust toe last since it shifts whenever the other two settings change.

What causes bump steer after installing adjustable control arms?
Bump steer usually comes from a mismatch between the tie-rod arc and the new control-arm arc created by the height change, or from an arm binding somewhere in its travel.
Can I adjust control arms myself or do I need a professional?
You can set rough camber, caster, and toe yourself with basic tools, but a four-wheel professional alignment is worth it when your numbers won’t stabilize or something still feels off after adjustment.
Where can I find control arms built for my specific chassis?
Underground Dynamics carries chassis-specific ISR Performance arms, including options for the Genesis Coupe, 350Z, G35, and 240SX, each with documented fitment and adjustability specs listed on the product page.
Recommended
- Suspension Tuning Checklist for Experienced Builders – Underground Dynamics
- Why Air Suspension Suits Show Builds: Builder’s Guide – Underground Dynamics
- Dialing in Coilover Alignment Settings: A Builder’s Guide – Underground Dynamics
- FR-S Suspension Setup for Handling: The Practical Guide – Underground Dynamics