FREE SHIPPING ON ORDERS OVER $150

Cart
0

A suspension upgrade for the Acura TL is defined as the process of replacing or supplementing stock dampers, springs, sway bars, and bushings with performance-spec components to improve cornering, reduce body roll, and sharpen steering response. The TL suspension upgrade step by step process covered here applies primarily to 2004–2008 models, though many principles carry over to earlier generations. Done correctly, this upgrade transforms a comfortable daily driver into a car that actually rewards you through corners. Done wrong, you get a harsh, misaligned mess that eats tires. The difference comes down to preparation, sequence, and not skipping the alignment.
What tools and parts do you need for a TL suspension upgrade?
Gathering everything before you lift the car saves you from stopping mid-job with a corner in the air. Missing one tool at that point is genuinely painful.
Essential tools
| Tool | Purpose |
|---|---|
| Torque wrench | Final fastener tightening to spec |
| Spring compressor | Safe spring removal and installation |
| Breaker bar | Breaking loose seized fasteners |
| 14mm and 17mm sockets | Sway bar and strut hardware |
| Allen wrench set | Endlink and coilover adjustment hardware |
| Penetrating oil (e.g., PB Blaster) | Freeing corroded bolts |
| Floor jack and jack stands | Safe vehicle support |
| Pry bar | Persuading stubborn components |
Parts for common TL upgrades
- Coilover kit: Replaces stock struts and springs in one assembly. Complete assemblies simplify installation and remove the need for a spring compressor on the new components.
- Performance sway bars: Front and rear bars reduce body roll in corners.
- Polyurethane bushings: Replace worn rubber bushings for tighter response.
- Endlinks: Often worn alongside sway bars; replace them at the same time.
Pro Tip: Apply penetrating oil to every suspension bolt 24 hours before you start. Seized hardware on older TLs is the single biggest cause of stripped bolts and blown schedules.
Safety equipment is non-negotiable. Use rated jack stands, never rely on a floor jack alone, and wear eye protection when working under the car.
How do you install coilovers on an Acura TL?
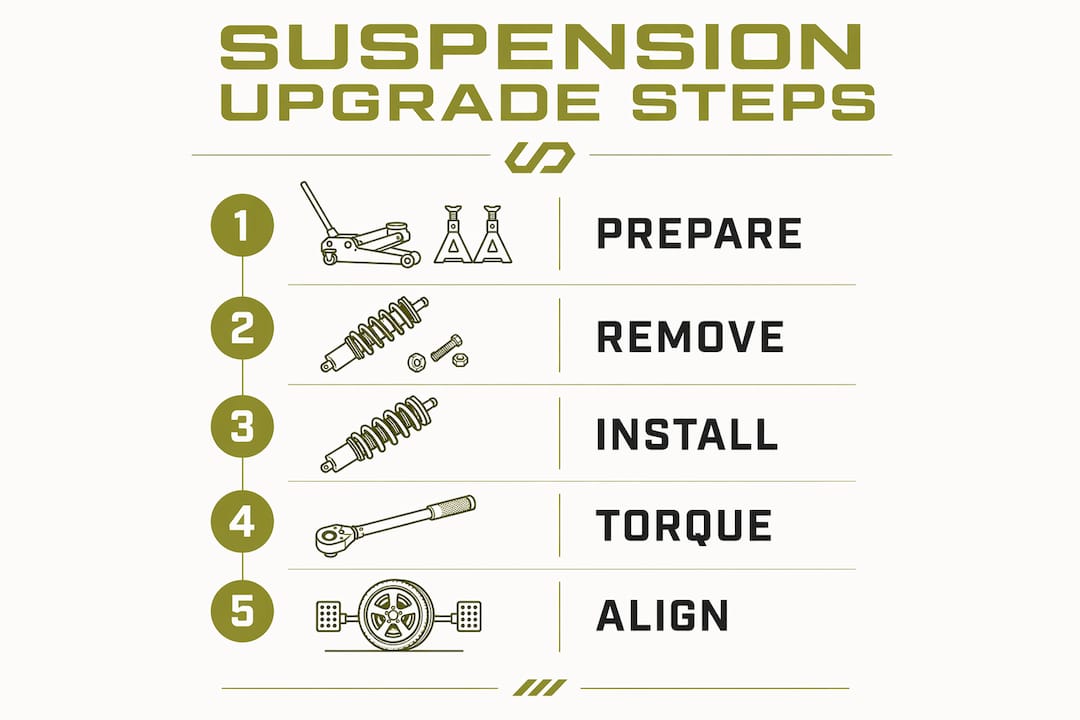
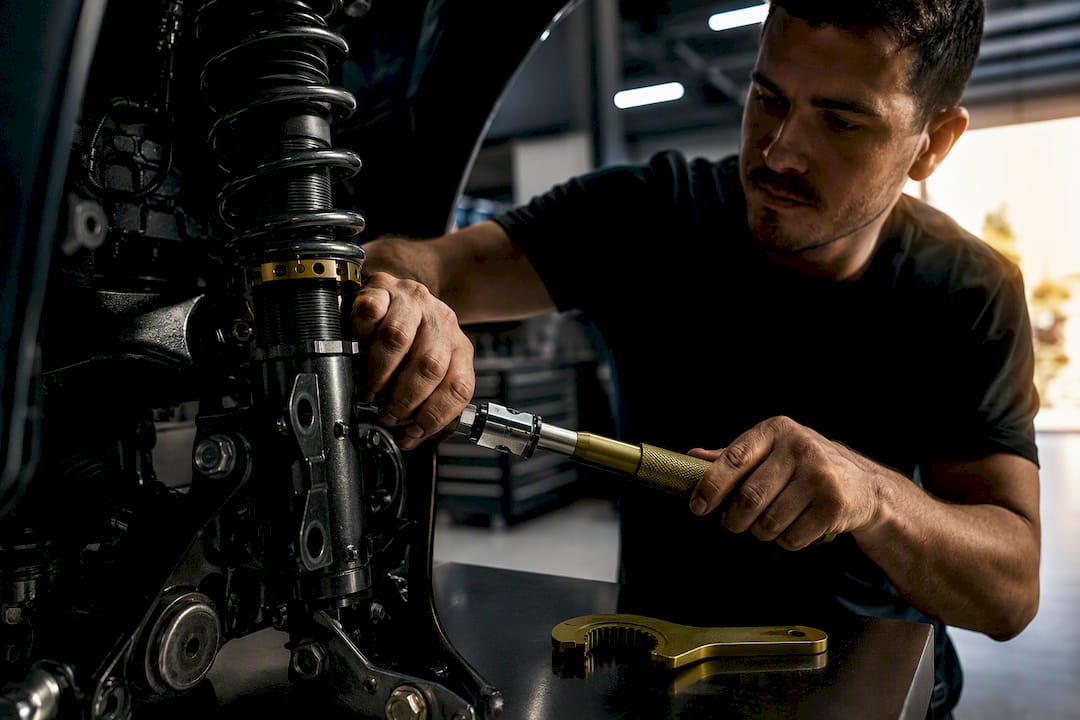
Coilover installation is the most involved part of the TL suspension upgrade process. Budget a full day for your first attempt. Most 2004–2008 TL coilover kits offer 1–3 inches of height adjustability and 24–32 levels of rebound damping. That adjustability is what makes coilovers worth the investment over simple lowering springs.
Step-by-step coilover installation
-
Loosen lug nuts (car still on the ground). Break the resistance before the wheel is in the air. Estimated time: 5 minutes.
-
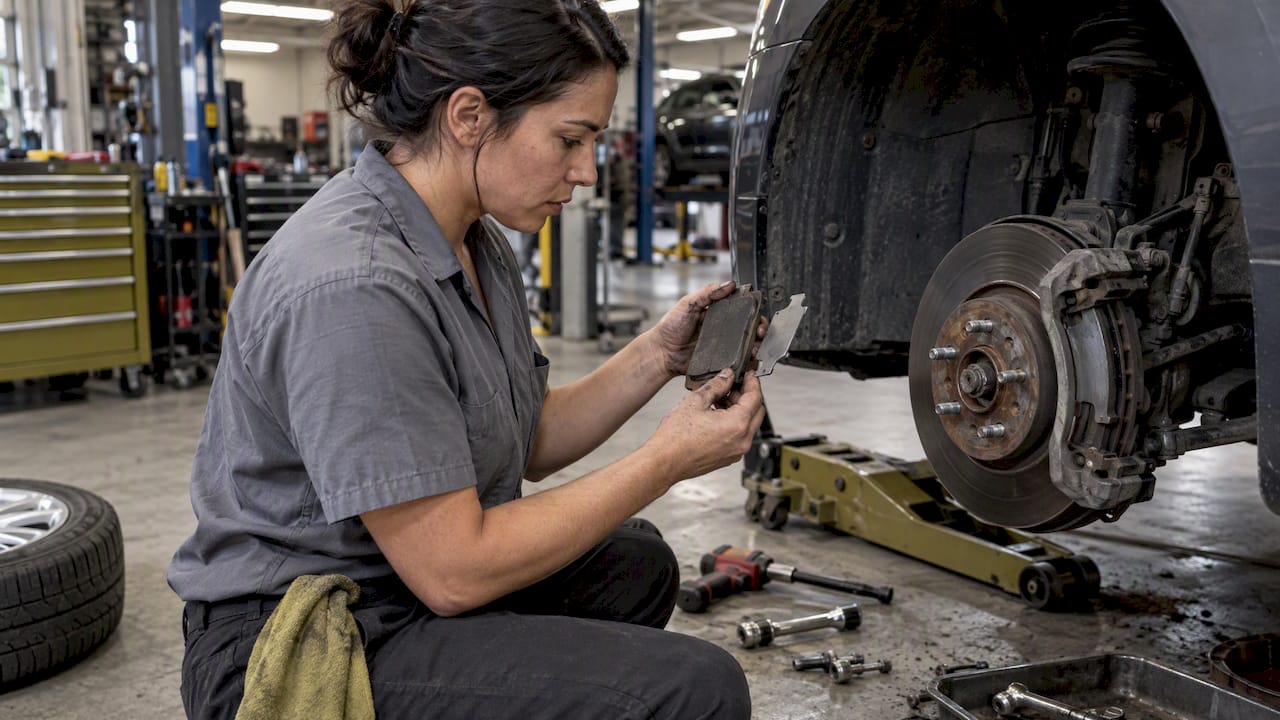
Lift and support the car on jack stands at the factory lift points. Remove the wheel. Estimated time: 10 minutes.
-
Disconnect the brake line bracket and ABS sensor wire from the strut. These are clipped on and easy to miss. Forgetting them causes damage when the strut drops. Estimated time: 5 minutes.
-
Remove the upper strut mount bolts from inside the engine bay or trunk (rear). Three bolts on most TL models. Estimated time: 10 minutes.
-
Unbolt the lower strut pinch bolt at the knuckle. Use your breaker bar. If it won’t move, apply more penetrating oil and wait. Do not round the bolt head. Estimated time: 10–20 minutes.
-
Pull the strut assembly free from the knuckle. A pry bar helps open the pinch clamp slightly. Estimated time: 5–10 minutes.
-
Set your coilover height and damping before installation. Measure your target ride height and pre-set the collar to match. Adjusting after the car is back on the ground is harder. Estimated time: 15 minutes.
-
Install the coilover into the knuckle and hand-tighten the pinch bolt. Seat the upper mount and thread in the top bolts. Estimated time: 15 minutes.
-
Reconnect the brake line bracket and ABS sensor wire. Estimated time: 5 minutes.
-
Reinstall the wheel and lower the car to the ground. Load the suspension to ride height before applying final torque to the lower pinch bolt. This step is critical.
Pro Tip: Load suspension to ride height before torquing the lower mount bolts. Use a jack under the knuckle to compress the suspension to its natural position. Torquing with the wheel hanging pre-stresses the bushings and causes early failure. This is the step most DIY guides skip.
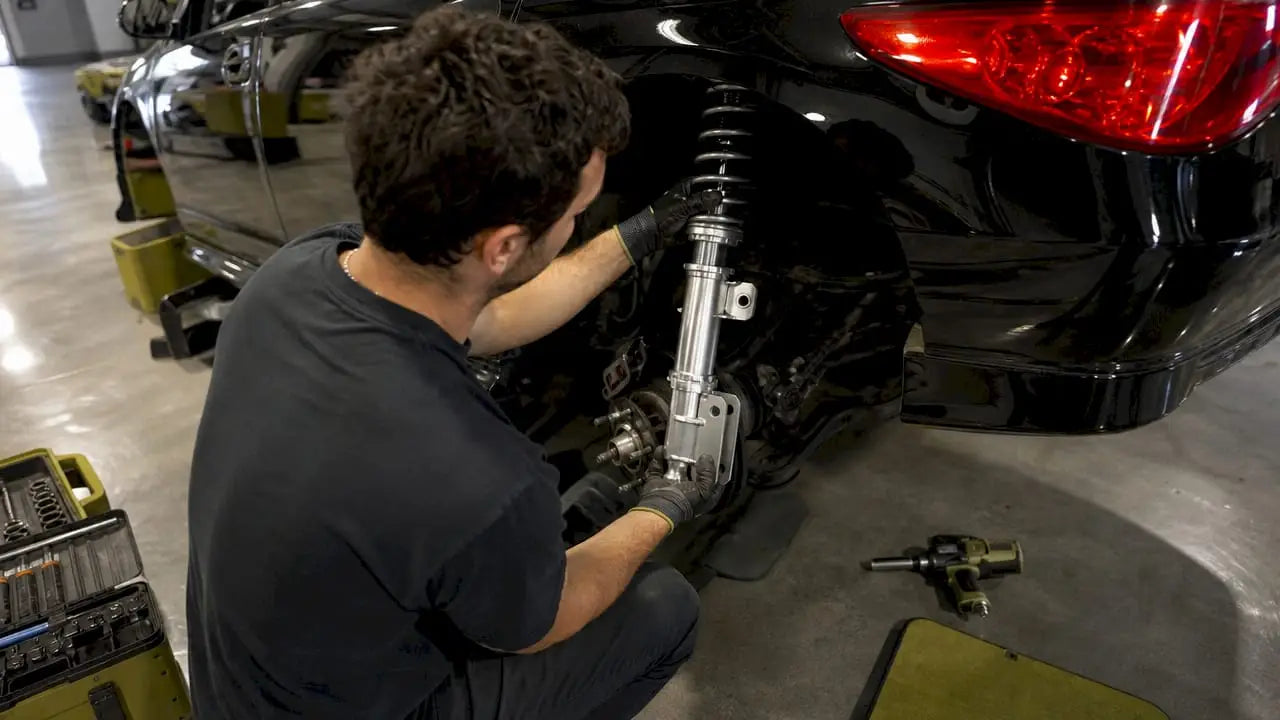
Quality coilover kits use CNC-machined aluminum and high-tensile springs to balance performance with daily drivability. Cheap kits skip the material quality and you feel it within a year.
How do you upgrade sway bars and bushings on an Acura TL?
Sway bar upgrades deliver some of the best handling return per dollar on the TL. A thicker rear bar alone noticeably reduces body roll in fast corners. The rear sway bar swap on 2004–2008 TL models typically takes 1–3 hours for an experienced DIY mechanic.
Removal process
- Spray all sway bar endlink nuts, bushing bracket bolts, and bar mounting hardware with penetrating oil the day before.
- Use a 14mm socket for the endlink nuts and an Allen wrench to hold the endlink pin from spinning.
- Remove the bushing brackets (usually two bolts each) and slide the bar out from the mounts.
Pro Tip: If the endlink pin spins freely when you try to loosen the nut, insert an Allen wrench into the pin head to hold it stationary. This is the trick that saves you from rounding the nut.
Installation process
- Slide the new sway bar into position and fit the new polyurethane bushing brackets. Grease the bushings before installation to prevent squeaking.
- Thread in the endlink nuts by hand first, then snug them down with your socket.
- Do not fully torque the endlink nuts yet. The suspension needs to settle first.
After installation
Drive the car for approximately 5 minutes to allow the suspension to settle into its natural position. After that short drive, re-torque all nuts to manufacturer spec. This step prevents hardware from loosening over time and keeps the setup safe. Skipping the re-torque is how sway bars develop rattles within a week.
Common pitfalls to watch for:
- Stripped endlink nuts: Use the correct socket size and avoid impact guns on these smaller fasteners.
- Squeaking bushings: Always grease polyurethane bushings. Rubber bushings come pre-lubricated; poly does not.
- Misaligned brackets: Confirm the bar sits centered before fully torquing the brackets.
What alignment and settling steps are needed after a TL suspension upgrade?
A professional four-wheel alignment is mandatory after any major suspension work on the Acura TL. Skipping alignment compromises steering stability and causes uneven tire wear that shows up fast. For performance-oriented setups, understanding the alignment steps for high-performance cars helps you communicate your goals clearly to the alignment shop.
Key alignment and settling steps:
- Book the alignment immediately after installation, not after a week of driving. Every mile on a misaligned car wears your tires unevenly.
- Request a four-wheel alignment with camber, caster, and toe all checked. A two-wheel alignment is not sufficient after coilover installation.
- Specify your use case to the alignment tech. A daily driver setup differs from an autocross setup. Negative camber improves cornering grip but accelerates inner tire wear on the street.
- Re-check fastener torque after the first 100 miles. Suspension components settle under load, and fasteners can back off slightly.
- Fine-tune damping after initial use. Drive the car for a week on your initial damping setting, then adjust one click at a time toward your preference. Adjustability in damping and ride height lets you dial in the setup without buying new parts.
The alignment is not optional and it is not something to defer. Handling safety depends on it.
Key Takeaways
A successful Acura TL suspension upgrade requires correct installation sequence, suspension loading before final torque, and a professional four-wheel alignment immediately after.
| Point | Details |
|---|---|
| Prepare hardware in advance | Apply penetrating oil 24 hours before removal to prevent stripped bolts on older TLs. |
| Load suspension before torquing | Jack the knuckle to ride height before final torque to prevent premature bushing failure. |
| Re-torque after settling | Drive 5 minutes after installation, then re-torque all nuts to manufacturer spec. |
| Alignment is mandatory | Book a four-wheel alignment immediately after any suspension change to protect tires and safety. |
| Match setup to use case | Choose damping and height settings based on daily driving or track use before you buy. |
What I’ve learned from watching TL suspension builds go wrong
The most common mistake I see is buying the stiffest coilover kit available because the spec sheet looks impressive, then crying into your bank app six months later because the daily commute is unbearable. Upgrading suspension for aesthetics alone almost always leads to buyer’s remorse when the ride quality doesn’t match the use case. Ask yourself honestly: is this car going to a track day twice a year, or is it sitting in traffic every morning?
The second mistake is skipping the suspension-loading step before final torque. I have seen bushings fail within 10,000 miles on otherwise quality setups because the installer torqued everything with the wheel hanging. That one step costs nothing and saves you a full reinstall.
Third: people underestimate the alignment. They spend $800 on coilovers and then skip the $120 alignment. The tires show the damage within a few months. The alignment is part of the upgrade, not an optional add-on.
My honest advice: evaluate your driving goals before you buy anything. A well-chosen mid-range coilover kit installed correctly and properly aligned will outperform an expensive kit that was rushed onto the car. Seat time on a well-set-up car teaches you more than any spec sheet.
— Ismael
Acura TL suspension parts from Undergrounddynamics
Undergrounddynamics carries fitment-specific suspension components for Acura TL owners who want performance without guessing on compatibility.

The TruHart StreetPlus coilover kit for 2004–2008 Acura TL is one of the most practical options in the catalog. It offers adjustable ride height and damping in a complete assembly, which removes the spring compressor requirement and simplifies the install. For a full picture of what modifications make sense for your build, the Acura TL suspension upgrade list covers the top mods with real fitment detail. Browse the full catalog at Undergrounddynamics and buy with confidence knowing the specs are listed for your exact chassis.
FAQ
Do I need an alignment after installing coilovers on my TL?
Yes. A professional four-wheel alignment is required after coilover installation. Skipping it compromises steering stability and causes uneven tire wear.
How long does a TL coilover installation take?
A first-time DIY install typically takes a full day. Experienced mechanics with the right tools can complete it in 4–6 hours.
What damping setting should I start with on my TL coilovers?
Start at the middle of the available range, typically around 12–16 clicks on a 24–32 level system. Drive for a week, then adjust one click at a time toward your preference.
Can I install sway bars without removing the coilovers?
Yes. Sway bar installation is independent of coilover work and can be done separately. Always re-torque endlink nuts after a short settling drive.
Why do my new bushings squeak after installation?
Polyurethane bushings require grease before installation. Apply a dedicated bushing lubricant to the contact surfaces during assembly to eliminate squeaking.