FREE SHIPPING ON ORDERS OVER $150
Cart
0
Suspension tuning is the systematic process of optimizing camber, caster, toe, ride height, spring rates, and damping to maximize handling consistency and performance in modified cars. For experienced builders, this is not guesswork. It is a data-driven, repeatable process that responds to specific tire and chassis behavior at each session. The industry calls this discipline “chassis setup,” and the best builders treat it like a science. Get the baseline wrong, and no amount of shock adjustment will save you.
1. Suspension tuning checklist for experienced builders: start here
Every solid setup begins with a written checklist, not memory. The standard industry term for this process is chassis setup, and the suspension tuning checklist experienced builders rely on covers alignment, ride height, spring rates, damping, and corner weights in that order. Skipping steps or working out of sequence costs you laps and tires. The checklist exists to prevent that.
The five core parameters you must document before touching any adjuster:
- Camber: front target range is -2.0° to -3.5° for competitive track setups
- Caster: positive caster above 6 degrees for dynamic camber gain through corners
- Toe: front toe-out 0° to 1/8", rear toe-in 1/16" to 1/8"
- Ride height: set at racing weight with driver, fuel, and ballast included
- Damping: start at softest setting, adjust from there
Write these numbers down before every session. They are your reference point for every change that follows.
2. What are the essential alignment settings and target ranges?
Competitive track setups target front camber between -2.0° and -3.5° and positive caster over 6 degrees. These numbers are not arbitrary. Negative camber keeps the tire contact patch flat during cornering load. Positive caster generates dynamic camber gain as the wheel turns, which adds grip without requiring extreme static camber.
| Parameter | Target Range | Primary Effect |
|---|---|---|
| Front camber | -2.0° to -3.5° | Maximizes cornering contact patch |
| Caster | >6 degrees positive | Dynamic camber gain, straight-line stability |
| Front toe | 0° to 1/8" out | Improves turn-in response |
| Rear toe | 1/16" to 1/8" in | Adds high-speed stability |
| Ride height | Race weight loaded | Correct roll center geometry |
Toe settings directly affect both tire wear and handling balance. Front toe-out sharpens initial turn-in. Rear toe-in keeps the car stable under power and braking. Running rear toe-out on a high-power build is a fast way to induce snap oversteer.
Pro Tip: Measure toe side-to-side separately, not just total toe. A car with 1/8" total front toe-out but all of it on one side will pull and wear tires unevenly.
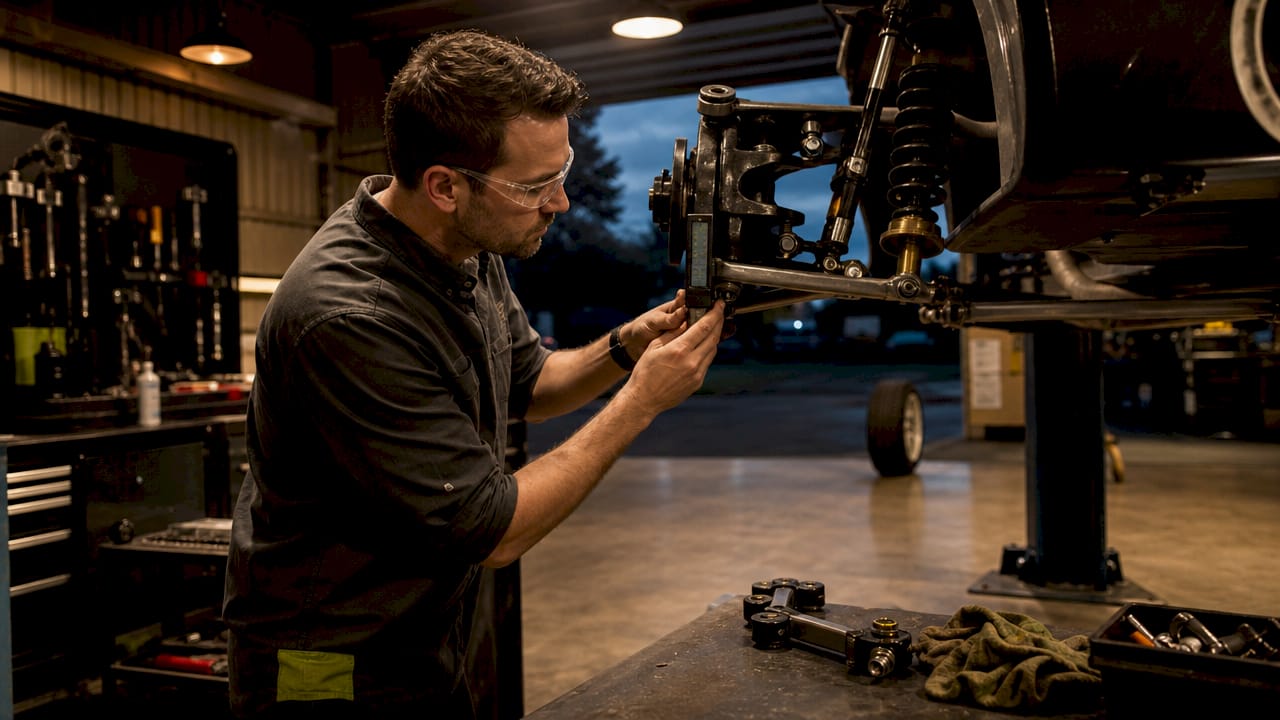
3. How to establish a verified baseline setup
Incorrect ride height leads to poor roll centers, excessive bump steer, and handling instability that damping cannot fix. Set ride height with the car at full racing weight: driver seated, fuel loaded, and any ballast in place. This is the single most common mistake builders make, and it corrupts every alignment measurement that follows.
Before you record your baseline, run through this sequence:
- Confirm full suspension travel with no binding at full bump and full droop
- Check bump steer with a bump steer gauge across the full travel range
- Verify steering wheel centering after toe is set
- Check all clearances: tire-to-fender, control arm-to-frame, and driveshaft angles
Start with the softest spring and damping settings available on your setup. This reveals the car’s natural balance before you layer in damping adjustments. A car that pushes badly on soft settings has a geometry or weight distribution problem, not a damping problem.
Pro Tip: Torque suspension bolts only at loaded ride height, never at full droop. Torquing at droop pre-loads the bushings, which causes premature wear and unpredictable handling as the bushings fatigue.
4. How to tune shock absorbers with repeatable methods
Shock tuning is where most experienced builders waste the most time. The mistake is treating each track as a fixed recipe. Penske Shocks documents this clearly: effective shock tuning responds to actual tire and chassis feedback, not assumptions carried over from a different track or weather condition.
Logging shock settings, tire pressures, track conditions, and driver feedback after every session is what separates a repeatable tuning system from a collection of random guesses. Without a log, you cannot know whether a change helped or whether the track just Hubbard in.
Follow this sequence for every shock tuning session:
- Record current shock settings, tire pressures, and ambient temperature before going out
- Complete a full session without changing anything mid-run
- Debrief with the driver and identify one specific handling complaint
- Determine whether the issue is a platform problem (spring rate, ride height) or a compliance problem (damping)
- Make one change only, then verify the effect on the next run
- Update the setup log immediately after the run
Avoid turning all shock clickers in the same direction blindly. Multi-way adjusters exist to isolate specific handling aspects. Use low-speed compression to control body motion. Use high-speed compression to manage sharp impacts. Mixing them up without purpose shifts the platform in ways that are hard to diagnose later.
Pro Tip: If you run multi-way adjustable shocks, change only one circuit per session. Changing both low-speed and high-speed compression at the same time makes it impossible to know which one produced the result.
5. How corner weights and ride frequencies affect handling
Corner weighting is the process of measuring and equalizing the load on each tire at static ride height. Corner weight changes from fuel burn, ballast shifts, or driver weight alter ride frequency even without touching the springs. This means your setup can drift between sessions without any deliberate changes.
Ride frequency is calculated from spring rate and corner weight. It tells you how fast the suspension oscillates in cycles per minute (CPM). Different disciplines target different frequency ranges:
| Discipline | Front Frequency Target | Rear Frequency Target |
|---|---|---|
| Street performance | Low, soft compliance | Slightly higher than front |
| Road racing | Medium, balanced | Equal to or slightly higher |
| Drift / high-angle | Higher front stiffness | Lower rear for rotation |
Frequency calculations help you diagnose handling issues that feel like damping problems but are actually spring rate or weight distribution issues. A car that feels loose at corner exit after a fuel stop has changed its rear frequency, not its damping. Recognizing that distinction saves you from chasing the wrong adjuster.
Lowering ride height without recalculating roll center geometry is a frequent error. The suspension geometry changes with ride height, and a lower car with uncorrected roll centers can actually handle worse than the stock setup. Always recalculate after any ride height change.
6. What installation checks and verification steps matter most?
A correct setup on paper means nothing if the installation is wrong. Run this verification sequence before and after every suspension component change.
Before installation:
- Confirm part compatibility with your specific chassis and model year
- Inspect all hardware for corrosion, thread damage, or deformation
- Check clearances for the new component at full bump and full droop
- Review torque specifications from the manufacturer for every fastener
After installation:
- Re-check hardware torque after the first 50–100 miles of driving, as components settle
- Listen for binding, clunking, or rubbing during slow-speed steering lock-to-lock
- Verify ride height matches your target at race weight
- Confirm alignment specs have not shifted from installation disturbance
- Check for fluid leaks at shock bodies and any hydraulic components
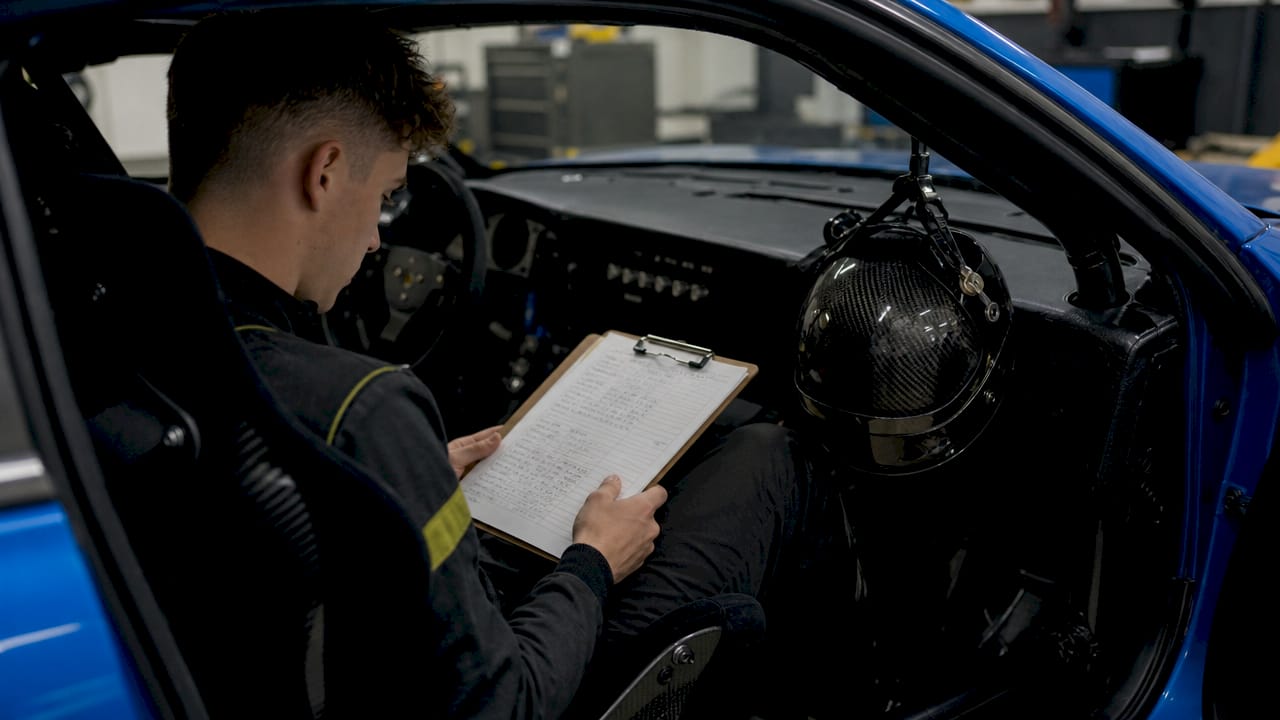
Setup logs are not optional at this level. Detailed setup logs that separate changes by lap time, driver feedback, and track condition are what differentiate experienced builders from amateurs. Log alignment specs, spring rates, damping clicks, tire pressures, temperatures, and weather at every session.
Pro Tip: Take a photo of your alignment printout and shock settings after every session. A photo log is faster to review than written notes and catches discrepancies you might miss when reading numbers.
Understanding suspension maintenance fundamentals also helps you catch wear patterns early, before they corrupt your alignment data. Worn bushings and ball joints change your effective geometry even when your settings look correct on paper.
Key takeaways
A correct suspension setup requires verified baseline geometry, session-specific data logging, and single-variable changes to produce repeatable, trustworthy results.
| Point | Details |
|---|---|
| Set baseline at race weight | Ride height must include driver, fuel, and ballast before any alignment is recorded. |
| Torque bolts at ride height | Torquing at full droop pre-loads bushings and causes premature wear. |
| Change one variable per session | Isolating each change is the only way to know what actually improved handling. |
| Log everything after every run | Alignment specs, damping clicks, tire pressures, and weather must all be recorded. |
| Frequency beats feel | Corner weight shifts change ride frequency; calculate before assuming a damping fix is needed. |
What I’ve learned after years of watching builders get this wrong
The most common mistake I see from experienced builders is not ignorance. It is impatience. They arrive at the track with a car that has three new changes from the last session, and when it handles differently, they have no idea which change caused it. The checklist discipline is not about being slow. It is about being fast in the right direction.
The second thing I have noticed is that builders trust their feel over their data. A car that feels better after a change is not always faster. Tire temperatures, lap times, and alignment printouts tell you what actually happened. Driver feel tells you what the driver experienced. Both matter, but data wins the argument.
The builders who improve fastest are the ones who treat their setup log like a treasure map. Every session adds a data point. Over time, patterns emerge: this track needs more rear toe-in, this driver needs softer low-speed compression, this chassis responds to caster changes differently than the textbook says. You cannot see those patterns without the log.
One more thing: do not chase trends. Camber and caster targets exist for a reason. When a builder tells me they are running -4.5° of front camber because they saw it on social media, I know they are burning through tires and not gaining grip. Stick to the established ranges, verify with data, and adjust from there. The fundamentals work. They have always worked.
— Ismael
Undergrounddynamics has the parts to back your setup
Building a suspension setup that actually performs requires more than knowledge. It requires parts that fit correctly and hold up under load.

Undergrounddynamics carries coilovers, lowering springs, and drivetrain components sourced from established suppliers with real fitment data for your specific chassis. Every product listing includes technical specs so you can verify compatibility before you buy. For builders running high-output builds, the ACT performance clutch discs handle the drivetrain load that comes with a properly tuned, high-grip setup. If you are building a platform that needs to perform consistently, start with parts that are spec’d for the job.
FAQ
What is the correct front camber range for track use?
Competitive track setups target front camber between -2.0° and -3.5°. This range maximizes the tire contact patch during cornering load without causing excessive inner-edge wear on straights.
Why should suspension bolts be torqued at ride height?
Torquing at full droop pre-loads the bushings, which causes premature wear and erratic handling as the bushings fatigue. Always torque suspension fasteners with the car at its final loaded ride height.
How do I know if a handling problem is damping or geometry?
Start at the softest damping setting and evaluate the car’s balance. If the problem persists at minimum damping, the issue is geometry, ride height, or spring rate, not the shocks.
What should a session setup log include?
Log alignment specs, spring rates, damping clicks, tire pressures, tire temperatures, ambient temperature, and driver feedback after every run. This data is what makes tuning repeatable across sessions and tracks.
How does fuel load affect suspension tuning?
Fuel burn changes corner weights, which shifts ride frequency even without touching the springs. Calculate ride frequency at the start and end of a fuel load to understand how the car’s balance changes through a run.