FREE SHIPPING ON ORDERS OVER $150

Cart
0
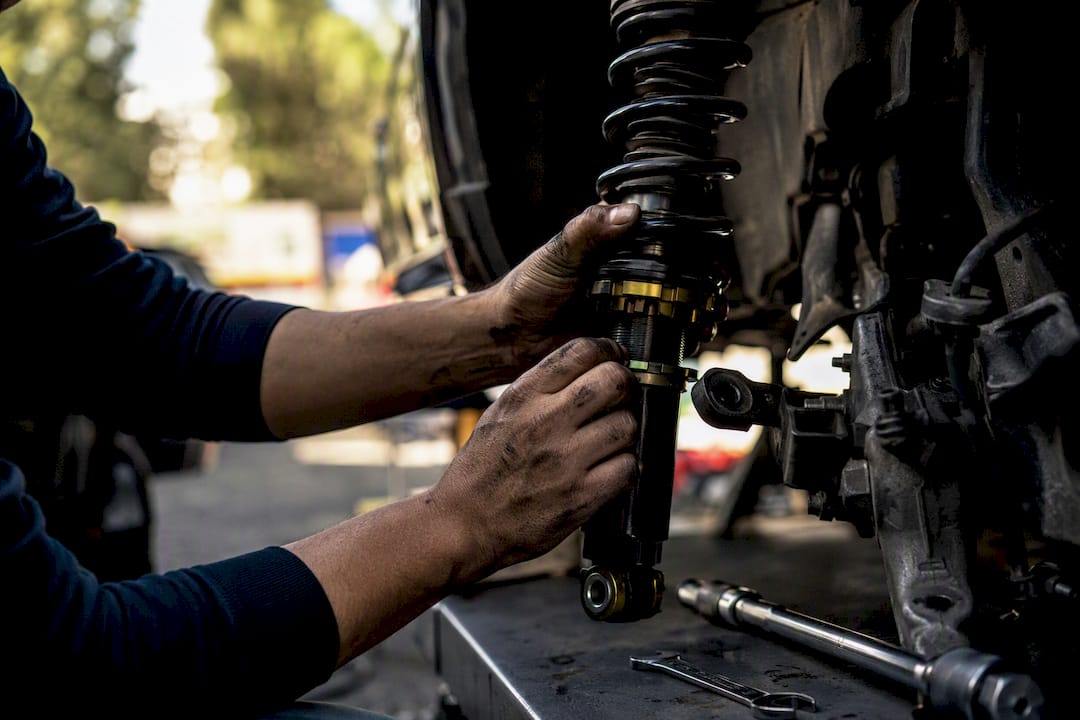
A clunk after a coilover install is almost always fixable, and it’s rarely the coilover’s fault. Most cases trace back to common issues like a loose top hat nut, a sway bar endlink that requires adjustment, or a bushing not properly seated. Start by retorquing the top hat and pillowball mount, then inspect the endlinks. If a top hat nut is loose enough to move by hand, stop driving and grab a torque wrench, or get it looked at before it wears through the bearing entirely.
TL;DR:
- Most coilover clunks result from loose top hat nuts, improperly seated bushings, or worn sway bar endlinks, not internal shock failure.
- Retorquing the top hat and pillowball nut to manufacturer specs often resolves the majority of post-install noise within 20 minutes.
- Diagnosing the noise location requires systematic checks based on when the clunk occurs, with simple tools like a screwdriver or phone mic helping to identify metal versus bushing issues.
- If hardware is solid but the noise persists, the fix typically involves adjusting or replacing endlinks, bushings, bump stops, or bearing plates.
- Regular maintenance, including retightening hardware after 50-100 miles and checking bushings and bump stops annually, prevents recurring clunks and ensures longevity.
Table of Contents
- How to Fix a Coilover Clunking Sound Fast
- How Do You Find Where a Coilover Clunk Is Coming From?
- Step-by-Step Fixes for Common Clunking Causes
- Rebuild vs. Replace: What Makes Sense for Your Coilovers
- Maintenance That Keeps Clunks From Coming Back
- Where to Find Fitment Specs and Real Torque Data
- Inspecting and Replacing Shock Absorber Bushings
- Checking for Damaged or Worn Bump Stops
- Do You Need an Alignment After Adjusting Coilovers?
- How Worn Bearing Plates Affect Coilover Noise
- What I Learned Installing Coilovers the Hard Way
- Get the Right Parts and Specs Before You Chase a Clunk
- Sources
- FAQ
How to Fix a Coilover Clunking Sound Fast
Before you pull anything apart, run through this checklist. It takes about 20 minutes with basic hand tools and solves the majority of post-install clunks without touching the shock internals.
- Retorque the top hat / pillowball nut. Most setups use a 19mm wrench to hold the shock shaft steady while you tighten the top nut with a 5mm allen key, all without removing the coilover from the car. This single step resolves more clunks than any other fix on this list.
- Check the sway bar endlinks and bushings. Grab each endlink by hand and try to rock it. Any play, clicking, or visible cracking in the rubber bushing points to a worn or improperly sized link.
- Verify lower mount bolts and spring collars. Confirm the lower shock bolt is torqued to spec and that the spring collar hasn’t backed off from vibration.
- Run quick physical tests. Bounce each corner of the car and listen. Pull a wheel and inspect the mount visually. A cheap trick: hold a phone against the strut tower while a friend bounces the car, or press a long screwdriver handle to your ear like a stethoscope to localize the sound.
- Stop if something feels seriously wrong. Heavy play in a bearing, a bolt that spins freely without threading, or a visibly bent component means it’s time for a shop, not a wrench.
Pro Tip: Keep a torque spec sheet for your specific coilover brand in your glovebox or saved on your phone. Guessing at torque values on a pillowball mount is how people strip threads or crush bearings.
If you’ve run through all five steps and the noise is still there, you’re dealing with something less obvious, which is where a more structured diagnostic approach pays off.
How Do You Find Where a Coilover Clunk Is Coming From?
Chasing a phantom clunk without a system wastes hours. The fix isn’t guessing harder, it’s narrowing the search systematically until only one part could possibly be making the noise.
Start by documenting exactly when the noise happens. Does it show up only over speed bumps? Only when turning into a driveway? Only at low speed, or does it happen at highway speeds too? A clunk that only appears while turning almost always points to a pillowball bearing, a strut mount bushing, or a sway bar endlink under twist. A clunk over straight-line bumps, with no steering input at all, usually means a loose top nut, a spring sitting wrong in its seat, or an endlink that’s too short.
Once you’ve narrowed the conditions, move to hands-on checks:
- Grab the top of the shock shaft (with the wheel off the ground) and try to move it vertically and horizontally. Any perceptible play means the pillowball bearing or top mount bushing has worn out.
- Wiggle each sway bar endlink by hand while a second person watches for movement at both the strut bracket and the sway bar side.
- With the car on jack stands, have someone push and pull the wheel at 12 and 6 o’clock, then 3 and 9 o’clock, while you watch and listen at the strut tower and control arm bushings.
- Use a pry bar (carefully) at the lower control arm bushing to check for slop that a hand check won’t reveal.
Low-tech tools go a long way here. A mechanic’s stethoscope works, but a long flathead screwdriver pressed to your ear and the suspect component does almost the same job. Some enthusiasts build simple “chassis ears” setups with cheap microphones zip-tied to different points and run wires into the cabin so they can listen while actually driving and hitting the bump that triggers the noise. It’s a low-cost way to isolate a clunk you can only hear at speed.
Pro Tip: Record a video of the bounce test with your phone’s microphone active. Playing it back later, sometimes slowed down, often reveals whether the clunk is metallic (hardware) or dull and rubbery (a bushing).
Community reports back this up consistently. Owners chasing clunks on forums like Bimmerpost repeatedly find that a loose top strut nut, not a defective part, was the actual cause after lowering. If your hands-on checks all come back clean but the noise persists, that’s your signal to pull the coilover off the car entirely for a closer look at the internals rather than continuing to guess with it installed.
Step-by-Step Fixes for Common Clunking Causes
Once you know roughly where the noise is coming from, here’s how to actually fix it.
Top hat and pillowball retorque. This is the fix that resolves the most clunks, and it’s worth doing right rather than fast.
- Locate the top hat nut, usually accessed from the engine bay or trunk depending on the corner.
- Hold the shock shaft steady with a 19mm wrench so it can’t spin.
- Tighten the top nut with a 5mm allen key while keeping the shaft still, working in small increments rather than cranking it in one motion.
- Check the manufacturer’s torque spec for your specific coilover, since values vary by brand and thread pitch. Never eyeball this on a pillowball mount. If you don’t have the spec sheet, contact the manufacturer or check the product listing before guessing.
- Retorque again after the first 50 to 100 miles, since new hardware and rubber bushings tend to settle.
Endlink adjustment or replacement. Lowering a car changes the angle and length your sway bar endlinks need to sit at correctly. A stock-length endlink installed on a lowered car sits under constant preload, and that preload translates directly into a clunk every time the suspension compresses or droops. Adjustable endlinks solve this because you can dial in the correct length for your new ride height instead of forcing a fixed-length part to compensate. If your endlinks are worn, cracked, or seized, replace them rather than trying to salvage them.
Bushing checks and replacement. Before replacing anything, test it. Grab the bushing area and check for excess play, visible cracking, or a spongy feel compared to a new part. Worn strut mount bushings and control arm bushings mimic coilover noise almost perfectly, which is why so many owners chase a “bad coilover” that turns out to be a $15 bushing.
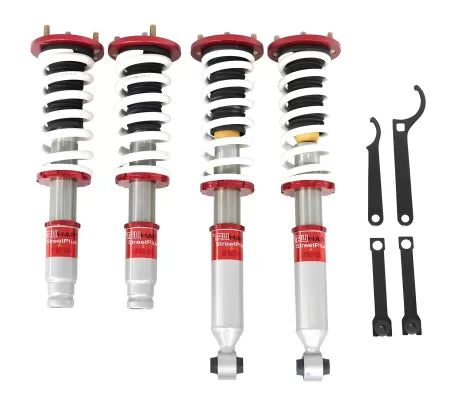
Spring seat and collar fixes. A loose lower spring collar lets the spring shift slightly under load, producing a distinct seat clunk. Rusted or dry threads make collars harder to adjust and more prone to backing off over time. Clean the threads and apply a light coat of anti-seize before resetting the collar to spec. This keeps future adjustments smooth and prevents the collar from locking up.
Bearing and pillowball inspection. Pull the top mount and check the bearing for out-of-round wear or noticeable vertical and horizontal play in the shaft. A bearing that’s visibly worn or gritty when rotated needs replacing, and depending on your coilover’s track record with fitment issues, it may be worth a warranty claim before you buy a replacement part outright.
Internal shock damage. If you’ve checked every piece of hardware and the clunk persists, look for oil residue around the shock body (a sign of a blown seal) or any visible bend in the shaft. Either one means the noise isn’t coming from something you can retorque your way out of.
Rebuild vs. Replace: What Makes Sense for Your Coilovers
Not every coilover is built to be serviced. Some brands manufacture fully rebuildable units with replaceable seals, bearings, and valving, while entry-level and mid-range lines often ship sealed and non-rebuildable from the factory. Check your product documentation or contact the manufacturer to find out which category yours falls into before you assume a rebuild is even possible.
- Rebuildable units with a persistent clunk after hardware checks are often worth sending in, especially if the bearing or seal kit costs less than half the price of a new coilover.
- Sealed units with internal symptoms, oil leaks, a bent shaft, or persistent play that survives every retorque, are usually better replaced outright, since labor and part scarcity make repair impractical.
- Warranty status matters too. If your coilovers are still covered, contact the manufacturer before spending money on parts or labor.
- When in doubt, a suspension specialist can bench-test the unit and tell you definitively whether it’s a seal, a bearing, or a total loss.
Maintenance That Keeps Clunks From Coming Back
A clunk you fix once shouldn’t come back if you stay ahead of it. Inspect your coilovers at least once a year, or before winter if you’re in a climate with road salt, checking torque on the top hat, endlink condition, and spring collar tightness every time.
- Apply anti-seize to spring collar threads and the top hat threads during any adjustment, since dry or corroded threads are what cause collars to seize or back off over time.
- Wipe down shock bodies before winter and check for surface rust starting near the seals.
- Keep a torque wrench in your toolkit rather than relying on memory for spec values, since guessing is how bearings get overtightened.
Regular servicing like this is what separates coilovers that last for years from ones that generate a support ticket every six months.
Where to Find Fitment Specs and Real Torque Data
Guessing at torque values or bolt sizes is how good coilovers get damaged by well-meaning owners. Underground Dynamics builds its suspension category around real fitment data, not vague compatibility claims, so you know the exact hardware and spec sheet that goes with the part you’re installing. If you’re running a Civic-platform build, the Civic coilover setup guide walks through the install sequence that prevents most of the clunks covered in this guide before they start. For preload specifically, the preload guide covers the adjustment mistakes that cause the seat clunks discussed above. This guide was put together by Ismael, drawing on the same fitment and torque documentation Underground Dynamics publishes on its product pages.
Inspecting and Replacing Shock Absorber Bushings
Shock absorber bushings sit at the top mount and sometimes at the lower eye, cushioning the connection between metal and metal. They wear out quietly, and by the time they’re bad enough to clunk, they’ve usually been degrading for months.
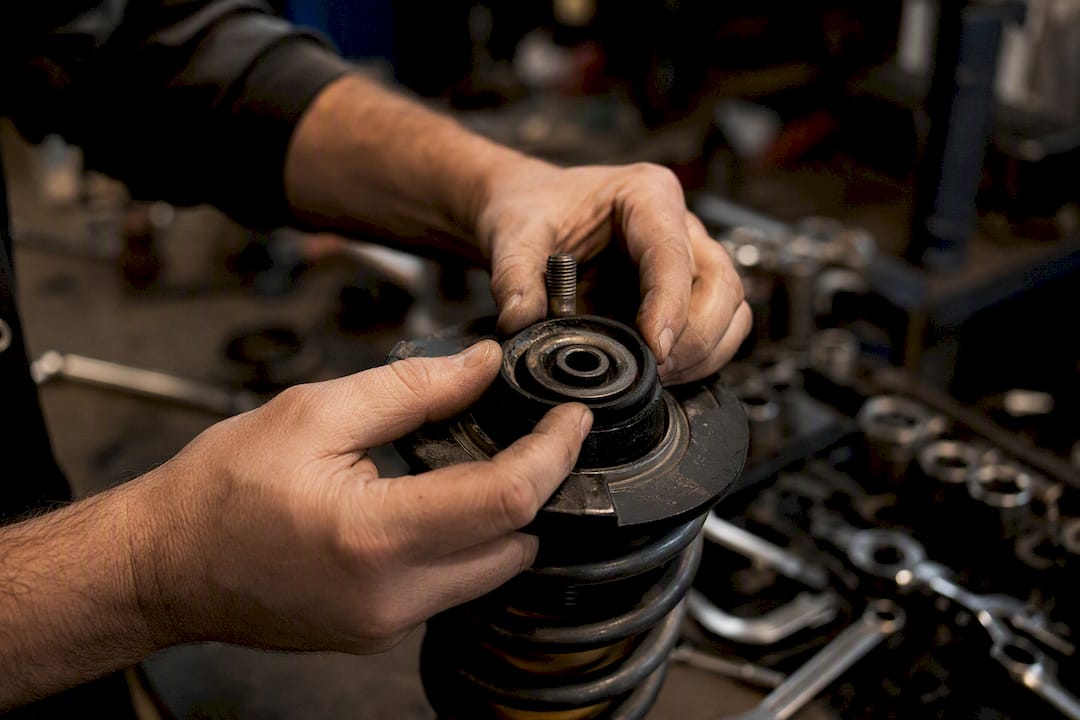
To inspect one, look for visible cracking, flattening, or separation from the metal sleeve it’s bonded to. Grab the mount and rock it by hand. Genuine coilover top mounts, and any strut mount bushing, should feel solid with zero perceptible play. If you feel movement, or see one side of the rubber squashed flatter than the other, the bushing has taken a set and needs replacing.
Testing before you buy parts matters because bushing wear is often mistaken for pillowball bearing failure, and the two repairs cost very different amounts. A simple trick: with the wheel off the ground, have someone push down on the strut while you watch the bushing at the top mount. Any visible shifting or a soft “give” that a healthy bushing wouldn’t show confirms it’s worn.
Replacement is usually straightforward if your top mounts are a separate, bolt-on part rather than pressed into the shock body. Compress the spring enough to relieve pressure on the top hat, remove the nut, swap the bushing or the whole top mount assembly, and retorque to spec. If the bushing is integrated into a non-serviceable top hat, you’re looking at a full top mount replacement rather than a standalone bushing swap.
Checking for Damaged or Worn Bump Stops
Bump stops are the small foam or rubber cylinders mounted on the shock shaft that prevent metal-on-metal contact when the suspension compresses fully. On a lowered car, they take a beating far more often than the factory ride height ever intended, and a worn or missing bump stop produces a clunk that sounds almost identical to a loose top hat.
Check them by compressing the coilover slightly and looking at the shaft above the shock body. A healthy bump stop should be intact, uniform in shape, and seated firmly in place. Signs of trouble include visible chunks torn out, a stop that’s compressed into a thin disc from repeated impacts, or one that’s slid out of position entirely.
If your ride height is aggressive, you may be hitting the bump stop on nearly every compression cycle, which both causes noise and accelerates wear on the stop itself. Some coilover kits include shorter, denser bump stops designed for lower ride heights specifically to address this. If yours are original-length stops on a heavily lowered setup, replacing them with shorter units built for your ride height often eliminates the clunk permanently rather than just delaying it. Worn bump stops are cheap, usually under $30 for a full set, so there’s little reason to leave a compromised one in place once you’ve identified it.
Do You Need an Alignment After Adjusting Coilovers?
Yes, and it’s one of the most commonly skipped steps after a coilover install or adjustment. Changing ride height alters camber, caster, and toe angles, even if you didn’t touch a single alignment bolt. A car that clunks after a ride height change sometimes isn’t clunking from loose hardware at all. It’s binding somewhere in the suspension geometry because the alignment is now far outside spec.
Get an alignment any time you change ride height by more than roughly half an inch, and again anytime you adjust preload or endlink length significantly after the fact. Skipping this step doesn’t just cause uneven tire wear, it can also mask or mimic a mechanical clunk by putting components under angles they weren’t designed to operate at, particularly at the sway bar endlinks and control arm bushings.
If you’ve fixed every hardware issue in this guide and a clunk persists specifically while turning, get an alignment check before you assume something is broken. Sometimes the “clunk” is a bushing or endlink binding under an alignment angle it was never meant to hold, and the fix is a $100 alignment rather than a new part.
How Worn Bearing Plates Affect Coilover Noise
Bearing plates, the component inside a pillowball top mount that lets the strut rotate with the steering input, wear unevenly over time, especially on cars that see aggressive steering angles or track use. When a bearing plate goes out of round or develops flat spots, it stops rotating smoothly and instead catches or binds at certain points in its rotation.
That binding is what produces the sharp clunk many owners hear specifically while turning, especially at low speed in parking lots where steering angle is greatest. It’s a different sound signature than a loose bolt. Bearing plate wear tends to produce a distinct notchy or catching feeling through the steering wheel right alongside the noise, not just an audible clunk with no other symptom.
Checking for this requires removing the top mount and inspecting the bearing plate for visible grooves, flat spots, or resistance when you rotate it by hand. A healthy bearing plate spins freely with no notches or catch points. If yours catches or feels gritty, it needs replacing, and depending on the coilover brand this can sometimes be done as a standalone bearing kit rather than a full top mount replacement. Given how directly bearing wear ties to steering feel and safety, this is one component worth checking annually rather than only after a clunk shows up.
What I Learned Installing Coilovers the Hard Way
The biggest mistake I see repeated across install threads and support tickets is the same one: torque it once and forget it. New hardware settles, rubber bushings compress, and threads that felt tight on day one loosen slightly after the first real miles. Retorque everything after 50 to 100 miles, every time, no exceptions.
Fitment data removes a lot of the guesswork that leads to these mistakes in the first place. When you know the exact torque spec and hardware for your specific chassis going in, you spend a lot less time chasing clunks later.
— Ismael
Get the Right Parts and Specs Before You Chase a Clunk
A lot of clunking problems start the same way: a part gets installed with generic instructions instead of chassis-specific fitment data, and something ends up torqued wrong or paired with the wrong endlink length. Underground Dynamics built its Coilovers, Air Ride & Lowering Springs category specifically around that problem, with detailed spec sheets and fitment notes for each chassis rather than a one-size-fits-all product page.
If you’ve worked through the diagnostics in this guide and confirmed you need a replacement bushing, endlink, or full coilover kit, that’s the category to start with. And if you’re not confident pulling a top mount apart or checking bearing plate wear yourself, that’s a reasonable line to hand off to a shop. Not every fix needs to be a DIY job, and knowing when to stop is part of doing this right. Browse the suspension lineup, check the fitment notes against your chassis, and order the parts that match your exact setup instead of guessing at compatibility.
Sources
- Coilovers Clunking? Learn How Simple Maintenance Can Fix It | Low Offset
- Need Coilover Repair? Can You Fix a Blown One or Is Replacement Better? - Hrcounselblog
FAQ
Is It Normal for Coilovers to Clunk?
No, a properly torqued and maintained coilover shouldn’t clunk. A clunk almost always signals loose hardware, a worn bushing, or an endlink that needs adjusting rather than normal operation.
How Do You Fix Bouncy Coilovers?
Bouncy or overly soft-feeling coilovers usually point to worn damping or incorrect preload rather than a hardware issue. Check your preload setting first, and if the bounce persists after adjustment, the shock’s internal valving may need inspection.
What Does a Bad Coilover Sound Like?
A failing coilover typically produces a metallic clunk on bumps, a notchy or catching feeling while turning if the bearing plate is worn, or a dull knock from a loose top hat. Persistent noise after hardware checks often points to internal bearing or seal wear.
What Are the Symptoms of a Bad Coilover?
Common symptoms include clunking over bumps, a knocking noise while turning, visible oil residue on the shock body, uneven tire wear from a ride height that’s drifted out of alignment, and noticeable play when you grab and rock the top mount by hand.