FREE SHIPPING ON ORDERS OVER $150

Cart
0
Fit the kit first, remove it, clean every panel until the towel comes back clean, sand to a dull tooth, prime with a 2K high-build primer, then lay base and clear. Skip fitment or shortcut the cleaning and you’re chasing fisheyes and peeling clear coat later. That’s the whole job in one sentence. Everything below is how you actually execute it without wasting a weekend.
TL;DR:
- Proper fitment of panels before sanding or painting ensures issues are corrected upfront, preventing subsequent damage and rework.
- Cleaning with multiple wax-and-grease wipe-steps effectively removes mold-release residue, reducing fisheye or delamination risks.
- Sanding should begin at 180-240 grit on flat panels and progress through guide coats to 600 grit, following exact sequences to avoid low spots and gelcoat damage.
- Baking or heating new fiberglass parts at 120-140°F before painting eliminates trapped solvents, preventing blistering or bubbling post-application.
- Using high-build 2K epoxy or urethane primer in proper ratios is crucial for good adhesion and durability on fiberglass and polyurethane kits.
Table of Contents
- How Do You Fit and Test a Body Kit Before Paint Prep?
- What’s the Right Way to Clean a Body Kit Before Painting?
- What Grit Should You Use to Sand Fiberglass Before Priming?
- Why Do New Fiberglass Parts Need to Outgas Before Paint?
- Which Primer Works Best for Fiberglass and Polyurethane Body Kits?
- How Do You Apply Base Coat and Clear Coat on a Body Kit?
- What Safety Gear and Timeline Should You Plan For?
- How Underground Dynamics Helps You Skip the Rework
- The Honest Take on Rushing a Body Kit Paint Job
- Ready to Shop Chassis-Specific Body Kits?
- Where to Check Product-Specific Prep Instructions
- Sources
- FAQ
How Do You Fit and Test a Body Kit Before Paint Prep?
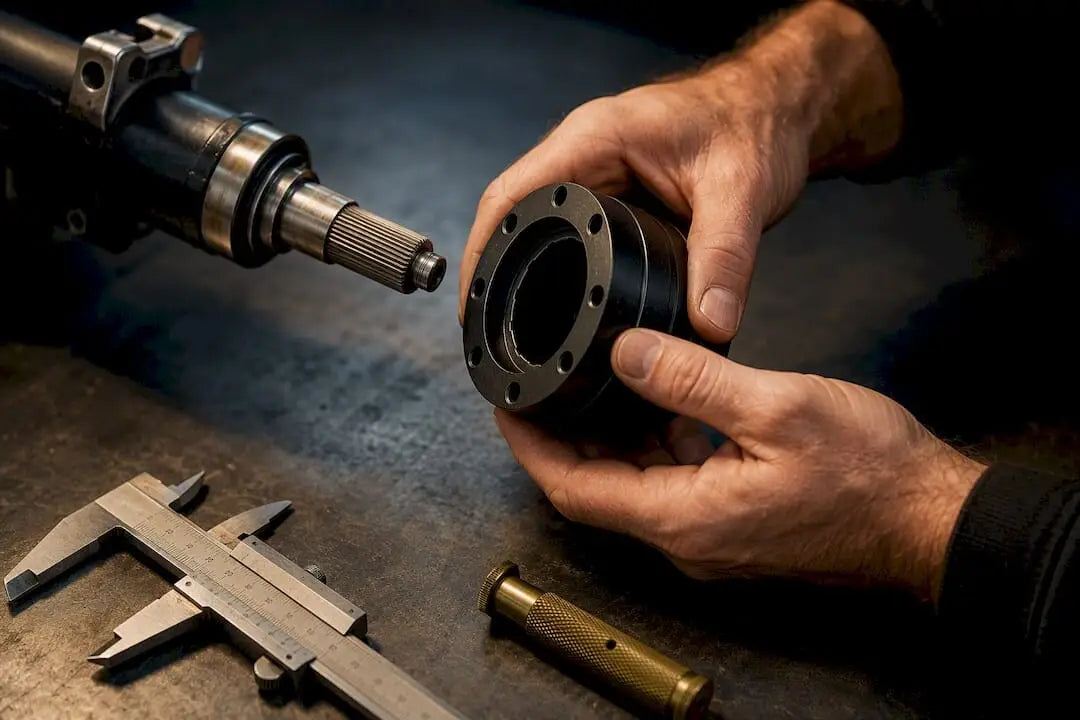
Bolt the raw gelcoat pieces on before you sand or spray anything. This tells you where the gaps are wrong, where mounting holes need adjusting, and where the fenders or lips interfere with the chassis. Fixing that after paint means grinding through a finish you just spent a weekend building.
- Dry-fit every panel and mark trim lines with a fine marker, not a scribe that gouges the gelcoat.
- Check mounting points for flex or cracking; reinforce with fiberglass matting before you commit to color.
- Support panels on padded sawhorses or dedicated fiberglass stands while sanding. Laying a fender flat on a towel invites low spots you won’t see until the guide coat goes on.
- Once fit is confirmed, pull everything back off. You paint parts off the car, always.
This fit-first approach also lines up with what Hot Rod’s fiberglass prep guide recommends: catching interference and gap issues in raw gelcoat, before a single coat of primer goes down.
What’s the Right Way to Clean a Body Kit Before Painting?
Mold-release residue is the number one reason DIY body kit paint jobs fisheye or delaminate. New fiberglass and polyurethane parts come out of the mold coated in it, and it hides in every pore of the gelcoat until you force it out.
- Wash with hot, soapy water and a gray Scotch-Brite pad, then dry completely. This pulls off surface dirt and shipping grime.
- Wipe down with an automotive wax-and-grease remover, using a fresh, lint-free towel each pass. One wipe is not enough. Do this at least three times, and switch to a new towel every time so you’re not just redistributing the residue you’re trying to remove.
- For polyurethane pieces, stick to cleaners the manufacturer approves for flexible substrates. Aggressive solvents can soften or discolor polyurethane in ways that don’t show up until the panel’s already primed.
Forum-level experience backs this up too: Corvette Forum’s wax-and-grease thread points out that most adhesion failures on new fiberglass trace straight back to skipping the repeated-wipe step.
Pro Tip: Hold a clean white towel up to the light after your final wipe. If it shows any haze or color transfer, you’re not done. Go again.
What Grit Should You Use to Sand Fiberglass Before Priming?
This is where most home builds go sideways, either from sanding through the gelcoat or skipping the guide coat and priming over low spots you never noticed.
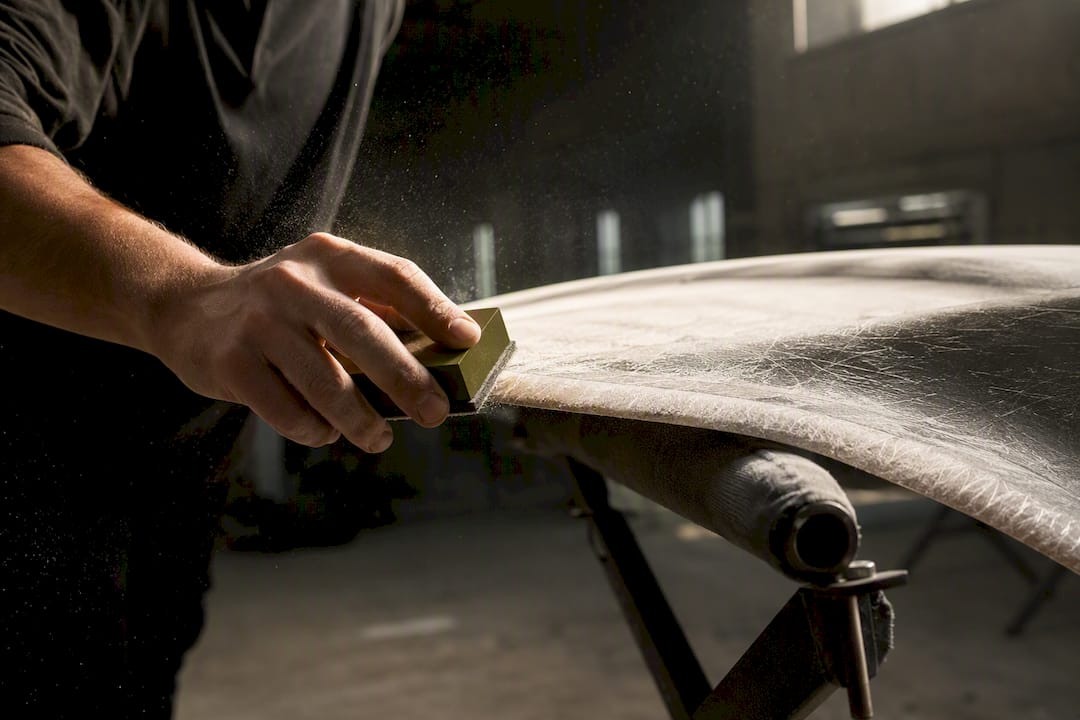
- Start at 180 to 240 grit to knock down the glossy gelcoat and give primer something to grip. Use a DA sander on flat panels, hand-blocks on tight curves and edges where a DA will dig in.
- Fill pinholes and low spots with a fiberglass-specific filler or polyester body filler, feathering the edges so they don’t telegraph through primer.
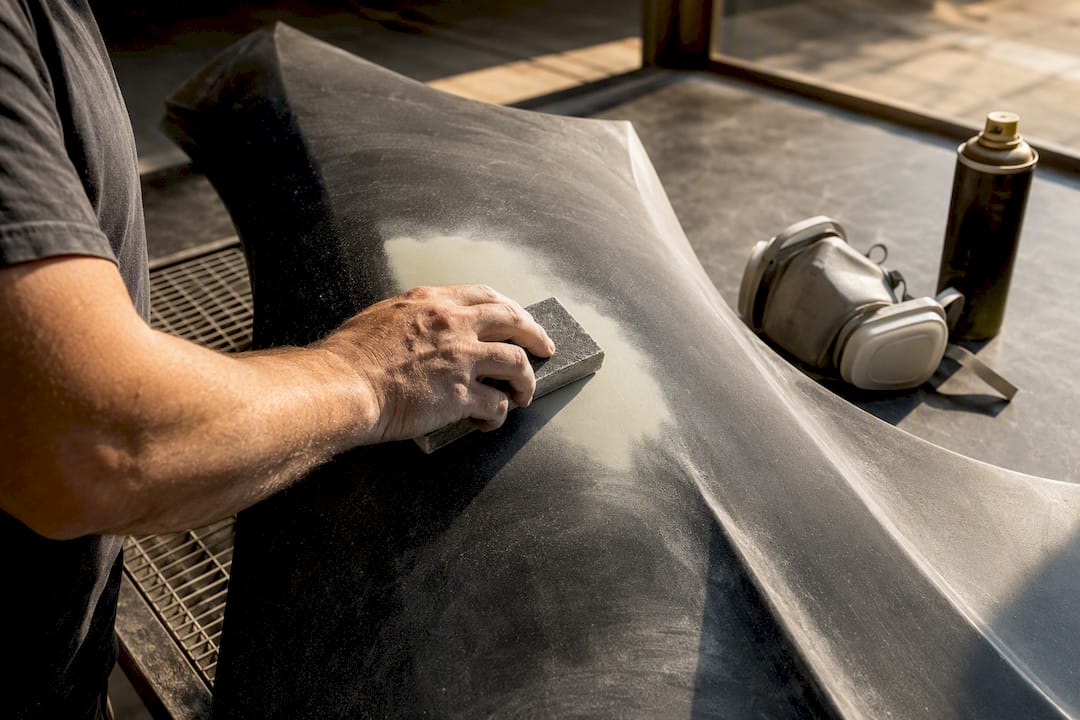
- Spray a guide coat, a light dusting of dark paint over the filled areas, then block-sand it off. Any spot where the guide coat lingers is still low.
- After the panel reads flat, move to 320 to 400 grit for primer prep, then finish between primer coats with 400 to 600 grit for a smooth, even base.
Red Label Abrasives’ grit guide lines up exactly with this progression, and it’s worth following to the letter rather than eyeballing it.
Pro Tip: A cheap $4 can of guide-coat spray saves you from wet-sanding through primer on a low spot you didn’t catch. Skipping it is the most expensive shortcut in this whole process.
Why Do New Fiberglass Parts Need to Outgas Before Paint?
Freshly molded fiberglass and polyurethane trap solvents and mold-release agents deep in the material, not just on the surface. Seal that in under primer and clear, and it works its way out later as blistering or bubbling, sometimes weeks after the job looked perfect.
Bake the part in a paint booth at about 120 to 140°F for a suitable period, or set it in direct hot sunlight for a full day if you don’t have booth access. Either method drives the trapped solvents out before they become your problem. Linear Blocking Tools’ fiberglass prep guide notes that this simple step prevents most of the blistering issues small shops run into on new parts.
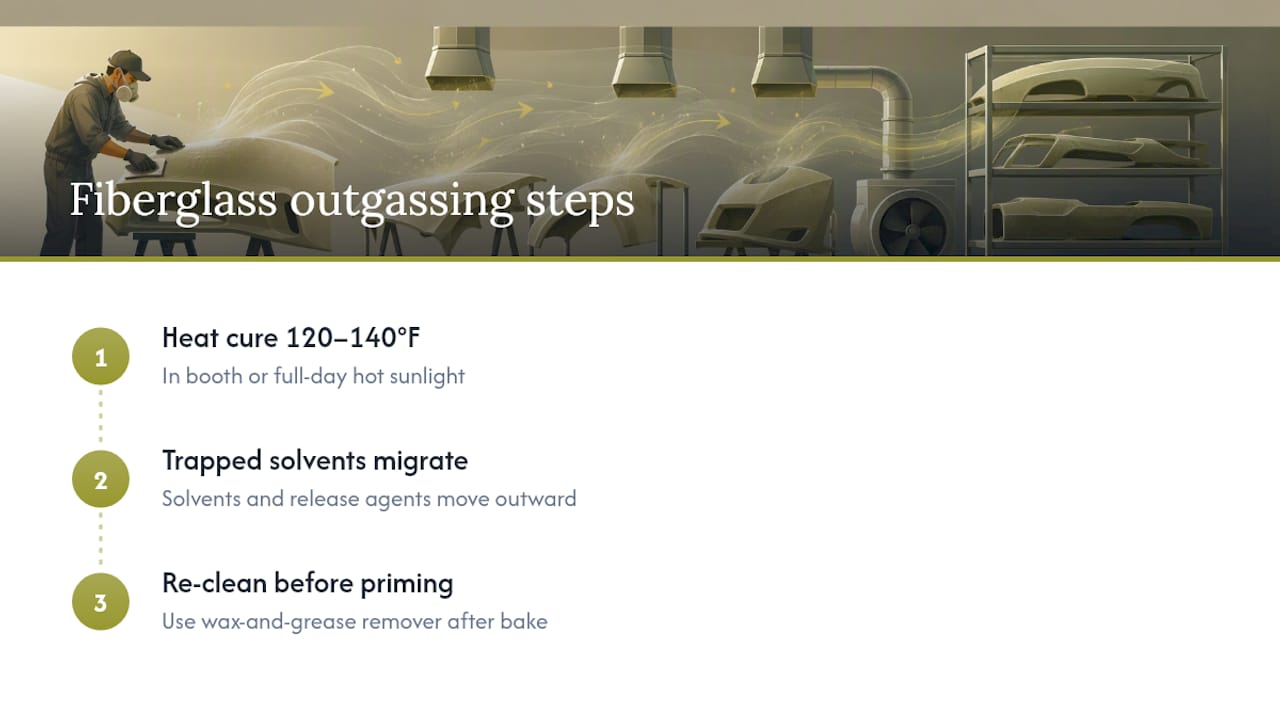
One catch: heat-curing brings more release agent to the surface. Always re-clean with wax-and-grease remover after the bake, right before you prime.
Which Primer Works Best for Fiberglass and Polyurethane Body Kits?
Skip etch primers on composite panels. They’re built for bare metal, and they don’t bond the way you need on gelcoat or filler. A high-build 2K epoxy or urethane primer is the standard choice for fiberglass body kits, and it’s what gives you the film thickness to block-sand flat without burning through.
- Mix strictly to the ratios on the product’s technical data sheet. Guessing on hardener ratio is how you get soft primer that never fully cures.
- Apply 2 to 3 medium coats, respecting flash times between each. Rushing flash time traps solvent under the next coat.
- Wet or dry sand with 320 to 400 grit to knock down texture, then finish with 400 to 600 grit for a velvet-smooth surface before color.
Manufacturer documentation from Endura’s fiberglass surface prep guide backs this up directly: staying within one paint system and following the TDS for mix and flash times is the difference between primer that lasts and primer that lifts. Epifanes’ painting guide adds a useful exception: if you’re working with intact factory gelcoat and no fillers or repairs, you can sometimes skip primer entirely. Once you’ve sanded, filled, or repaired anything, primer isn’t optional anymore.
How Do You Apply Base Coat and Clear Coat on a Body Kit?
Set up an HVLP gun with a 1.3 to 1.4mm tip for base and clear. Keep 50 to 75% overlap on every pass and hold a consistent gun distance, because drifting closer or farther mid-panel is what causes mottled metallics and uneven clear thickness.
- Lay down 2 to 4 thin base coats, letting each flash before the next.
- Follow with a tack coat, then two wet clear coats for depth and durability.
- On polyurethane or highly flexible panels, add a flex additive to the clear per the product’s TDS. Skip it and you risk cracking at stress points once the part flexes on the car.
- Don’t overdo the flex additive. Too much softens the film and invites runs or solvent pop, especially on thicker clear coats.
Practical spray guides for fiberglass body kits recommend this exact tip range and overlap pattern, and it holds up whether you’re spraying a lip kit or a full fender.
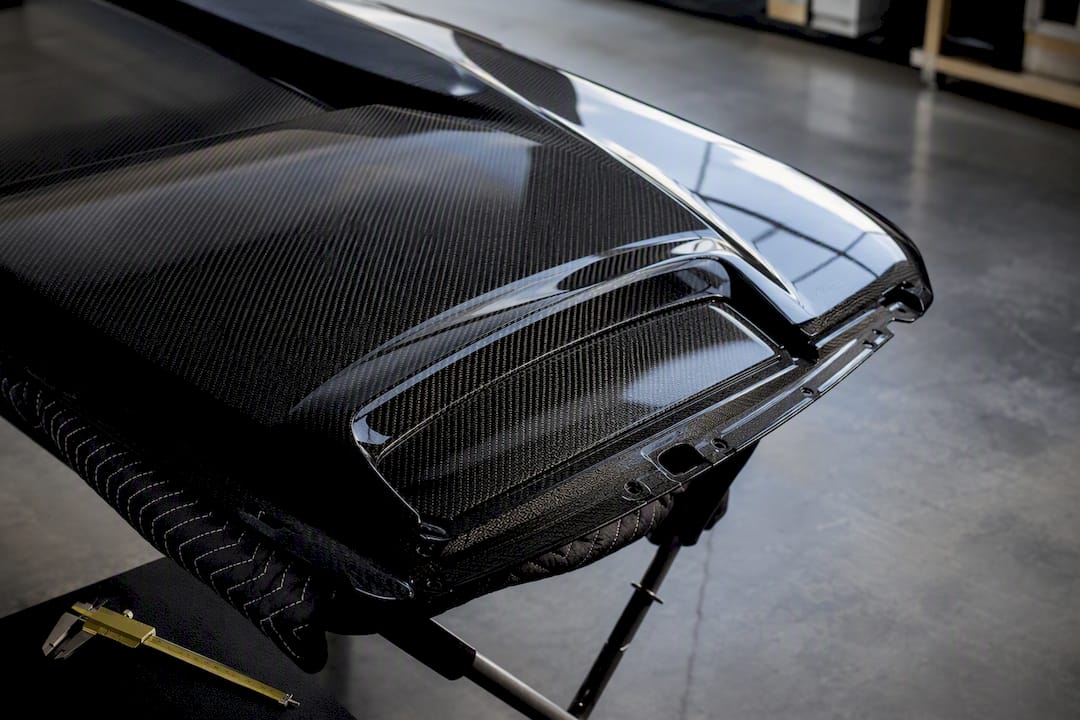
Pro Tip: If you’re painting a carbon fiber hood alongside a fiberglass kit, the base and clear technique carries over almost identically. Our carbon fiber hood painting guide walks through the same gun setup on a different substrate.
What Safety Gear and Timeline Should You Plan For?
- Wear a respirator with organic vapor cartridges, not a dust mask. 2K primers and clears off-gas isocyanates that a paper mask does nothing to stop.
- Add eye protection, chemical-resistant gloves, a spray suit, and real ventilation, not just an open garage door.
- Budget 1 to 3 days for fitting, 1 to 3 days for prep and primer, 1 to 3 days for color and clear, then several days of cure before cutting and buffing. Wait 30 to 60 days before waxing.
- Watch for the mistakes that cause most callbacks: incomplete degreasing, sanding through gelcoat, mixing incompatible primer and clear systems, and rushing cure times because the weather’s good and you want the car back on the road.
How Underground Dynamics Helps You Skip the Rework
Half the sanding and trimming builders do on aftermarket kits exists because the part didn’t fit right to begin with. Underground Dynamics documents fitment specifics on every listing in its body kits category, which cuts down the guesswork before you ever pick up sandpaper. Our widebody fender fitment workflow walks through the same fit-check logic covered above, and the fiberglass repair guide covers pinhole and reinforcement fixes if your kit needs work before it’s paint-ready.
The Honest Take on Rushing a Body Kit Paint Job
Every shortcut in this process shows up later, usually after the car’s back together and hard to access. Careful prep costs you a weekend now; skipping it costs you a repaint later. Follow the product TDS and SDS on every primer and paint you open. That’s not caution for its own sake, it’s the difference between a finish that holds and one that doesn’t.
— Ismael
Ready to Shop Chassis-Specific Body Kits?
Once you know the prep sequence, the part you start with matters just as much as the technique. Chassis-specific fiberglass and carbon fiber body kits with fitment detail listed on product pages are available, avoiding vague “universal fit” descriptions that leave buyers guessing what they’ll need to trim.

That fitment detail is the whole point. A kit that’s documented for your exact chassis means less time spent chasing gaps and interference before you ever touch sandpaper, and less risk of discovering a mounting problem after you’ve already primed. Browse the body kits lineup to find a part matched to your build, check the fitment notes on the product page, and order with a clear picture of what prep work is actually ahead of you.
Where to Check Product-Specific Prep Instructions
For product-specific mix ratios and cure times, check the manufacturer’s own technical data sheet before you spray, starting with Endura’s fiberglass surface prep TDS and Epifanes’ fiberglass painting guidance. If you’re also masking off trim or protecting adjacent panels during the job, XPEL vs 3M breaks down film options worth knowing about.
Sources
- Fiberglass preparation — Hot Rod
- Epifanes: Painting fiberglass
- Best sandpaper for fiberglass
- Fiberglass prep & repair tips
FAQ
Should I use 400 or 600 grit before paint?
Use 400 grit for primer prep sanding, then move to 600 grit for the final smoothing pass right before color goes on. Jumping straight to 600 on raw primer leaves the surface too fine for good base coat adhesion.
What should I wipe body panels with before painting?
Use an automotive wax-and-grease remover applied with a fresh, lint-free towel, repeated at least three times with a clean towel each pass. A single wipe rarely removes all the mold-release residue hiding in the gelcoat.
What do you put on fiberglass before painting?
After sanding and filling, apply a high-build 2K epoxy or urethane primer, mixed to the ratio on the product’s technical data sheet. Skip etch primers, since they’re formulated for bare metal, not composite surfaces.
Can I paint fiberglass without primer?
Only if the gelcoat is fully intact with no sanding, filler, or repairs, according to Epifanes’ painting guidance. Once you’ve sanded or filled anything, a primer or sealer is necessary for proper adhesion.